Step by Step Guide on How to Install Drupal 7 and 8 locally

Drupal is a free and open source content management system that provides a framework for all the websites ranging from blogs to business, government websites. It has many features like interoperability, multilingual ready, easy authoring etc. that makes it a popular choice. So without wasting any time here at Templatetoaster Drupal theme builder, let’s see how to Install Drupal 7 and Locally on your machine.
Installing Drupal 8
If you already have Drupal downloaded, you are ready to go and you can get free Drupal themes. But if not, you can download Drupal 8 from here:
Step 1: Just have the Drupal 8 downloaded file. Now, unzip the downloaded Drupal file into ‘htdocs’ folder on your localhost XAMPP server.
Step 2: Create the database in phpMyAdmin on the server and name it as that of extracted folder of Drupal 8 or as you wish to do.
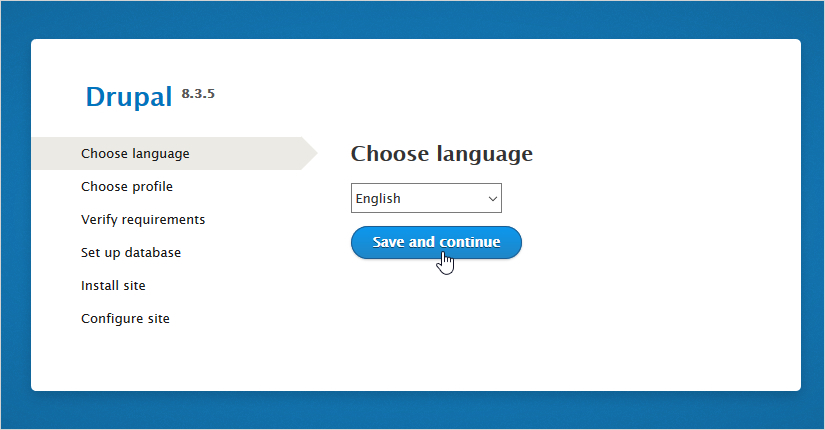
Step 3: Get directed to installation by specifying the extracted Drupal folder path in the URL with localhost e.g. http://localhost/Drupal8.3. Now, you will be prompted by the first installation window as follows. Choose the language of installation and then just click ‘Save and continue’.
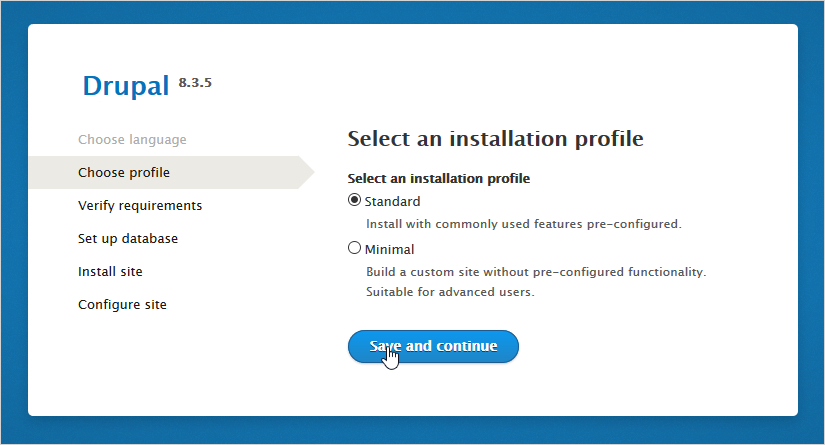
Step 4: Select the installation profile as ‘Standard’ and ‘Save and continue’ with your settings.
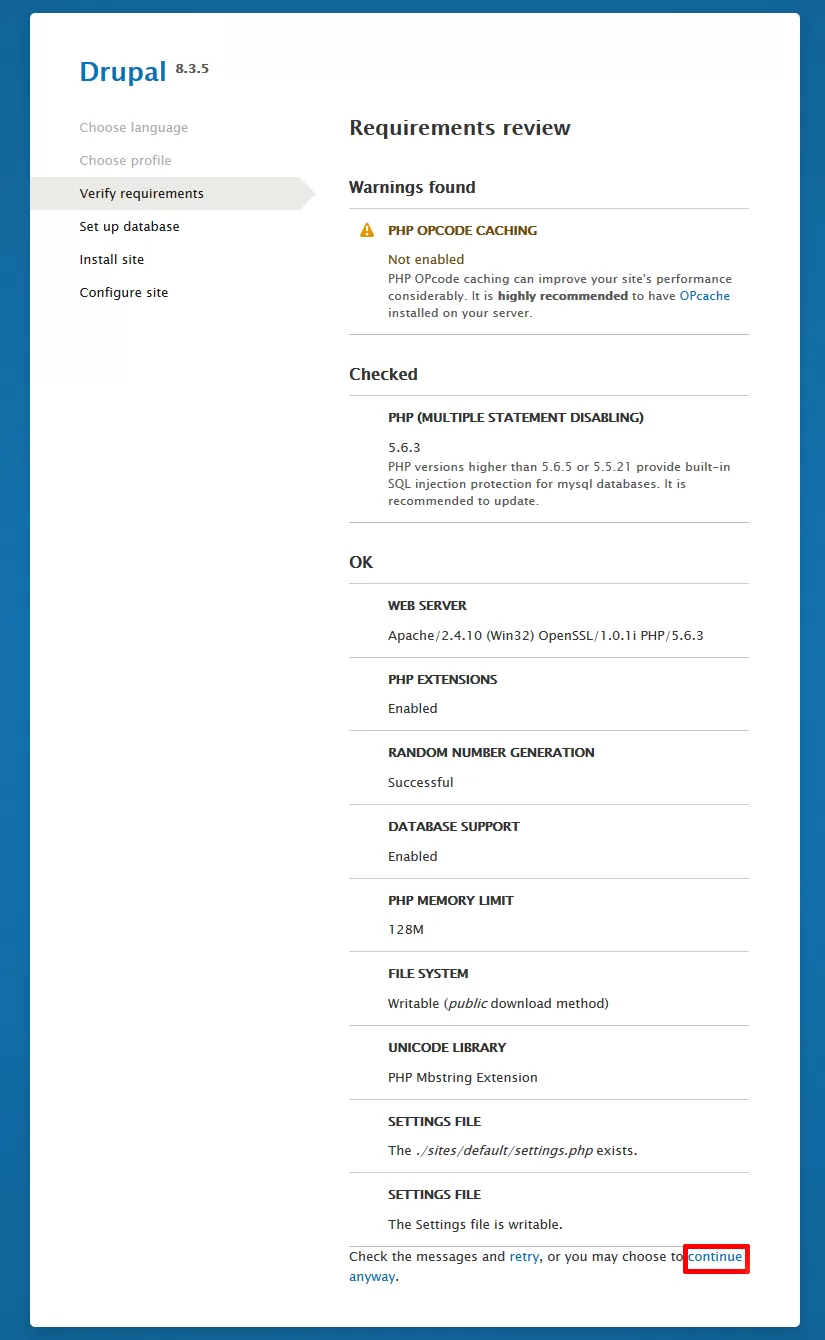
Step 5: Make a check with Requirements, if you fulfil all these ‘Continue’ as shown below:
Step 6: Now, configure the Database by specifying its type, name, username, password etc. as shown below. Save all your settings by pressing ‘Save and continue’.
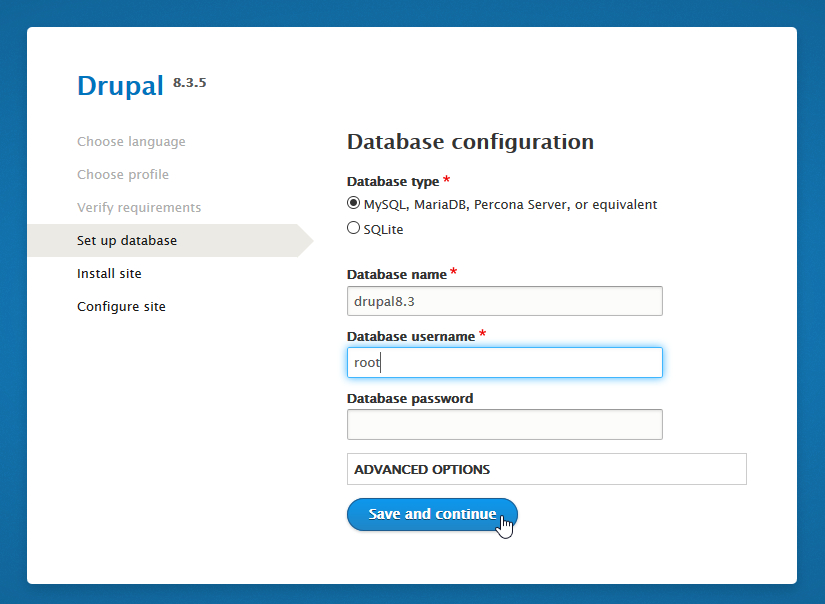
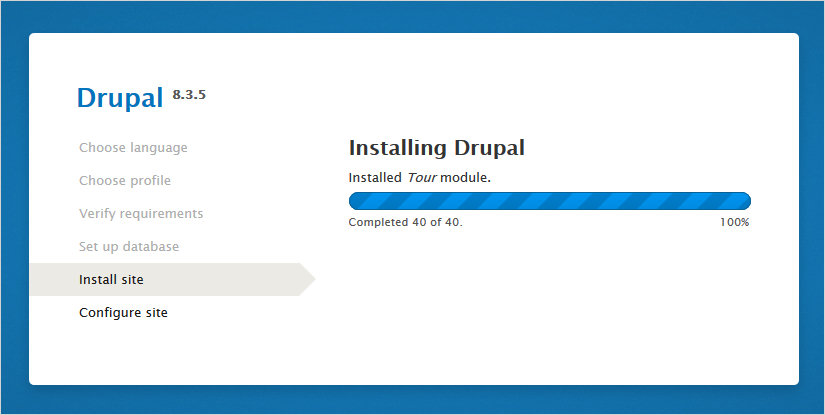
The installation begins.
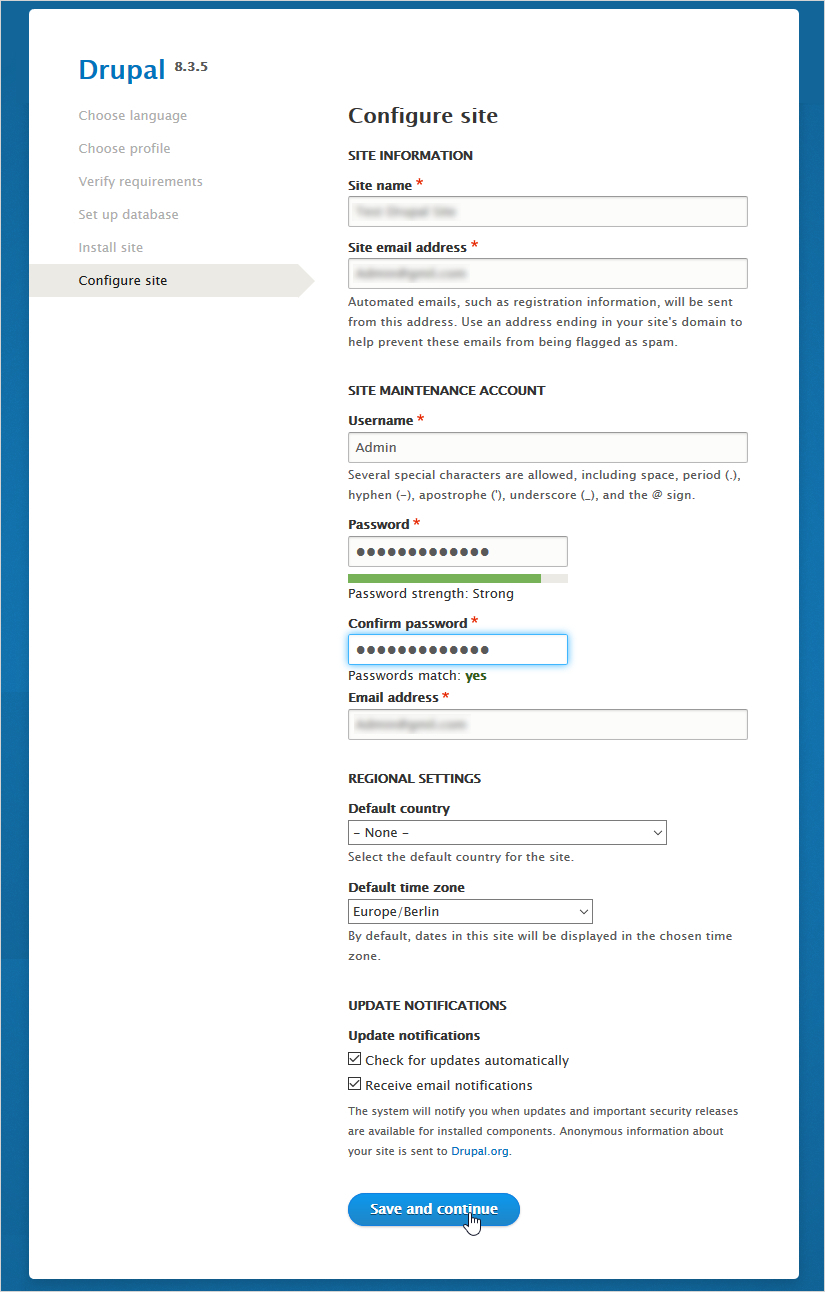
Step 7: Once Drupal 8 is installed, configure the site by filling the information about Site name, email address, particulars about Maintenance Account etc. Then ‘Save and continue’ with the settings.
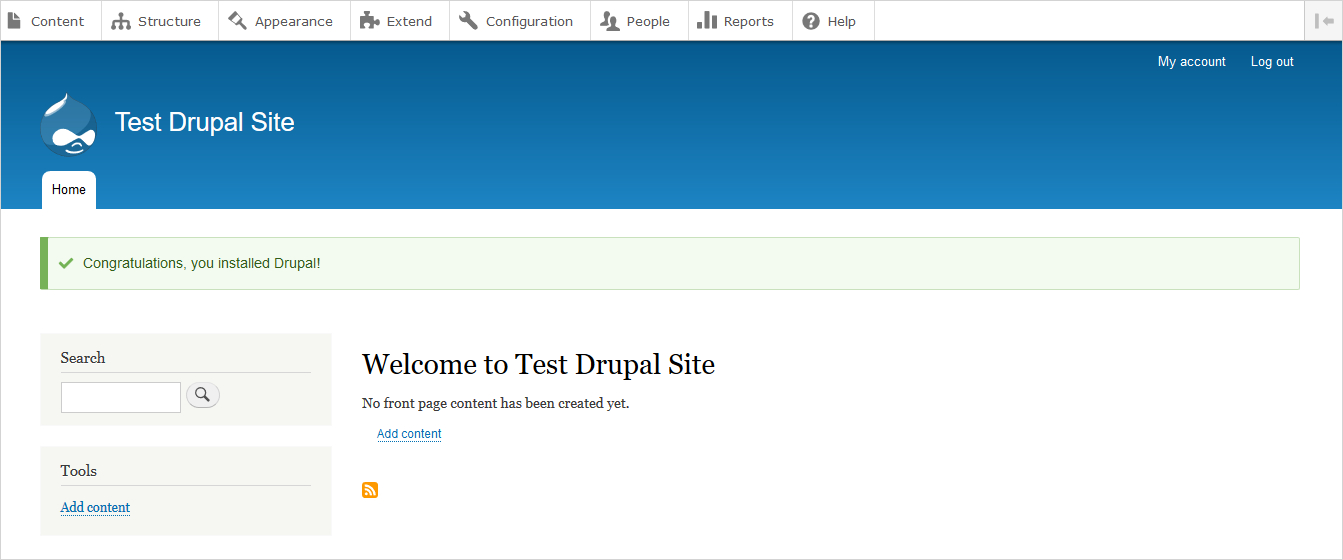
Finally, you have made all the settings required and can see your site now.
Drupal 8 is an advancement of Drupal 7. However, a number of people are frustrated with Drupal 8, due to the learning overheads to fully utilise Drupal 8. So many people still like Drupal 7. Let’s see the installation of Drupal 7.
Installing Drupal 7
If you need to work on Drupal 7, you can simply Download Drupal 7 from here: You may read about how to add Recaptcha in Drupal.
Step 1: Just have the Drupal 7 extracted folder and paste it into your localhost folder. For example, if it’s Xampp server, you will put it into ‘htdocs’ folder.
Step 2: Create the database in phpMyAdmin on the server and name it as that of extracted folder of Drupal 7 or as you wish to do.
Step 3: Get directed to installation by specifying the extracted Drupal folder path in URL with localhost e.g. http://localhost/Drupal7.54. Now, the first installation window appears as follows:
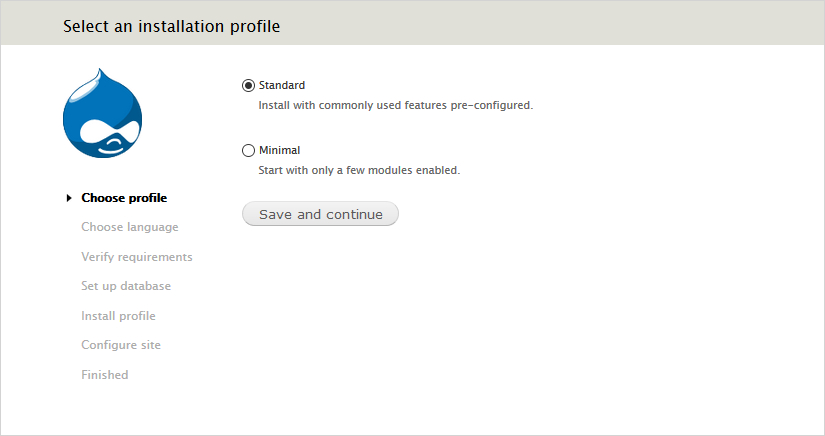
Select the installation profile as ‘Standard’ here and click ‘Save and continue’.
Step 4: Now, you will choose the language for installation as follows:
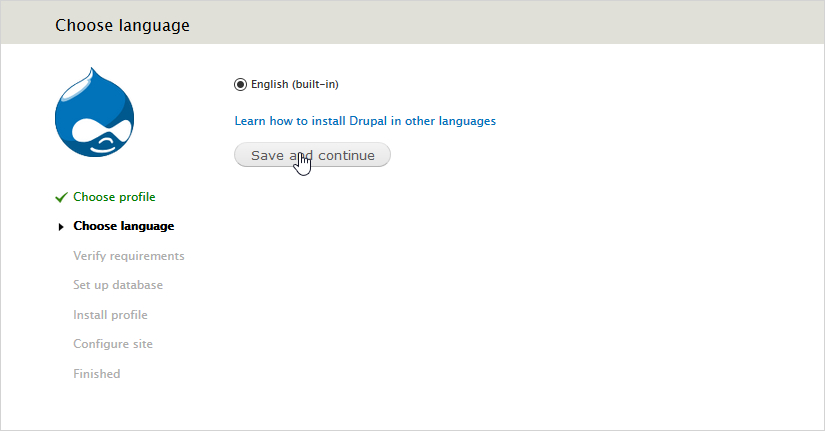
‘Save and continue’ with your settings.
Step 5: Set up the database and fill the particulars such as Database type, name, username etc. as follows:
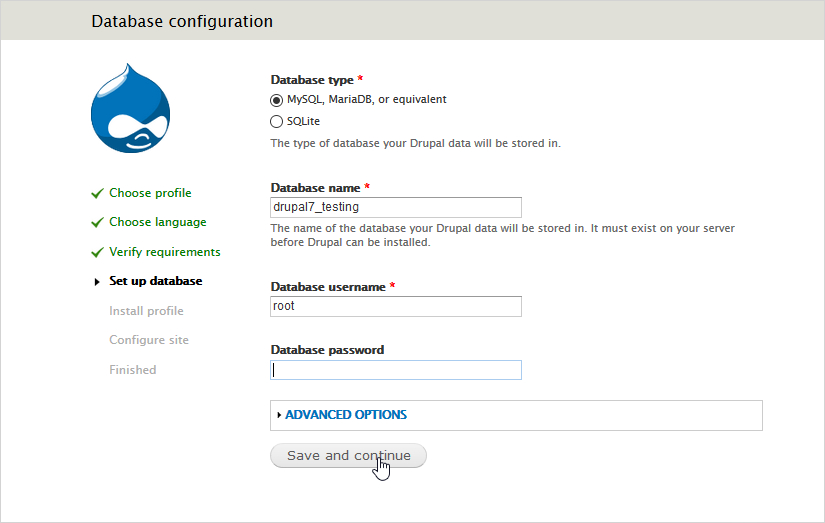
Press ‘Save and Continue’.
Step 6: Now, the installation will take place as follows:
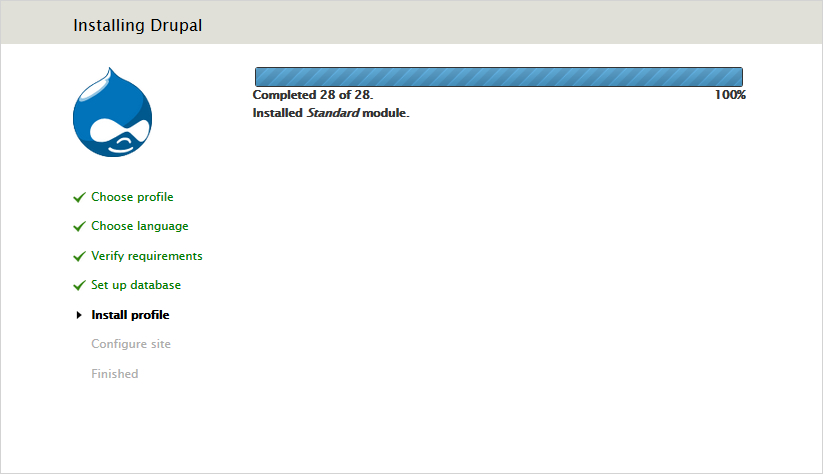
Step 7: Once the installation completes, fill the site configuring particulars(Site name, managing account etc.) as follows:
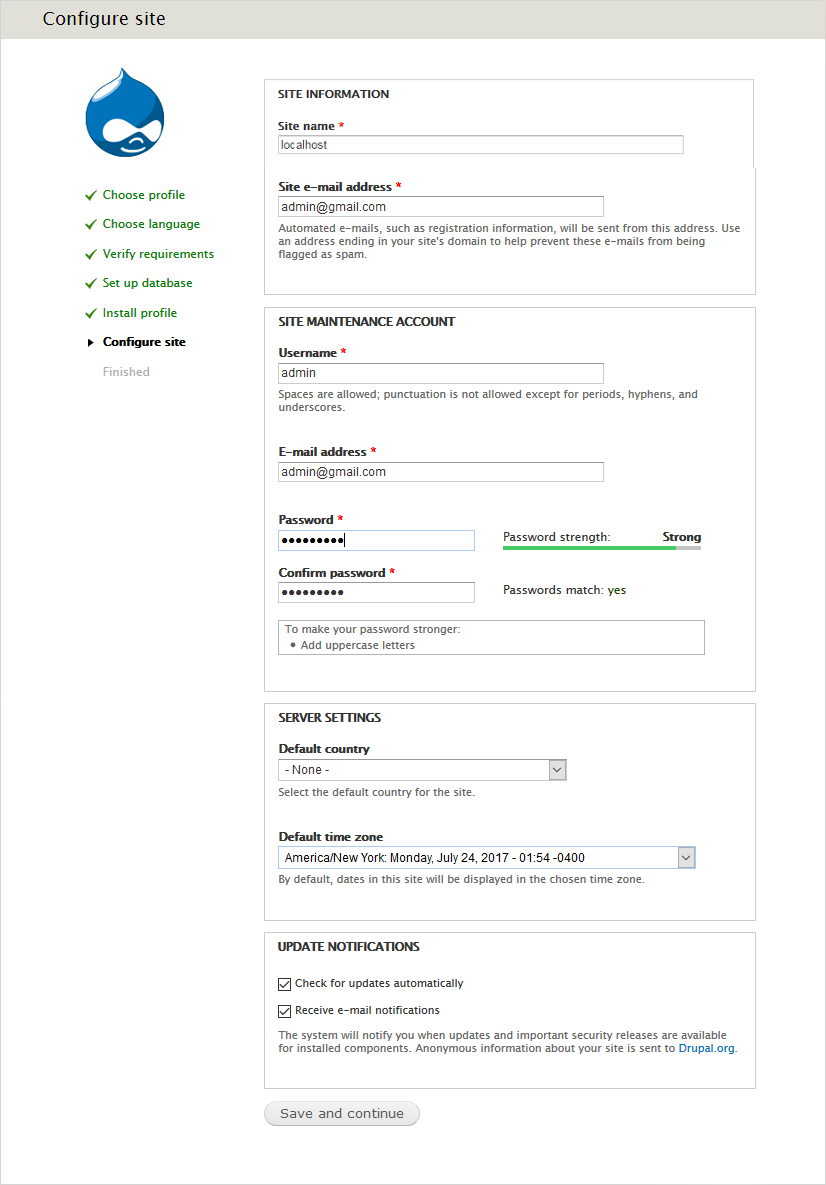
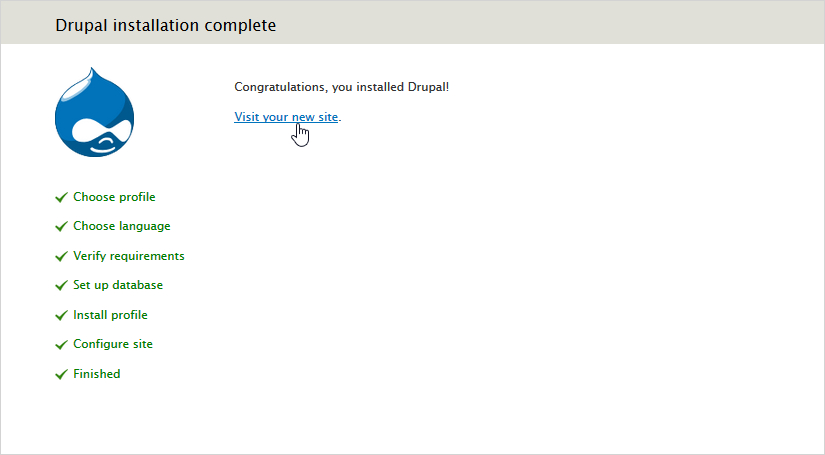
Step 8: The whole installation is finished.
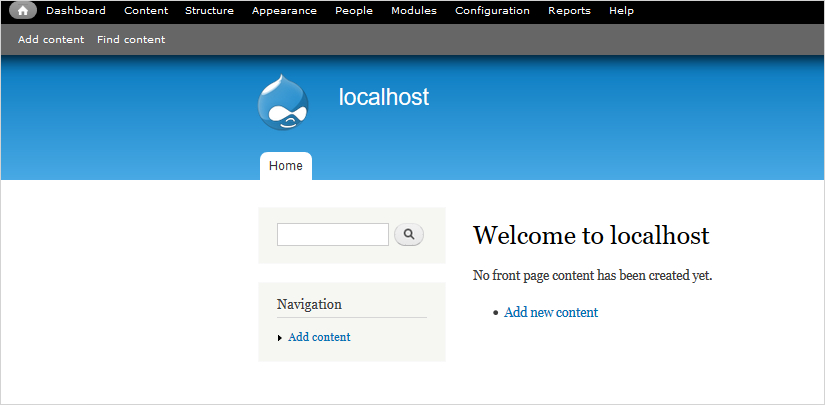
Step 9: Now, you can see your site.
Final Thoughts
As you can see from the tutorial, installation of Drupal 7 as well as Drupal 8 is easy and manageable.Nothing complex is there. But in case, you have any problem or queries you are always welcome at Templatetoaster website builder !!
Build a Stunning Website in Minutes with TemplateToaster Website Builder
Create Your Own Website Now
nice article about drupal installation.
i want to make ecommerce or blog site in drupal.