How to Install Joomla 5
In this article, I’ll cover everything you need to know to install Joomla 5, from setting up the right server environment to completing the installation process smoothly. With clear, step-by-step instructions, troubleshooting tips, and best practices, you’ll be fully prepared to get Joomla 5 website running, whether you’re a beginner or looking for a comprehensive installation reference.
For those looking to expand their Joomla skills beyond installation, there are plenty of advanced possibilities. You can even customize your site further by learning How to create a Joomla Template, which allows you to tailor every detail of your website’s appearance and functionality. Alternatively, using a Joomla Template Creator can streamline the template-making process, giving you access to a host of professional design tools without extensive coding knowledge. Now, let’s dive into the setup process for Joomla 5 to get your site up and running smoothly!
How to Install Joomla: Steps
Step1: Check Prerequisites for Installing Joomla 5
Step2: Downloading Joomla 5
Step3: Joomla 5 Installation Process
Step4: Site Configuration
Step5: Database Configuration
Step6: Provide desired Login Details
Step7: Complete the Installation
Prerequisites for Installing Joomla 5
Before you begin, make sure your hosting environment is ready for Joomla 5. It requires specific server settings to function smoothly, including PHP version 8.1 or higher, MySQL 8.1+, or MariaDB 11.1+. Most hosting providers support these, but it’s wise to double-check. If you’re using cPanel, you can usually find these details under “Server Information” or “PHP Version Manager.”
For a smooth Joomla 5 setup, I recommend choosing a Joomla-compatible hosting provider and configuring your domain and SSL. To set up a domain, purchase one from a registrar and connect it to your hosting provider. SSL certificates, often included in hosting packages, add security for your users and boost SEO. After setting up your domain and SSL, log in to your hosting control panel to confirm that everything is ready for installation.
If you’d like to test Joomla 5 locally before publishing live, you can use software like XAMPP or MAMP. This allows you to run a server on your computer, simulating a live environment without needing hosting.
Downloading Joomla 5
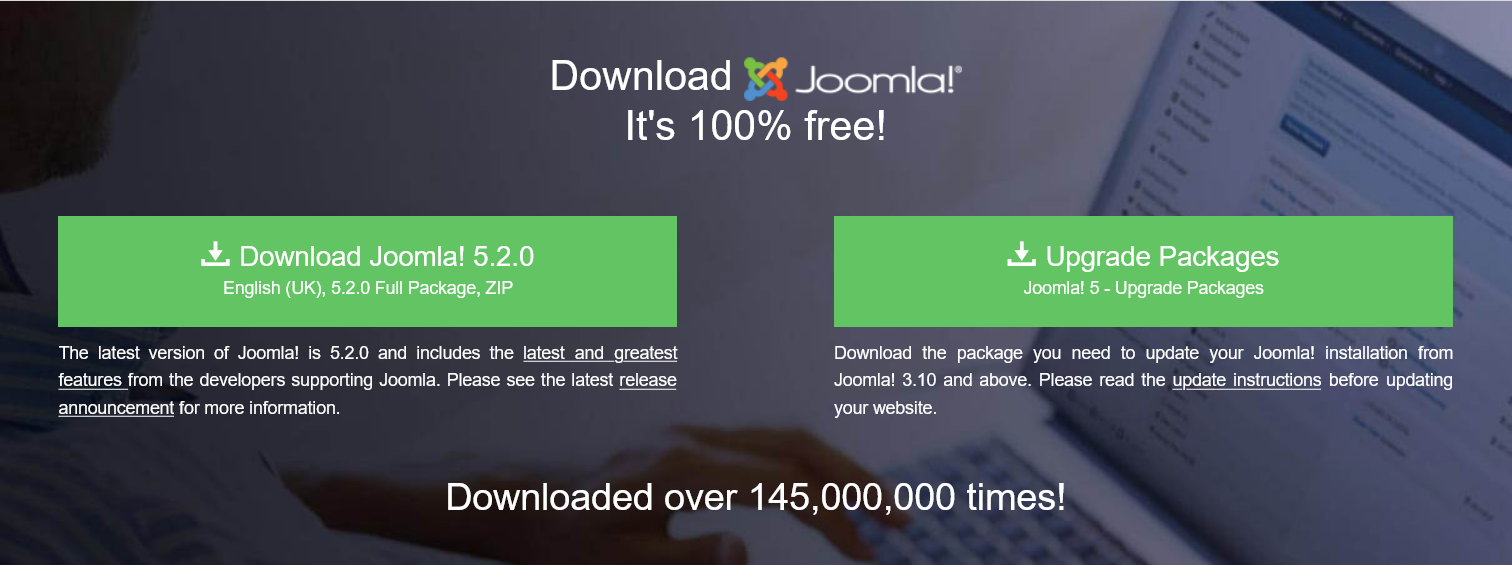
To begin the installation, download Joomla 5 from the official Joomla website. Click on the “Download Joomla 5” button, and a ZIP file will download to your computer. Once downloaded, extract the contents of the ZIP file.
Next, log in to your hosting account, navigate to the file manager or your preferred FTP client, and upload the extracted Joomla 5 files to your server’s root directory (usually public_html). If you’re installing locally, simply move the extracted files to the root directory of your local server setup.
Joomla 5 Installation Process
After uploading the files, open a web browser and enter your site’s domain in a web browser. The Joomla 5 installer should launch automatically, guiding you through the setup.
Site Configuration
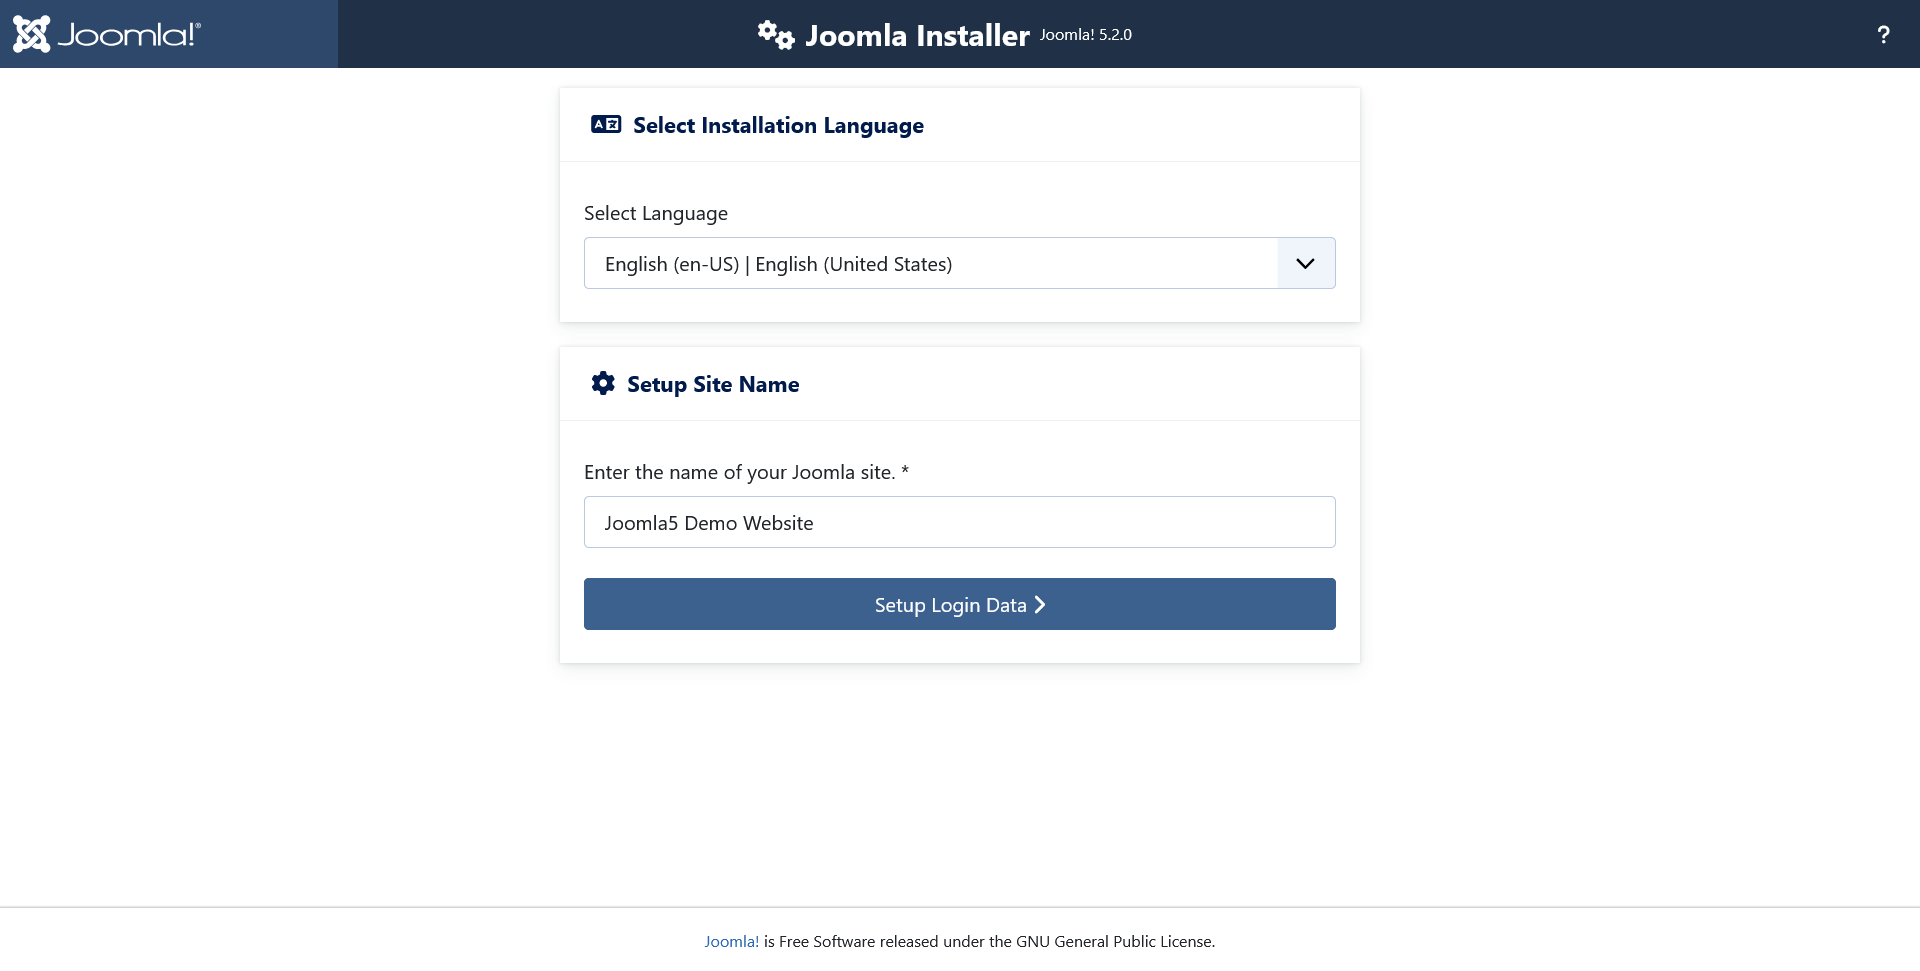
Start by naming your site and providing a brief description. These settings will be visible to your visitors and improve your site’s SEO.
Database Configuration
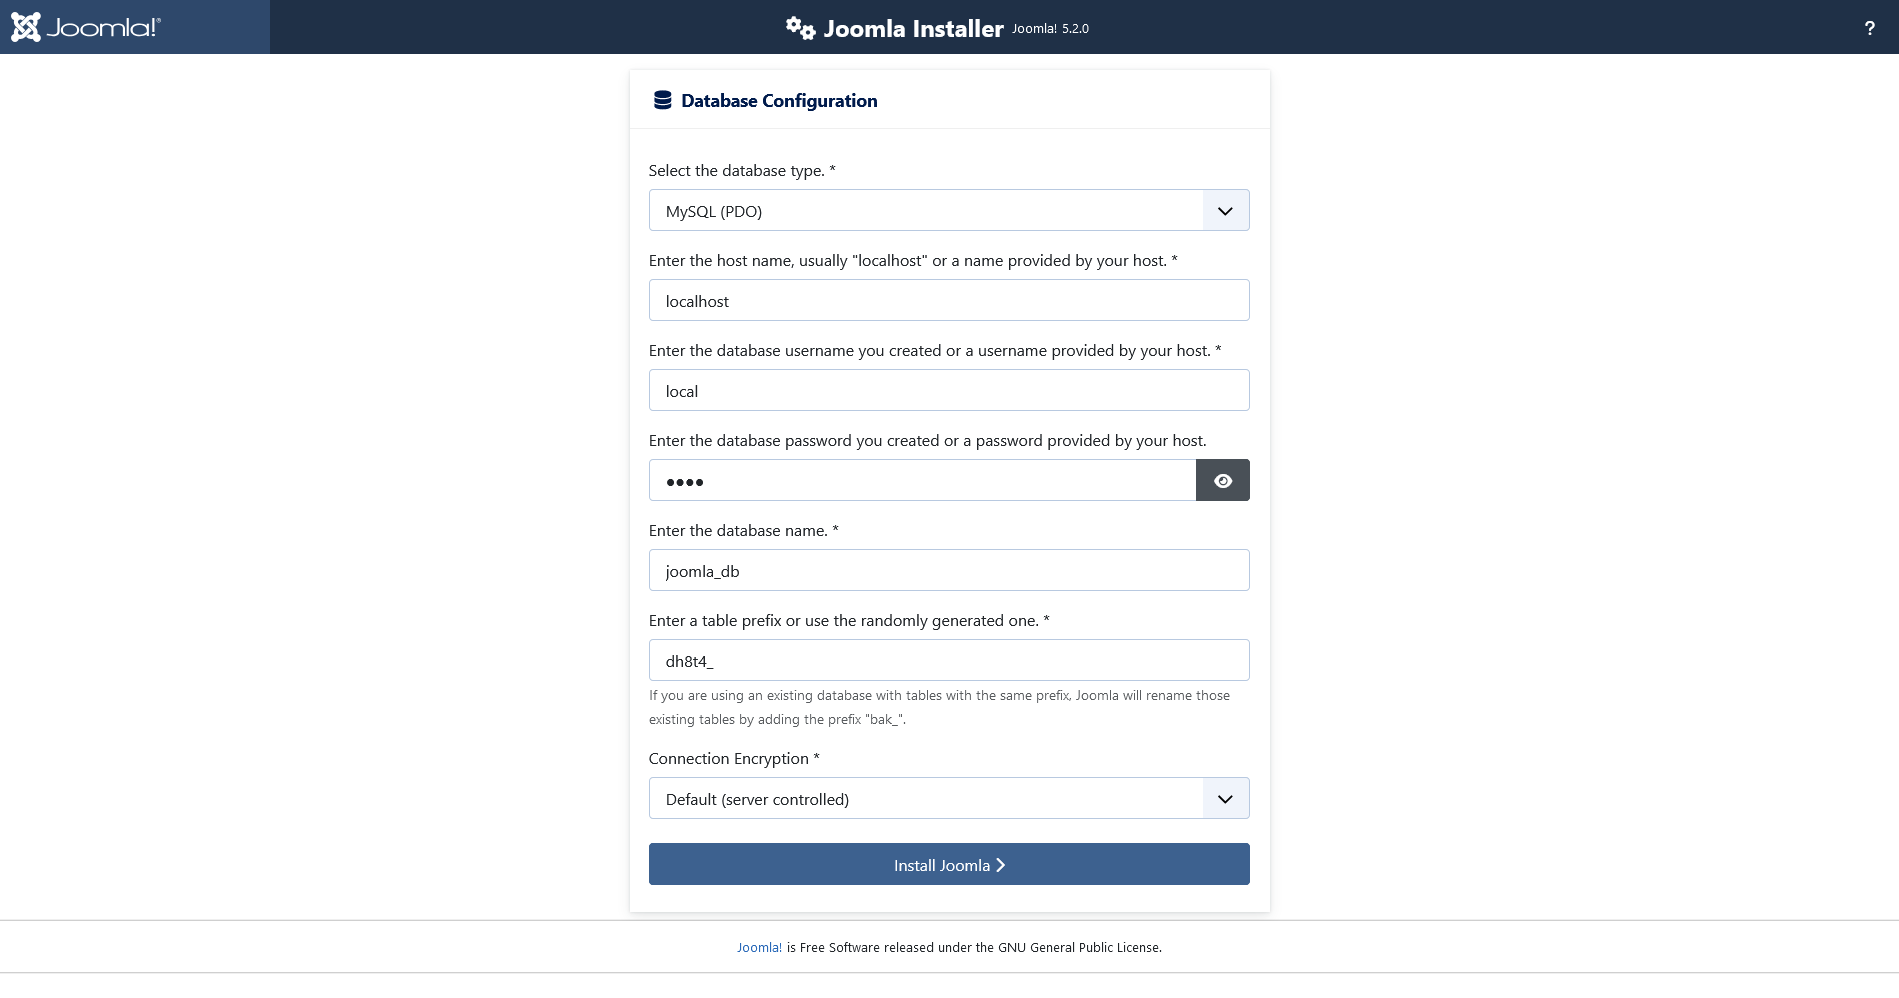
Joomla requires a database to store all your site’s content and settings. In your hosting control panel, locate “MySQL Databases” to create a new database. Choose a name for the database, and create a new user with a secure password. Assign this user full privileges to the database, as Joomla needs these permissions to manage your content. Return to the Joomla installer, enter the database name, username, and password you just created, and select the database type (usually MySQLi).

Double-check your database credentials, as a single typo can prevent connection. Ensure the database user has full privileges and that you’re using the correct hostname (often “localhost”).
The very first thing here is to select the Database type. There are three options for this-
- MySQLi
- MySQL (PDO)
- MySQL
In fact, these are the different APIs to connect to the MySQL server. And it is suggested that you should select MySQL – the default database. Moving ahead while filling the required fields.
Provide desired Login Details
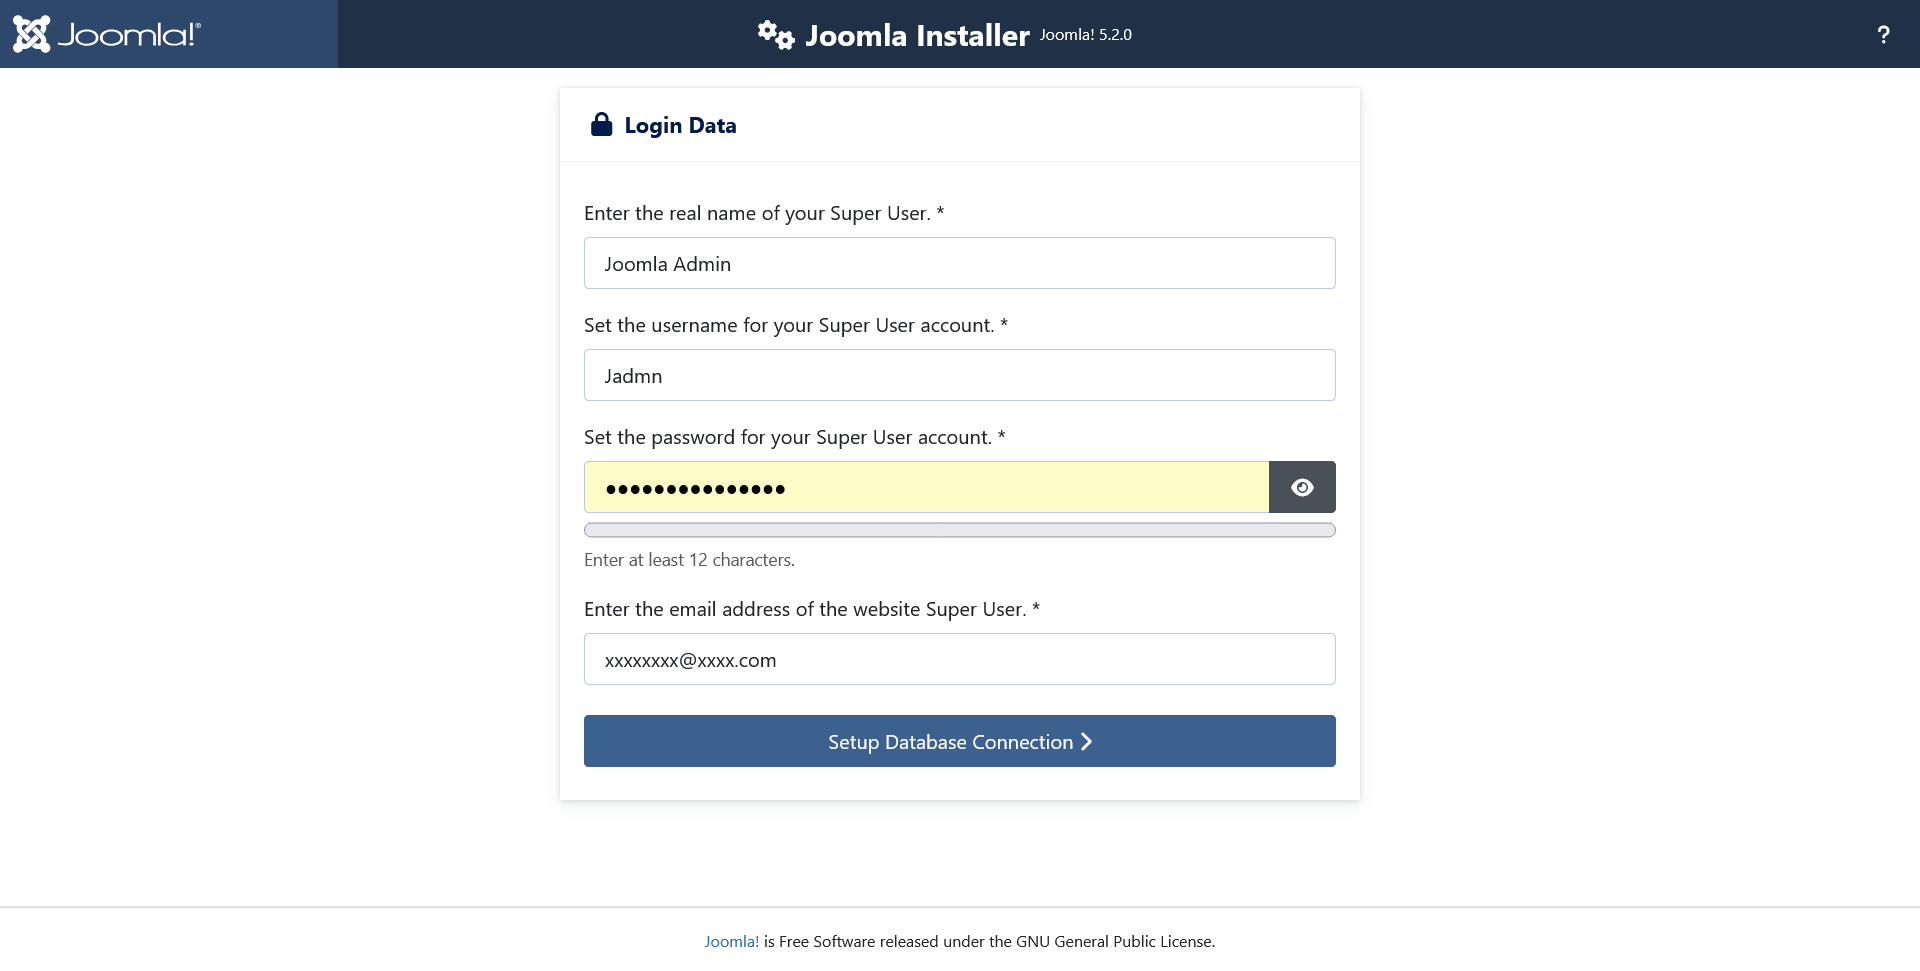
Here in this step you will need to input a desired admin username and password, which you’ll use to log in to the Joomla backend. Be sure to use a strong password for security.
Complete the Installation
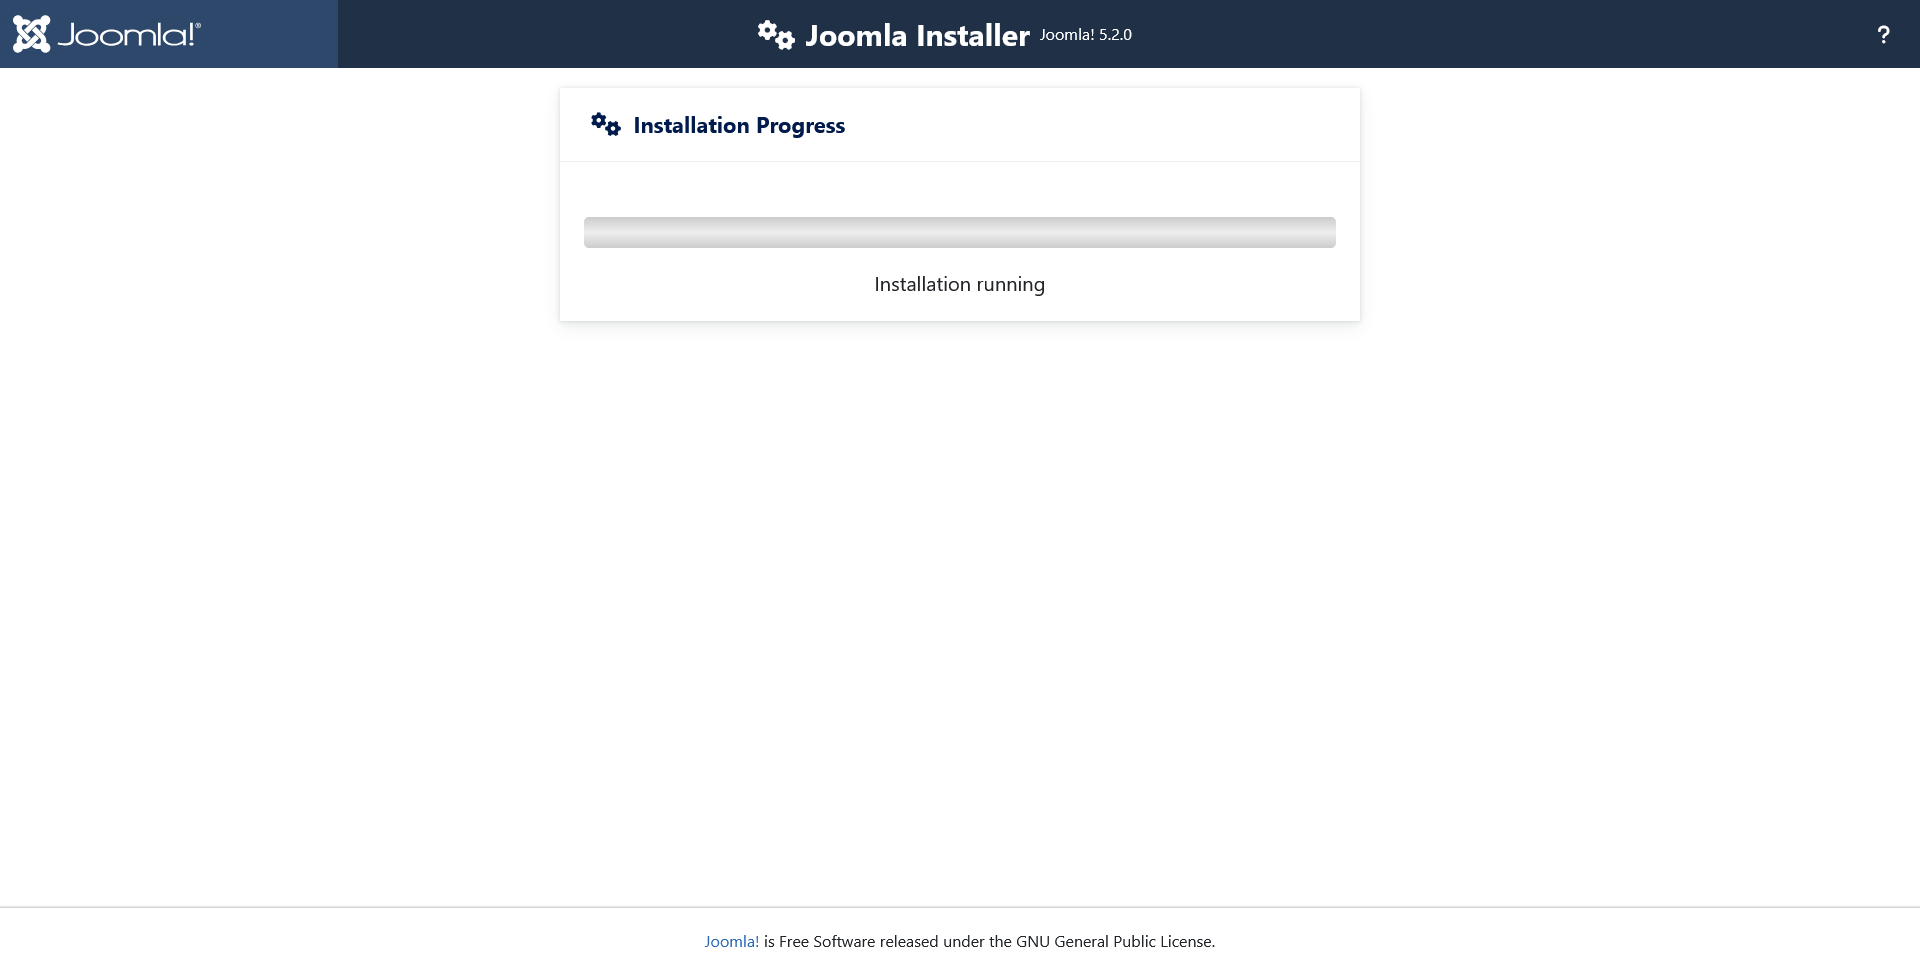
After entering your database and site details, Joomla will complete the installation. You’ll see a confirmation screen when the process is done, along with a prompt to delete the “installation” folder. Deleting this folder is essential for security, as it prevents anyone from re-running the installer on your site.
Installation is Complete
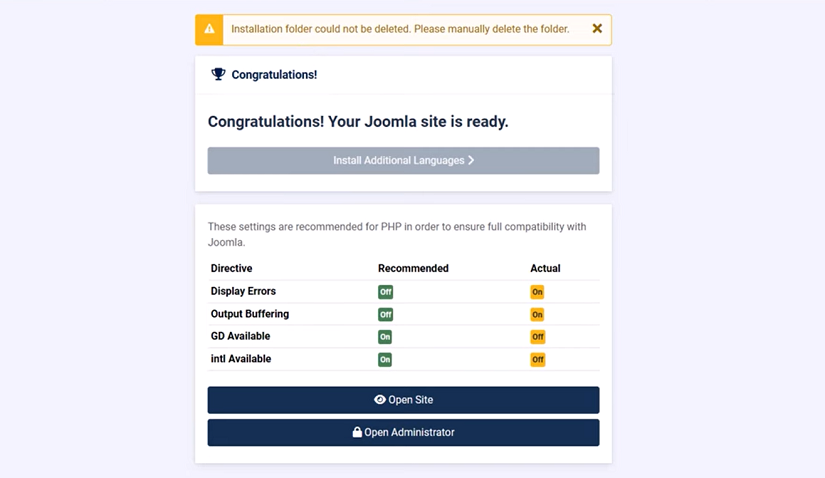
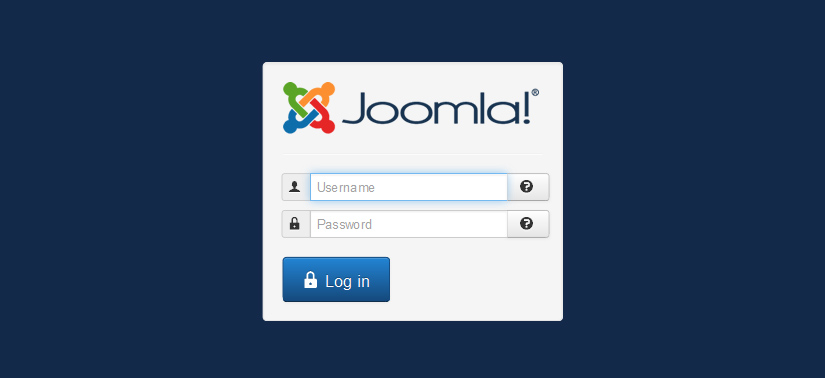
Now your Joomla installation process is complete, you need to delete the installation folder manually. After removing the folder, you can move to the dashboard by clicking the “Administrator” button.

Joomla 5 runs best when certain PHP settings are optimized. In your hosting control panel, set the memory_limit to at least 128MB and max_execution_time to 300 seconds. These settings help Joomla handle larger processes without timing out, especially if you plan to install complex extensions or templates.
Conclusion
Installing Joomla 5 is a straightforward process if you follow each step carefully. With the right server environment, a solid database configuration, and a few security and SEO tweaks, your Joomla 5 site will be ready to go live and serve your visitors. Now, you’re all set to launch your Joomla 5-powered website. Let me know through the comments if you like the tutorial.
Build a Stunning Website in Minutes with TemplateToaster Website Builder
Create Your Own Website Now
Template Toaster is a very nice step by step guide. I love it.
Thank you very much.
I ran into an issue during the database configuration section. I keep getting an error about database connection. Any tips on what might be causing this?