How to Install PrestaShop – Step by Step Guide for beginners
If you’re looking for a comprehensive guide to learn how to install PrestaShop flawlessly, then do not consume time in switching the tabs, instead, read this tutorial for beginners thoroughly. Here I will walk you through the step-by-step installation guide of PrestaShop 1.7.
It can be troublesome to initiate an online business without having deep technical knowledge. So, all the people out there, who have failed to install PrestaShop properly at first place and those who are just starting out, go through this post carefully.
It is certainly a fool-proof tutorial on how to install PrestaShop from scratch, hoping to help you handling this incredible shopping platform with ease. And in the end of this guide I will also give you some bonus tips to how to create your custom PrestaShop Theme with the help of a PrestaShop Theme Maker. You can also read about best PrestaShop hosting providers.
How to Install PrestaShop?
I assume if you are going to install PrestaShop manually, then you are familiar with FTP, PHP, and MySQL database. Here Templatetoaster offline website builder software showcases a set of instructions you need to follow in order to install PrestaShop. You can check what is new in PrestaShop 1.7.7.2? and How to migrate from PrestaShop to WooCommerce?
Follow these steps to Install Prestashop 1.7
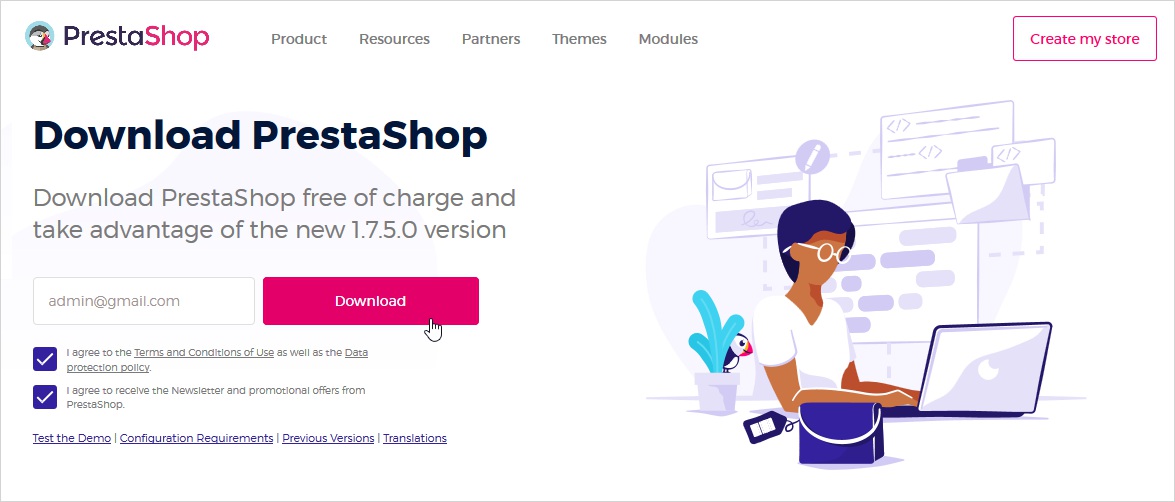
Step 1: Download PrestaShop 1.7
To initiate the installation first go to the official website of PrestaShop and choose the PrestaShop download page. Now check the two given options and then click on the Download option to start the download as shown below.
Step 2: Unzip the Package
After downloading the PrestaShop, extract the Zip file. You will see three folders i.e. index.php, Instal_PrestaShop.html, and the prestashop.zip file. And now you need to extract the prestashop.zip file like displayed below.

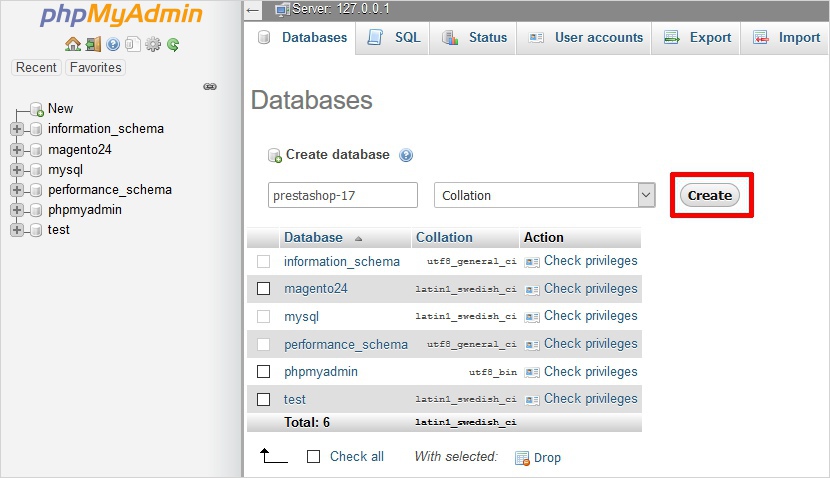
Step 3: Prepare the Database
Now, create a database for your PrestaShop website on the web server. Name it and click on the create button.
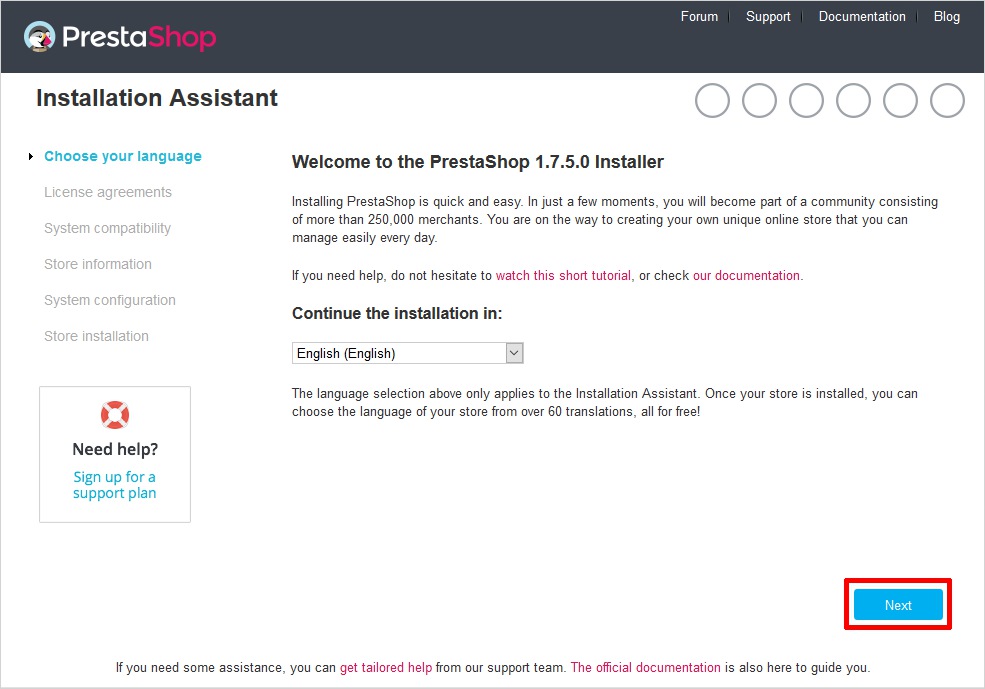
Step 4: Run Installation Wizard
Step 4.1: Select Language
Initiate the installation process. The first screen you will see will look like the one demonstrated below. Likewise, you need to select the language you want to install PrestaShop in. Since PrestaShop powers many languages thus you can choose your preferred language from the drop-down menu and click the Next button to continue.
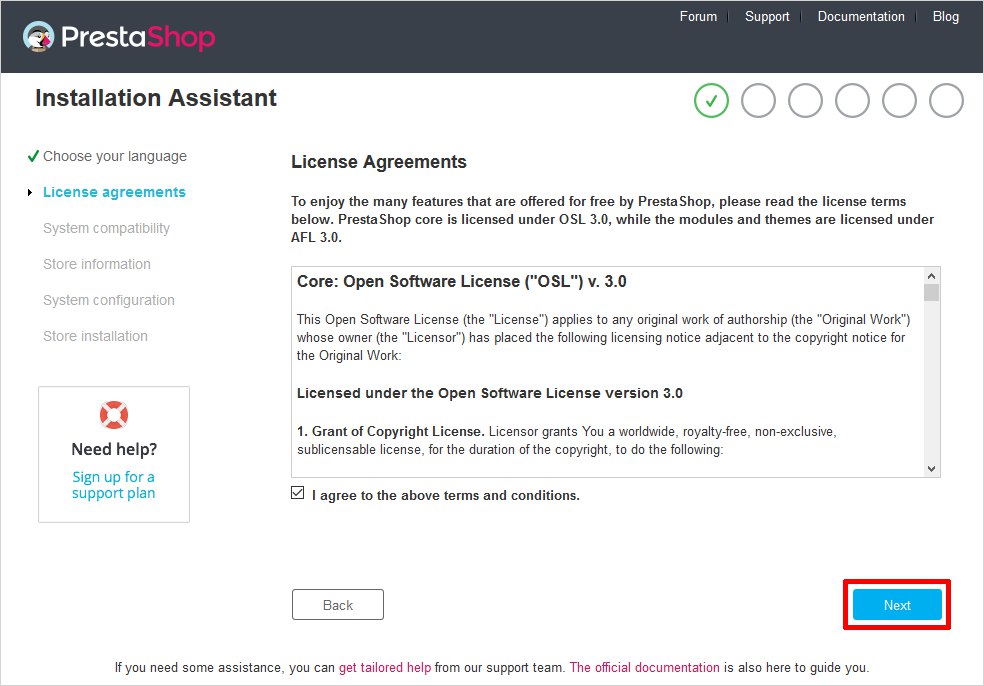
Step 4.2: License Agreement
Now you will see a License Agreement page, check the I agree to terms and conditions and click the Next button.
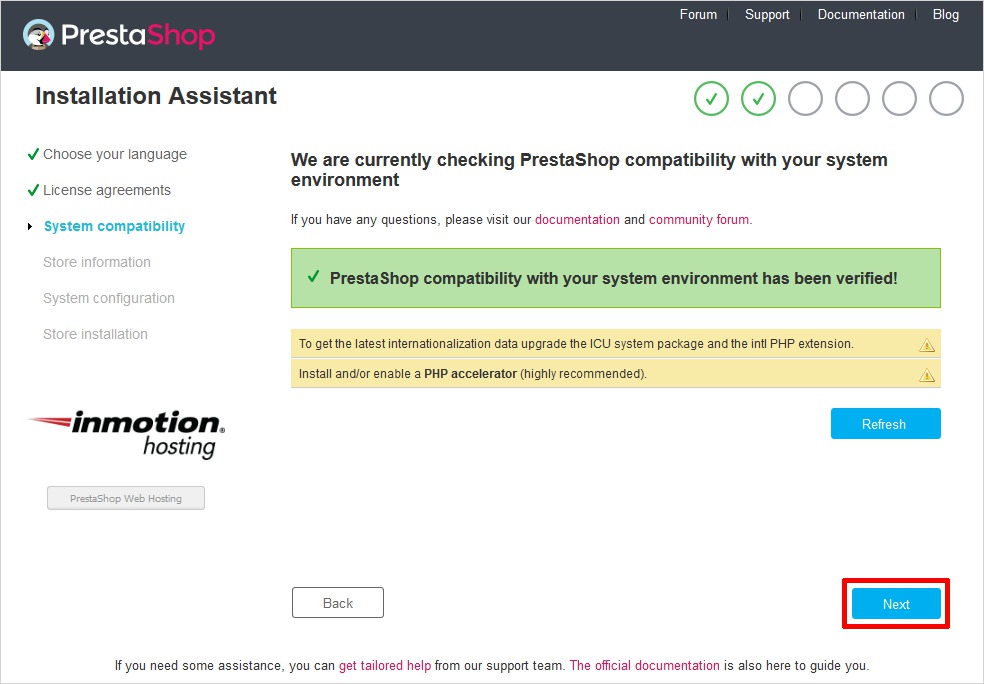
Step 4.3: System Compatibility
This will go over your system to determine if it is compatible to install PrestaShop 1.7 or not. After configuring everything properly it will show a message in green color. Now, click on the Next button. And this would take you to the store information page.
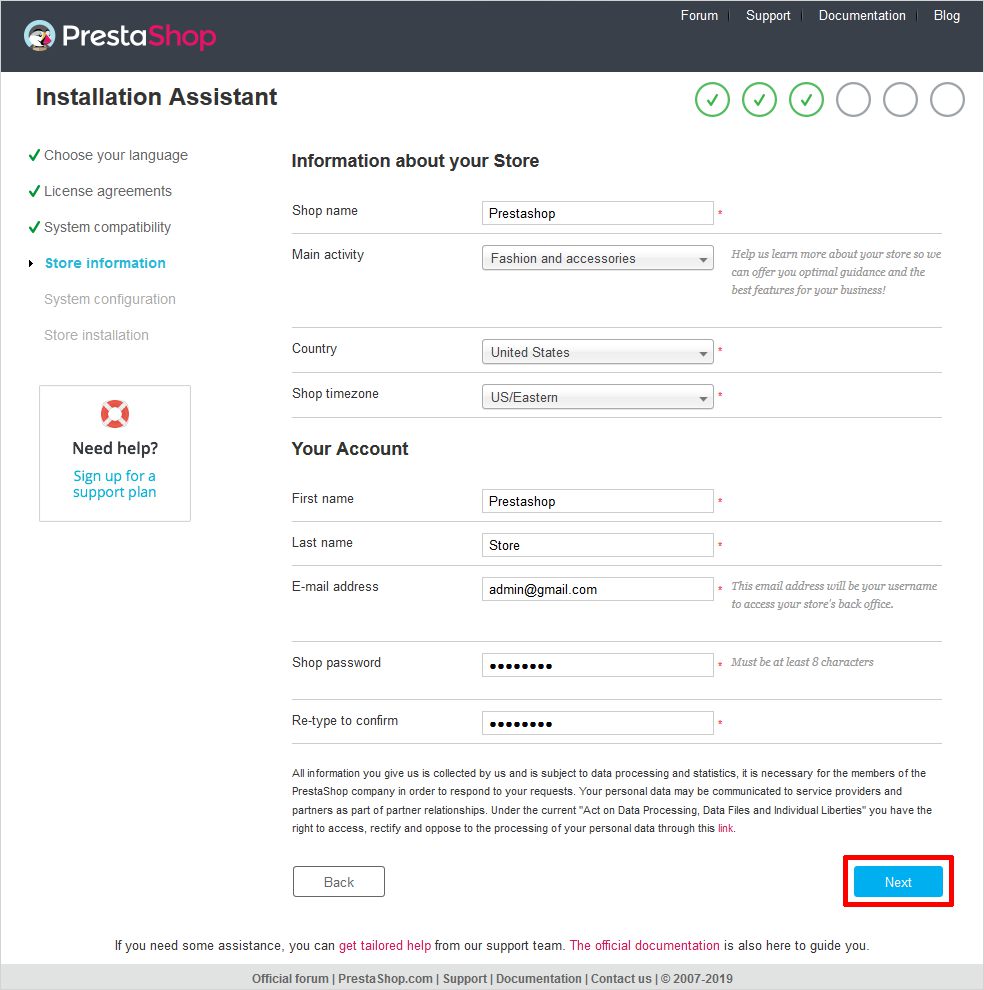
Step 4.4: Store Information Page
Here you have to add information about your store. Along with the information for your admin account. Likewise, fill in the information such as shop name, the main activity of the shop, admin name, email address, and password. After filling up all the information click on the Next button to move ahead.
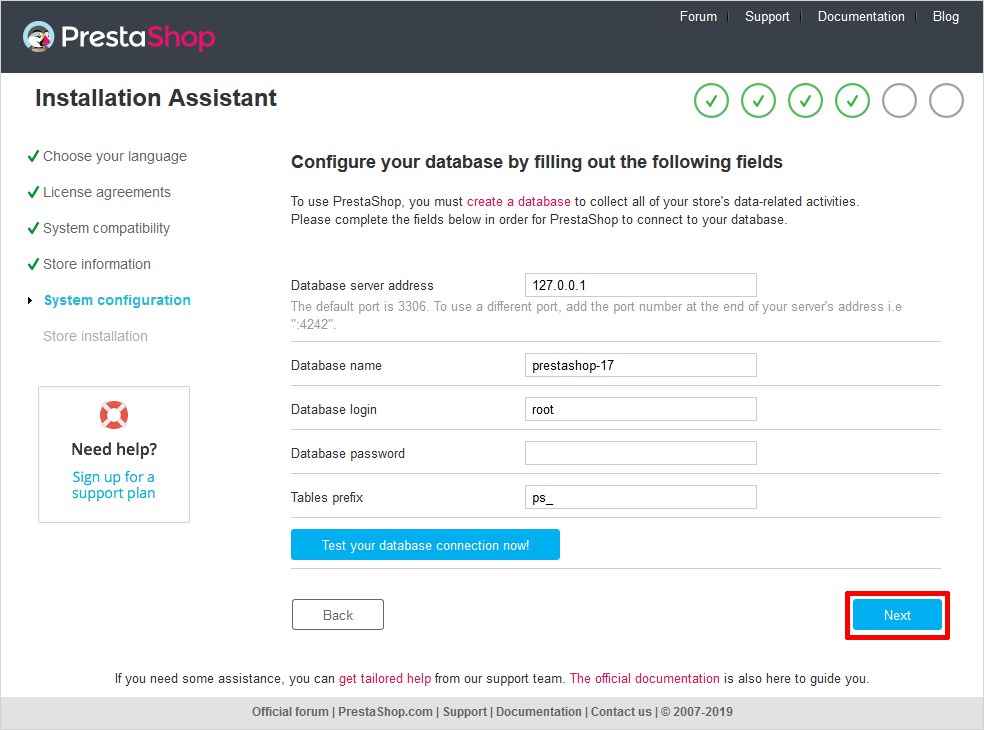
Step 4.5: System Configuration
Now you have to add your database information which you previously have created. And after filling the correct information click on the Next button to complete the installation.
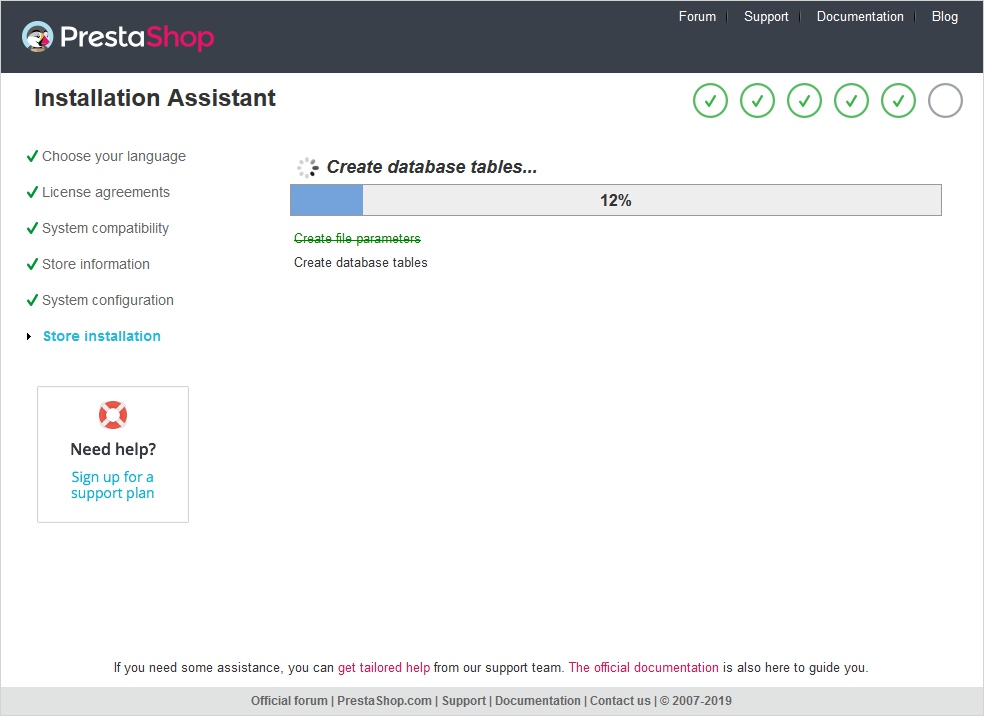
Step 4.6: Store Installation
Now be patient and wait for the process to be 100% complete. Indeed the tough task to do!
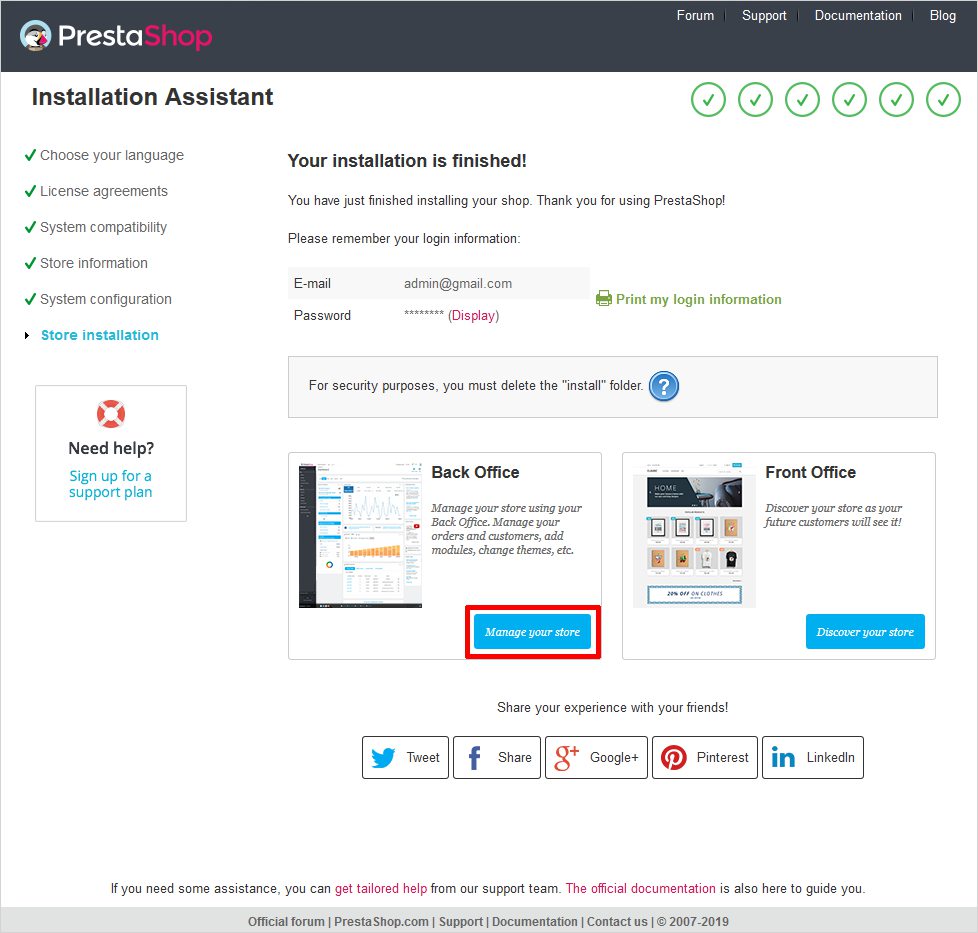
Step 4.7: Installation is Completed
Here you will see a message that the installation for the shop is completed. Now you can choose either one of the two given options i.e. Back Office and Front Office. If you select the Front Office option then you will get to see the front page (or home page) of the website. Whereas, if you choose the Back Office option then you will be redirected to the link which will lead you to the folder that needs to be deleted for further processing.
Step 4.8: Remove Install Folder
Make sure you don’t forget to remove the install folder after the process is completed. This is highly recommended for security reasons.
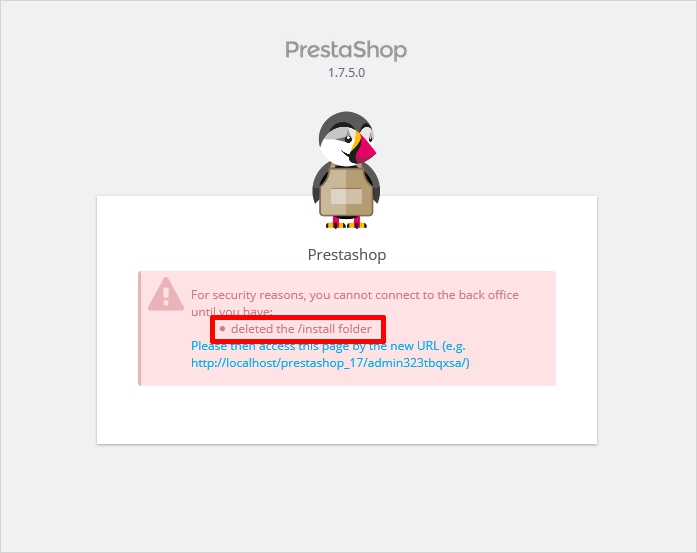
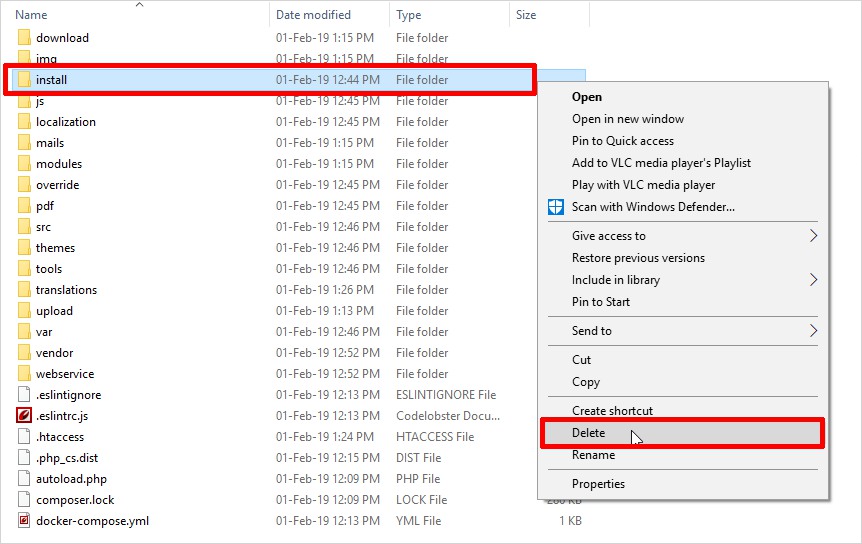
Go to the root → Install folder, right click and delete it.
After deleting the install folder click on the link given on the screen “Please then access this page by the new URL” and then go to the admin panel.
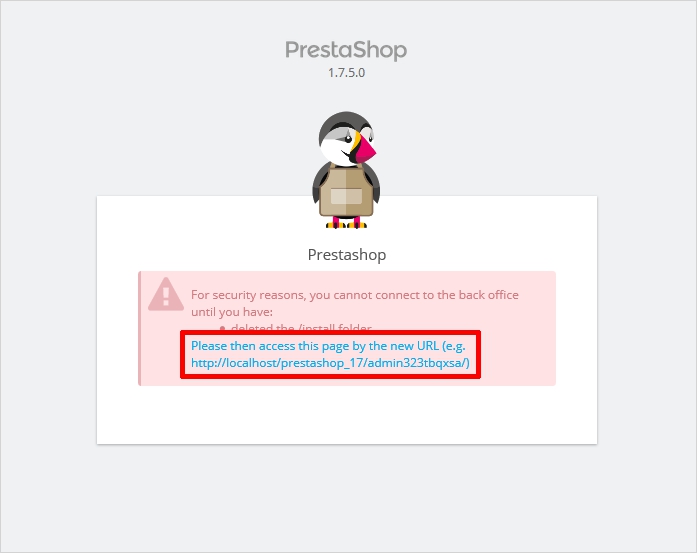
That’s it. Your new PrestaShop application is successfully installed.
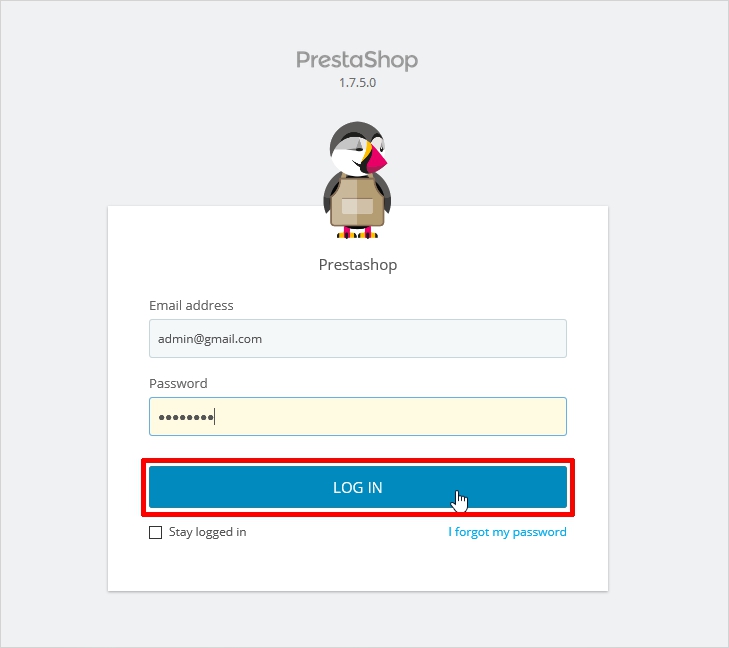
Step 5: Log In Page
After the successful removal of the install folder now login to your PrestaShop shop by filling the correct credentials.
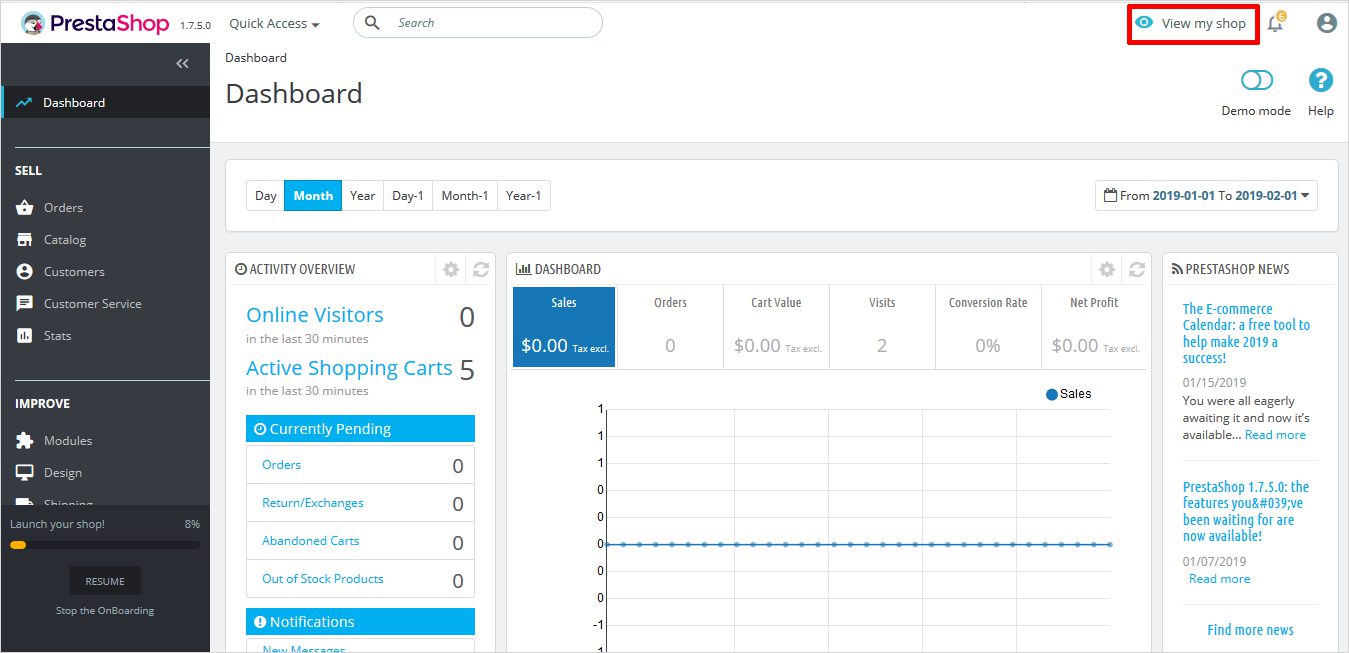
Step 6: PrestaShop Dashboard
Once you entered the right credentials, you will be launched to your PrestaShop dashboard right away. And at the right corner of the dashboard, there’s an option “View my shop” click on it to view the frontend of your website.
However, it might show you something similar to the one displayed below with a beautiful default theme.
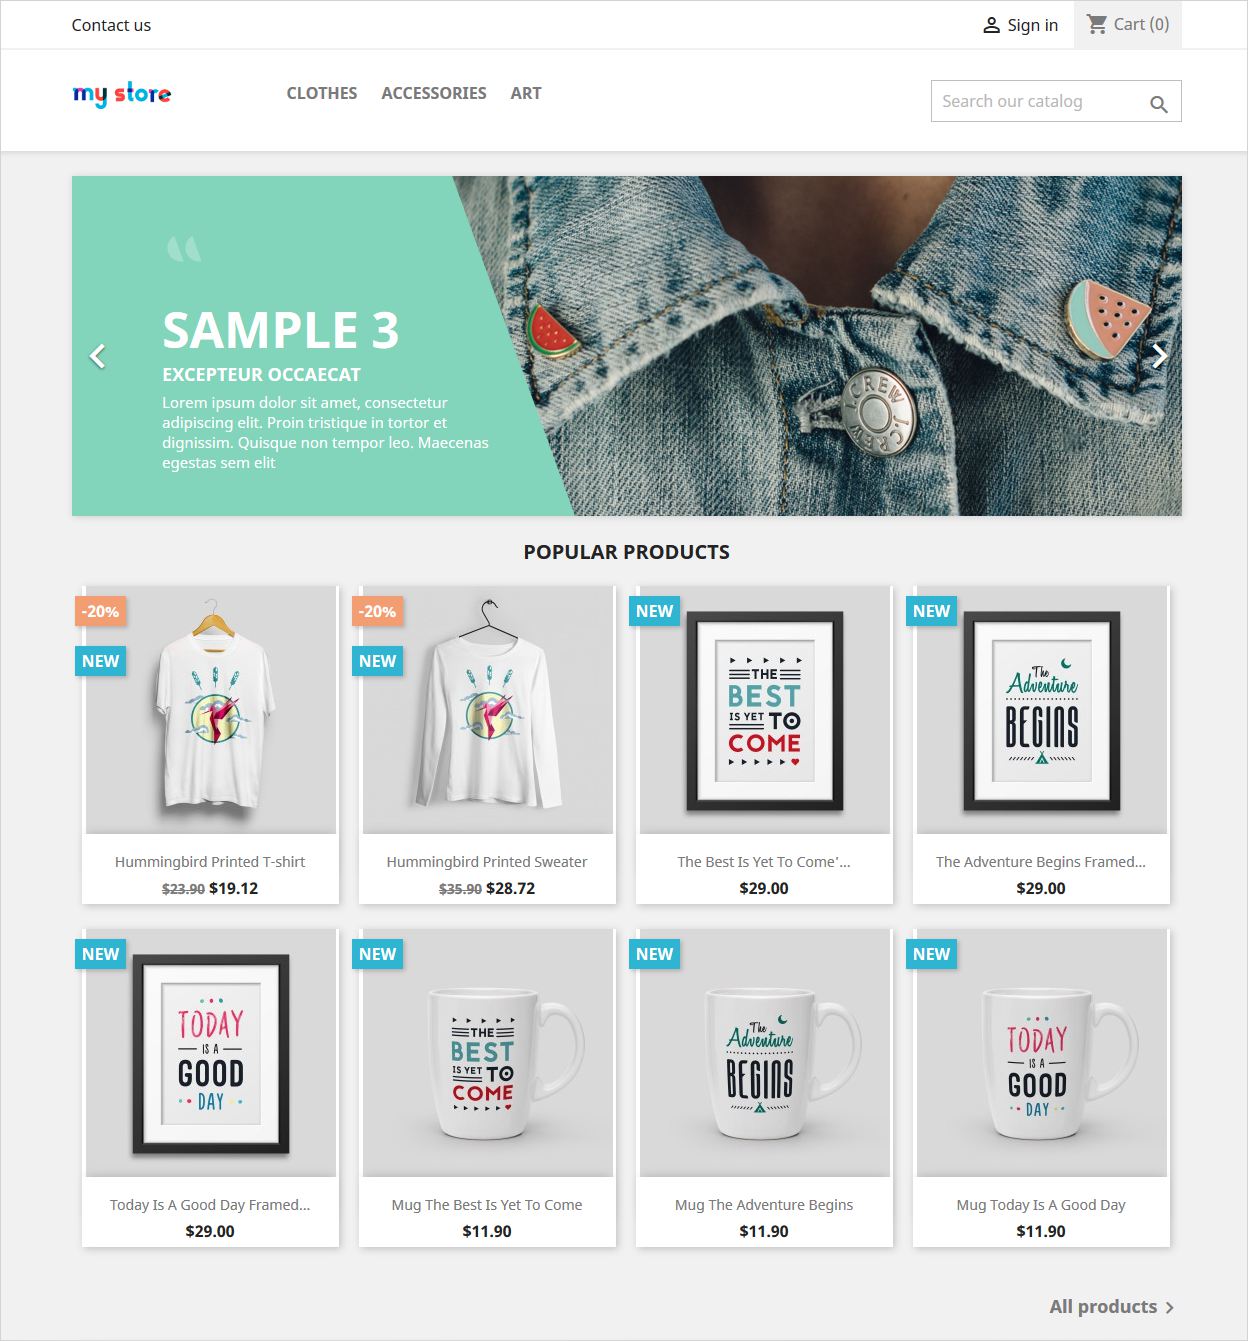
So, start working with it without any further delay.
You are now ready to install PrestaShop 1.7
There you have it, your own online PrestaShop store. However, the store has a default theme, but you can Create your own PrestaShop theme with the help of TemplateToaster website builder software. And as now you know how to install PrestaShop then creating your strong online presence should be no pain for you. In fact, installing PrestaShop is just the first step to transform your imagination into a successful business. So, don’t waste your money and time to hire a professional web designer, when you yourself can achieve it quite easily with a powerful PrestaShop theme maker. And if you’re still facing some issues in the installation, connect to PrestaShop forum entirely dedicated to the PrestaShop installation only. You can get free Prestashop themes at Templatetoaster. And this brings us to the end of this post. You can share your experience with me, feel free to leave a comment below.
Build a Stunning Website in Minutes with TemplateToaster Website Builder
Create Your Own Website Now
Right Blog at the Right time. I was just installing PrestaShop and got some bug and you came to Rescue.
Keep writing good posts!
It becomes very easy for me to install Prestashop with the help of this article, thanks for posting.
Prestashop is a bit easier than Magento, as per my experience. I love all the features, given in this article.
Is there any time limit for license taken after installation of Prestashop?
I have my own business of clothing, so can I make my own online shop with the help of Prestashop? Do I need technical knowledge to operate it?
Hey there, is there any way to recover our password if in case I forgot my password?
I can install prestashop with help of this article. Thank you very much.