How to Install XAMPP on Ubuntu: Tutorial for Beginners

XAMPP is the most popular standalone framework that provides web server environment to test PHP based web applications on you local computer. If you are looking to learn more about XAMPP specifically in relation with Linux or Ubuntu, then you should read this guide on How to install XAMPP on Ubuntu. Because in this tutorial, you will see the step-by-step method to how to install XAMPP on Ubuntu/Linux and how to use it.
How to Install XAMPP on Ubuntu? Tutorial for Beginners
XAMPP is an all-inclusive powerful installer with some pre-configured extensions and tools. XAMPP is an open-source web server package. It contains an Apache web server, MySQL database, PHP, and Perl compatible with cross-platform that’s what ‘X’ stands for. And these all are the main components that are required to create a local webserver to test your PHP-based web applications. Whereas, learning about how to install XAMPP on Windows can also be beneficial to you. Also, be clear about what is MySQL and what is PHP. So that all the steps can be easy to understand. Let’s now get ahead with the XAMPP installation for Linux.
Follow These Steps to Install XAMPP on Ubuntu.
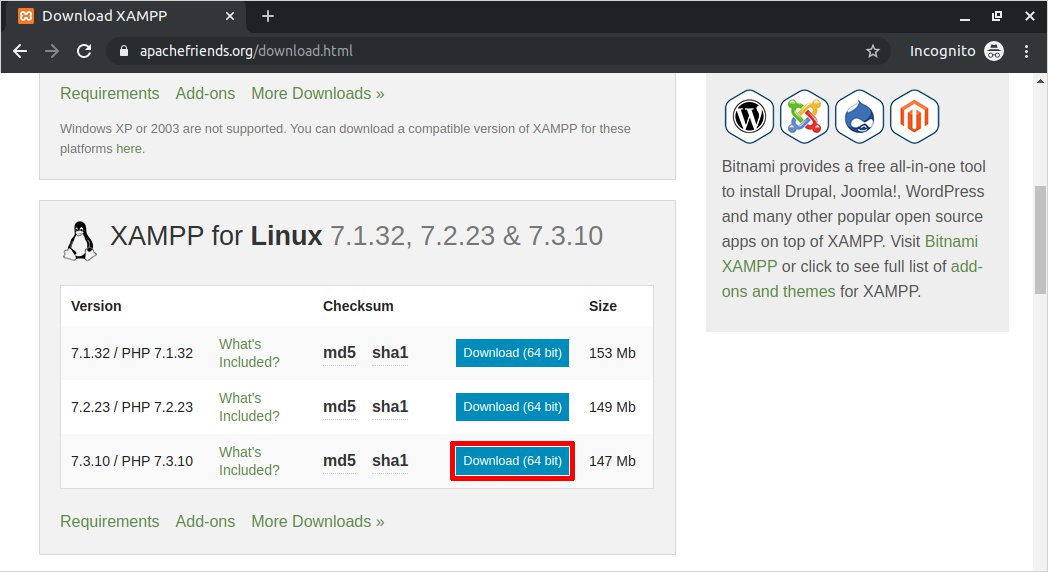
Step 1: Download XAMPP Package
Firstly, from the official link, download the XAMPP package for Linux. Here you can see an option for Linux, select the option to run the package or you can save it the system as well.
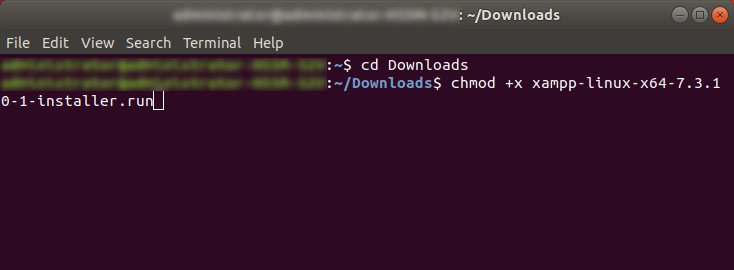
Step 2: Make the Downloaded File Executable
- The packet needs to be installed through the Ubuntu command line i.e. the Terminal. You can directly press Ctrl+ALt+T to open the terminal. Now move the download folder to access the file. The following command can help you download the file.
$ cd Downloads ↵ (press enter)

Make sure you capitalize ‘Downloads’ otherwise it will show you an error message “no such file or directory.”
- Before you use the packet further, it needs to be made executable. And to do that run the following command.
$ sudo chmod +x xampp-linux-x64-7.3.10-1-installer.run ↵ (press enter)

If you are using some different versions of XAMPP then you can replace the version number with your downloaded XAMPP version number.
- Type the installation command to move ahead.
$ sudo ./xampp-linux-x64-7.3.10-1-installer.run ↵ (press enter)
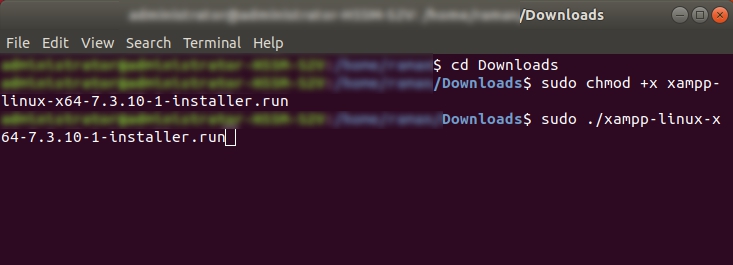
- Enter the password you use to login to your system and press enter (↵)
You won’t see any character while typing your password.
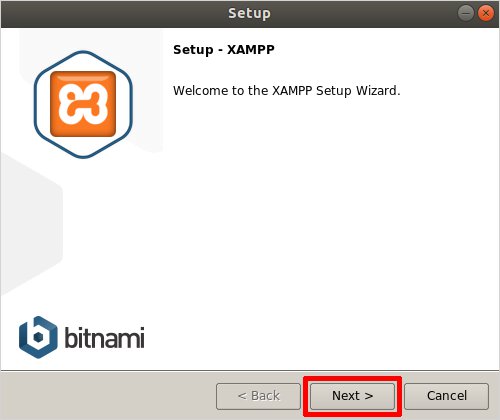
Step 3: Launch the Setup Wizard
Setup XAMPP
Now the installation window will pop up. Simply follow the installation directions. And as you see the following window hit the ‘Next’ button.
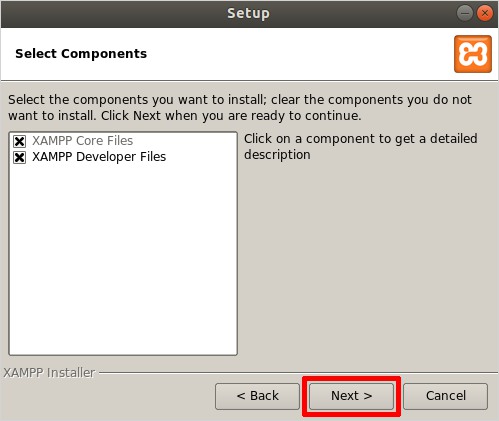
Select Components
In the next window, it will ask you to select the components you wish to install. However, it is recommended to leave it as it is and press the ‘Next’ button to continue.
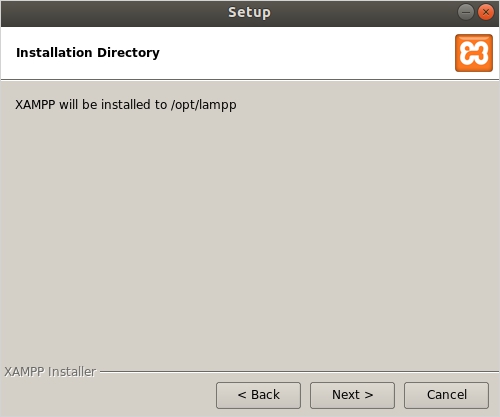
Installation Directory
Here, in this step, it will inform you where the XAMPP setup is going to install. Hit ‘Next’ to continue.
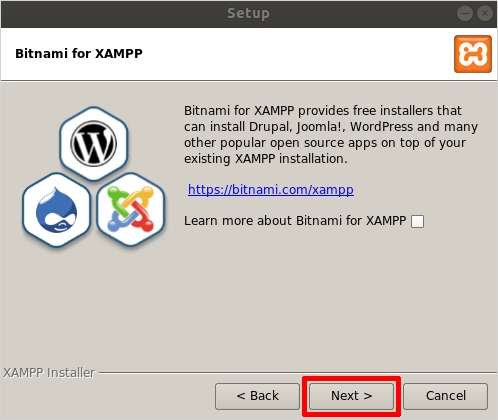
Bitnami for XAMPP
Now it will show you the free installers for WordPress, Joomla, Drupal, and other open-source applications come with XAMPP installer. However, if you wish to learn what is Bitnami you can check the box or you can leave it as it is for now and choose ‘Next’ to move ahead.
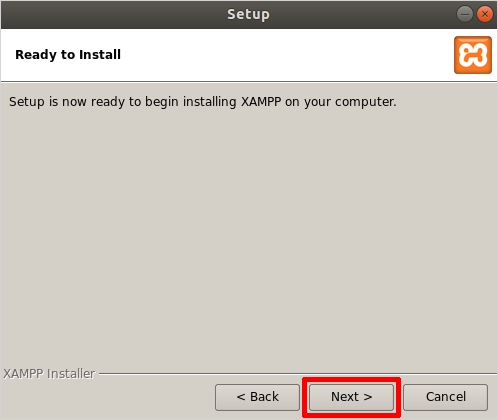
Ready to Install
Simply click on the ‘Next’ button to proceed.
Setup
Now the installation is started. Be patient and let it unpack the files completely. However, it may take a while. Once done click the ‘Next’ button.

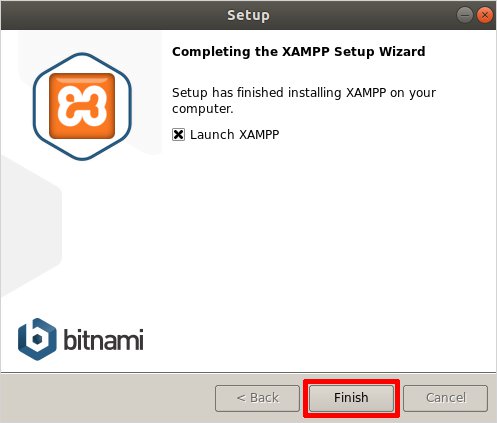
Launch XAMPP
After completing the installation click on the ‘Finish’ button to end the process. If you don’t want to Launch XAMPP at the moment, then uncheck the dialog box and click on the ‘Finish’ button to close the setup box.
Welcome to XAMPP
Soon after you click on the Finish button, you shall see the following screen.
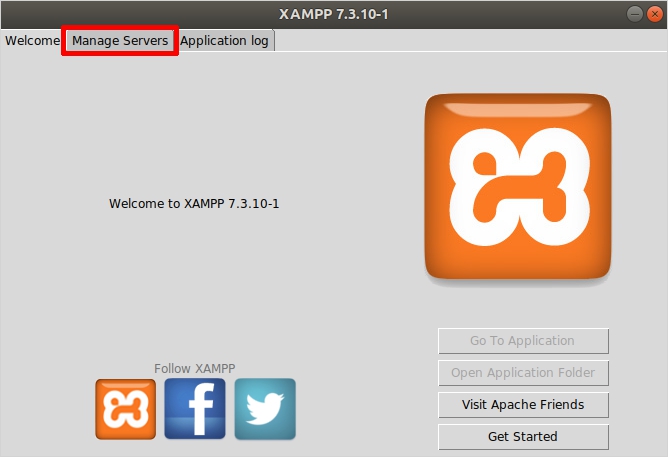
Start the Servers
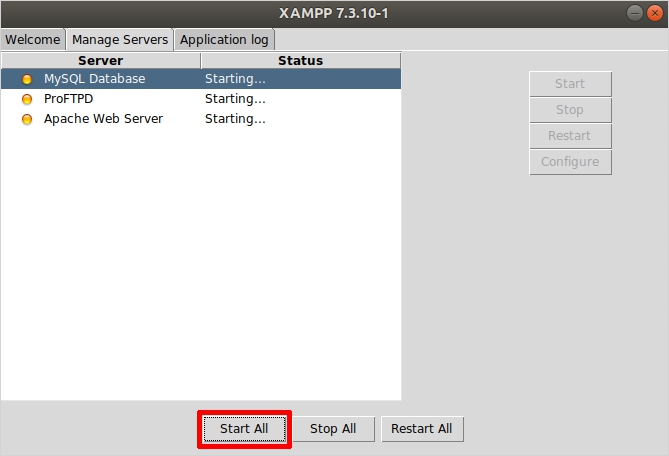
You shall now see the XAMPP 7.3.10-1 window. Go to the ‘Manage Servers’ tab. Here you will see Server and their Status i.e. MySQL Database, ProFTPD, Apache Web Server and their sta. Click on the ‘Start All’ button given below.

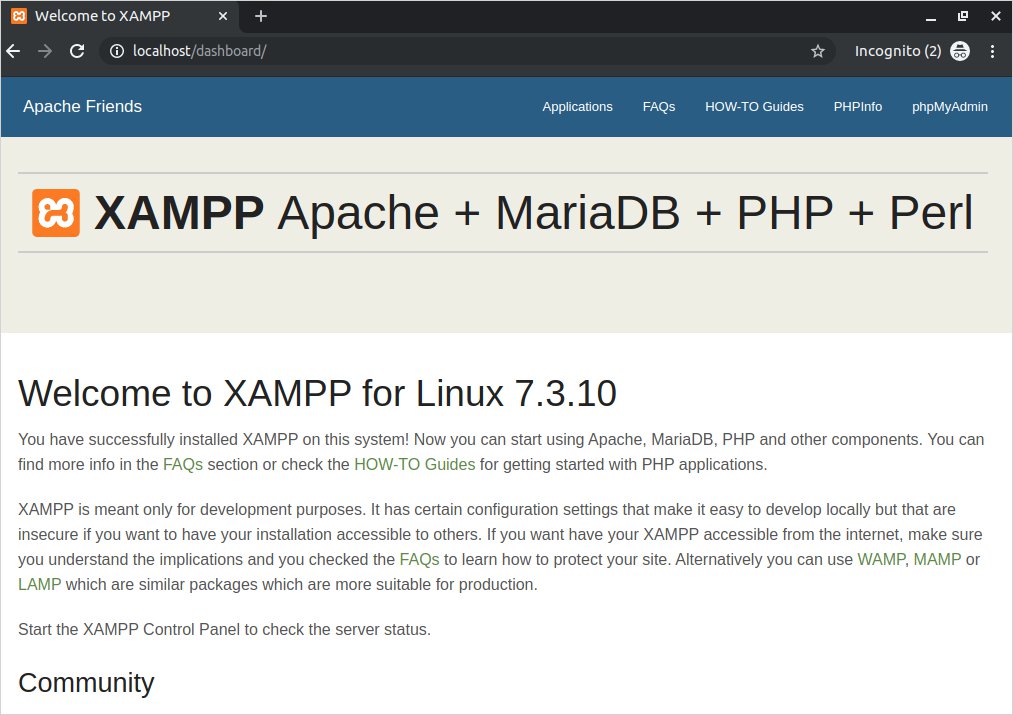
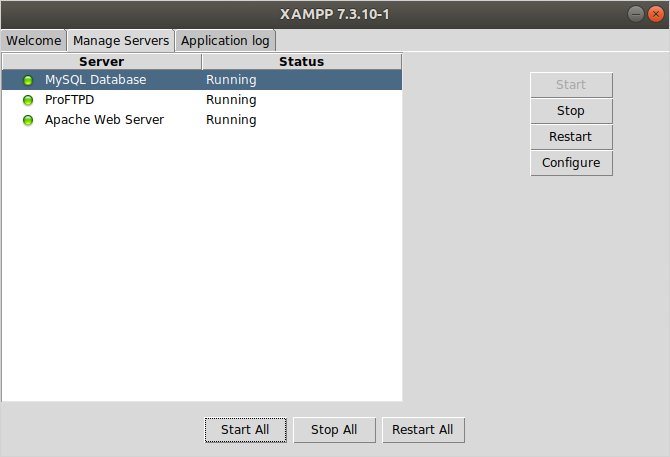
Once you see the green light in front of all three, simply cross the wizard and get started.

Now you shall see the ‘localhost/dashboard’ of your local server i.e. XAMPP as shown below.
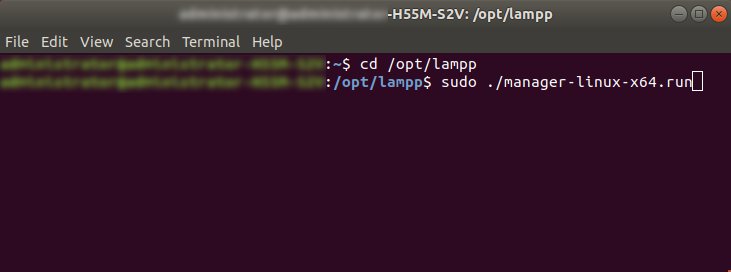
Step 4. Launch XAMPP From Terminal
XAMPP doesn’t have any desktop files, therefore, you need to launch from the terminal. However, starting XAMPP from the terminal is not that tough either. Simply run the following command.
Type the ‘Open’ command to run the XAMPP installer. change the directory to lampp.
$ cd /opt/lampp
$ sudo ./manager-linux-x64.run ↵ (press enter)
Now switch to the ‘Manage Servers’ tab and click on the ‘Start All’ button at the bottom.
Once they all turned to green, you are good to go.
Wrapping Up
Finally, you’ve successfully set up XAMPP on Ubuntu. I hope this step-by-step process for the XAMPP installation is helpful for you. All the steps from installation to running the XAMPP and further verifying it everything has been described thoroughly with the help of screenshots to further help you understand the installation process properly. Testing a website in the local environment is a good practice. However, you can still choose free WordPress themes for your website. Furthermore, if you want to create a theme all by yourself, then using the TemplateToaster website builder can be a great time-saver for you. It is one of the leading website builders, fully equipped with stunning options to beautify your website. If you find any issue while installing XAMPP on Linux, then feel free to leave a comment below.
Build a Stunning Website in Minutes with TemplateToaster Website Builder
Create Your Own Website Now
I am really satisfied with this information given in this article. I really appreciate it.
You have clear all my confusion through this article. Everything has mentioned very clearly.
Ubuntu is a bit tough to operate, so I was facing issues to install new software. I have solved my problems, thanks for posting this.