Migrating From Wix To WordPress: Drawing More Bang For Bucks

Do you want full control of your site without any restrictions? And looking to move from Wix to WordPress? If yes, let’s make it easier for you.
Wix is a popular solution to create a website. It is considered as the best website builder software among small businesses. But when comes to big commercial websites, it has some sure-shot limitations. The biggest drawback is that it doesn’t support data export. You feel restricted in Wix environment. It is simply like leasing a house when you can’t own it.
So, here at Templatetoaster website builder, let’s chalk out the differences between both the platforms.
Wix Vs WordPress – Battle for Goodness
When it comes to Wix compared to WordPress, WordPress provides you more flexibility and customization power in terms of web designing. As WordPress has thousands of plugins and millions of installs on these, so its flexibility is incomparable. Secondly, WordPress is an open-source platform so it has a huge community and discussion forum worldwide. The problems you encounter while designing a website on WordPress, those might be discussed already with solutions in its community. Check out WordPress theme builder and free WordPress themes.
| Features | Wix | WordPress |
| Flexibility | Limited | Extended |
| Customisation | Limited | Easier & Higher |
| CSS Code Editing | No | Yes |
| Community | Small | Huge |
| Data Export | No | Yes |
| Number of Themes | Hundreds | Thousands |
| Theme Switching | No | Yes |
| Pricing | Medium | Low |
| Site Control | Partial | Full |
So, one has enough reasons to move. Though Wix is a good website builder with drag & drop interface, soon users realize that they are restricted to add more features. Wix to WordPress migration can be a good step to take full control of your website. Even, moving from Wix to WordPress is not a difficult task. Though there are many ways to transfer Wix site to WordPress, the best way is to transfer blogs via RSS feed. To give you a good experience to migrate Wix to WordPress, a step-by-step guide is prepared as follows
Wix to WordPress Migration
As you want more flexibility and features, moving from Wix to WordPress is obvious. There are many ways to transfer from Wix to WordPress but the manual method is reliable as with it you can create an exact copy of your Wix website.
Moving Wix to WordPress Manually
The time taken in moving a website from Wix to WordPress will depend upon the number of pages you have in Wix Site. If you go for a conventional manual method for moving a website from Wix to WordPress, you can just have the same content. All the formatting will strip means you have to style the pages and posts again in WordPress. That will approximately double your labor. So, instead of going this way, you can directly do a content transfer from Wix to WordPress in TemplateToaster. TemplateToaster is a WordPress website Builder that lets you design themes and templates with ease. It will lessen your burden as while creating a theme you can also format the content and posts to get desired results. The various steps involved in manual Wix to WordPress migration through TemplateToaster website builder are as follows
- Purchase WordPress Web Hosting and Sign-Up.
- Set Up Your New WordPress Website.
- Customize your Website.
- Import blogs from Wix to WordPress.
- Redirect Wix To WordPress.
1. Purchase WordPress Web Hosting and Sign-Up
When you use Wix, it provides you web hosting and that is the reason you feel restricted. For making a WordPress site you need to buy a web hosting. It will like buying a house for your site where all the files and data will store. You also need a domain name like www.yoursitename.com. This will be your site address on the internet.
There are many web host providers on the internet like GoDaddy, Bluehost, HostGator, SiteGround etc. you can choose any according to your interests. Once you purchase a web hosting, then register a domain name of your site. This will complete the task of transfer Wix domain to WordPress.
2. Set Up your new WordPress website
After purchasing a web hosting, next step is to install the WordPress. Many web host providers give you the option for a single-click installation of WordPress. You just have to follow the onscreen instructions. Once you have installed the WordPress, you can change the Permalinks setting for blogs. It determines the address of each WordPress blog. You can set it to direct address, for example, www.yoursitename.com/blog-post-title.
For this, navigate to the left panel of the Dashboard and then Settings→ Permalinks. Just make the changes and Save Changes after that.
3. Customize your Website
Now, it’s time to design the look of your new website. WordPress has Themes that are responsible for your website’s look and appearance. These are similar to Wix templates. Themes add many new features to your site. But in WordPress, you can switch themes anytime.
Now, create a theme with the help of TemplateToaster web design software so that you do the page transfer Wix to WordPress along with the designing process itself. Here, you will get the demonstration of creating a WordPress site based on Wix theme. This is the source Wix theme that you want to produce in WordPress.

Source: Wix
Here, with TemplateToaster, you can create the exact replica of the same theme. Let’s see how.
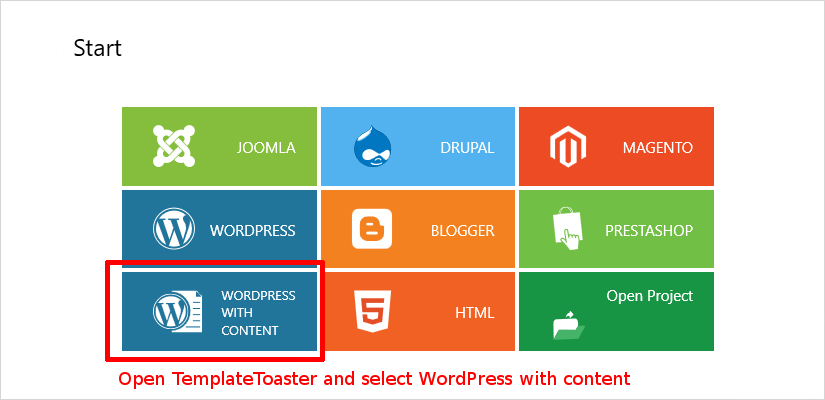
Just open the TemplateToaster and select the CMS – WordPress With Content.
Once you selected the desired CMS, select the option of Start From Scratch designing as you are not opting any of the sample templates provided by the TemplateToaster.

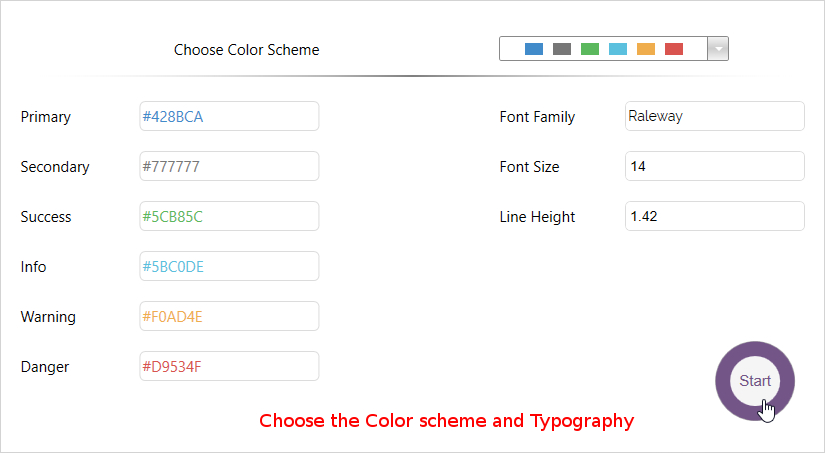
Now, choose the Color Scheme and Font Typography. You can change it at any step during the designing process. Press Start.
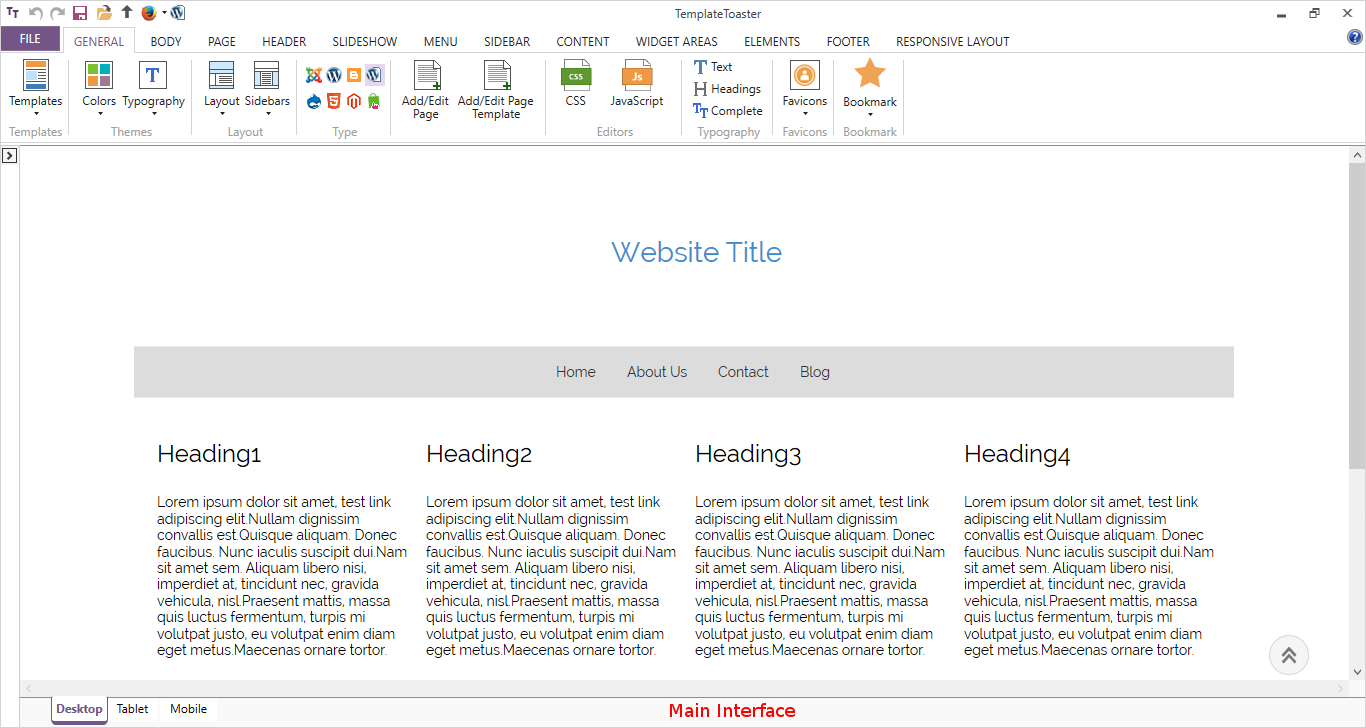
This is the Main Interface of the software with all the advanced features. You can control your designing from here only.
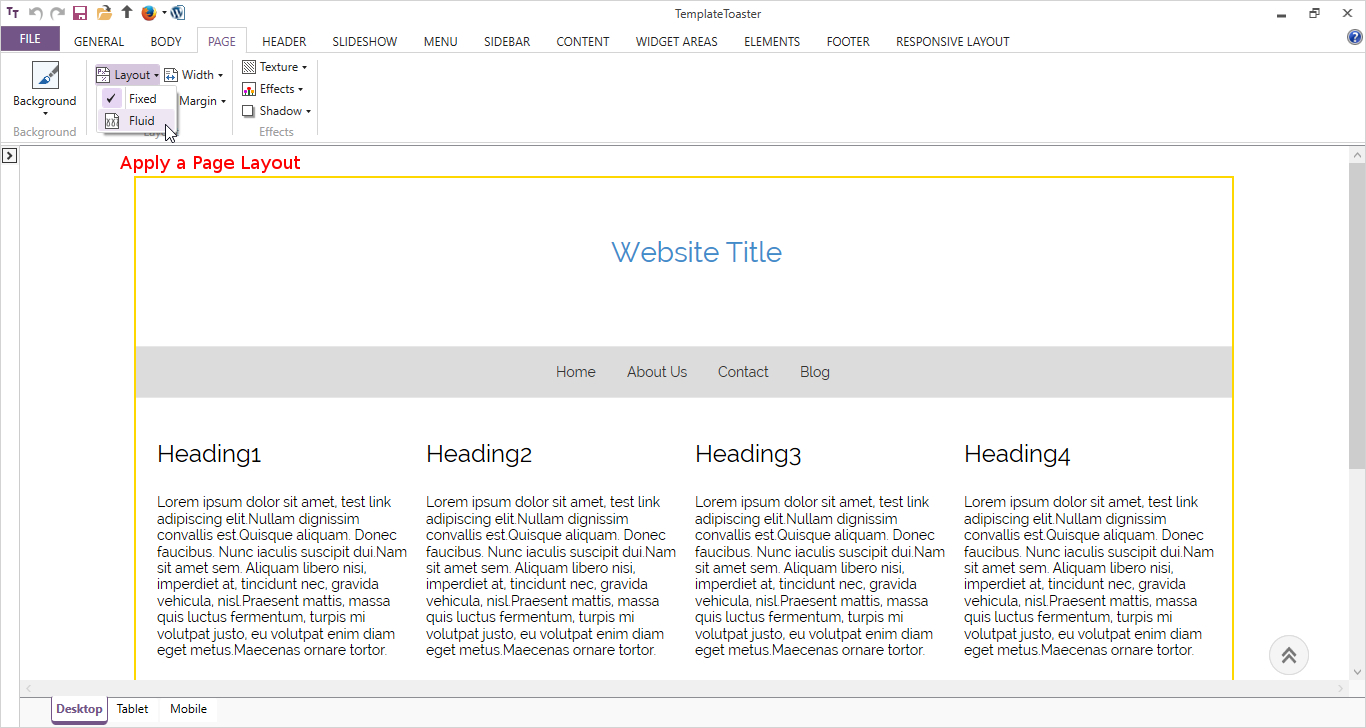
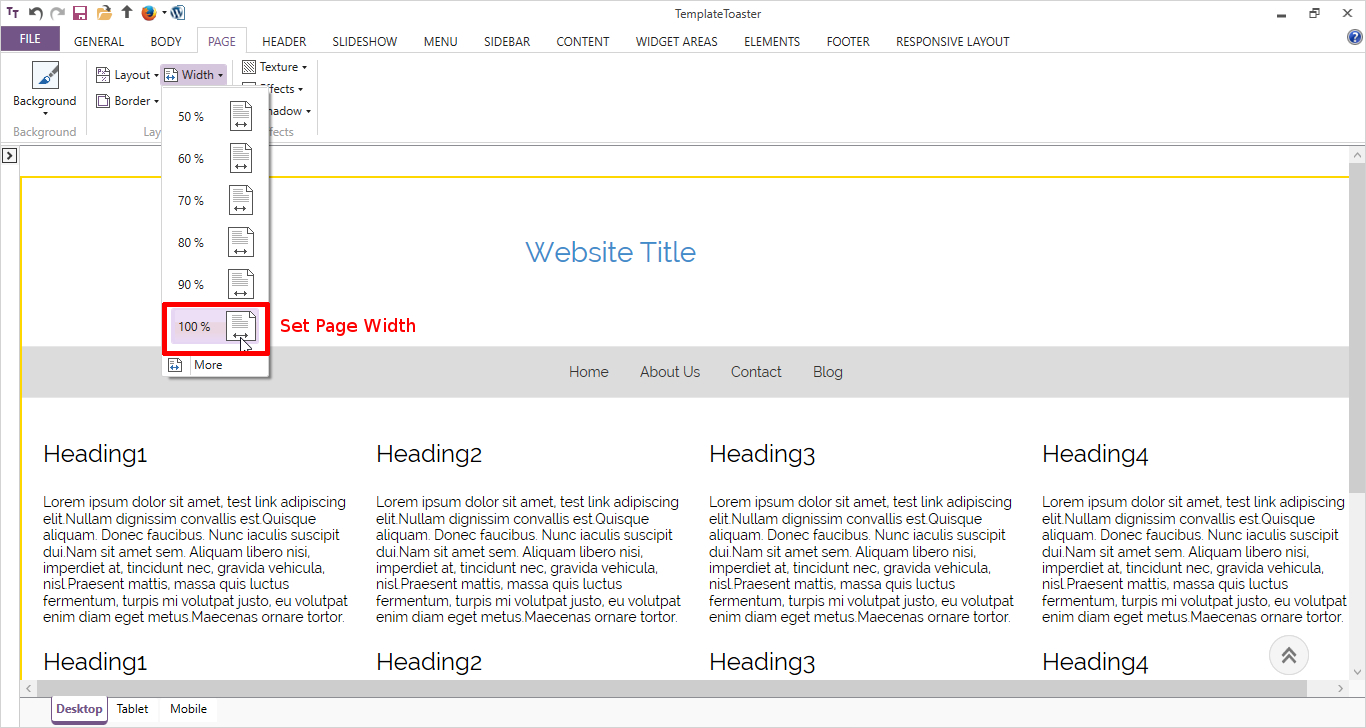
From Page Tab, you can apply a layout pattern. For example, here Fluid layout is selected.
Set the width of page 100%. If you want, you can also specify a custom page width.
Proceed to Menu. From Menu tab, select a menu position Above Header from More templates option.
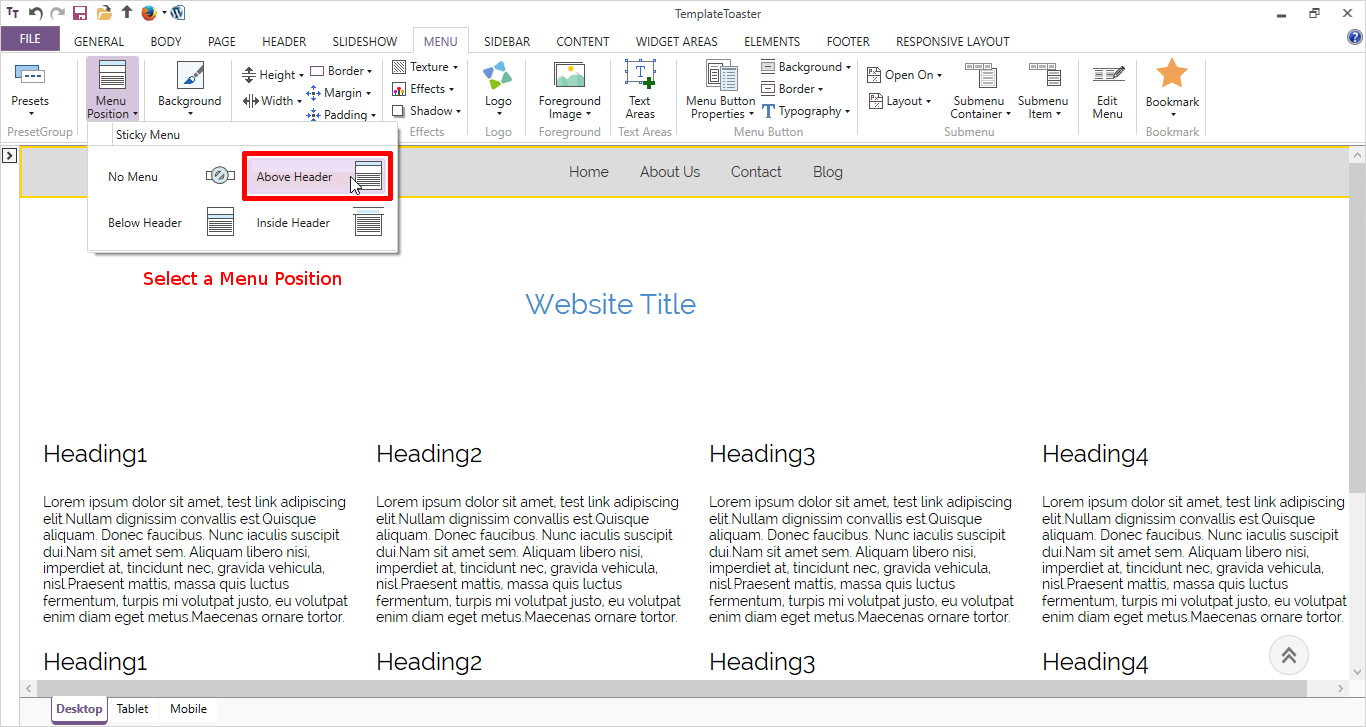
Specify the Menu Height. You can also set its margin, border etc. as all the options are available.

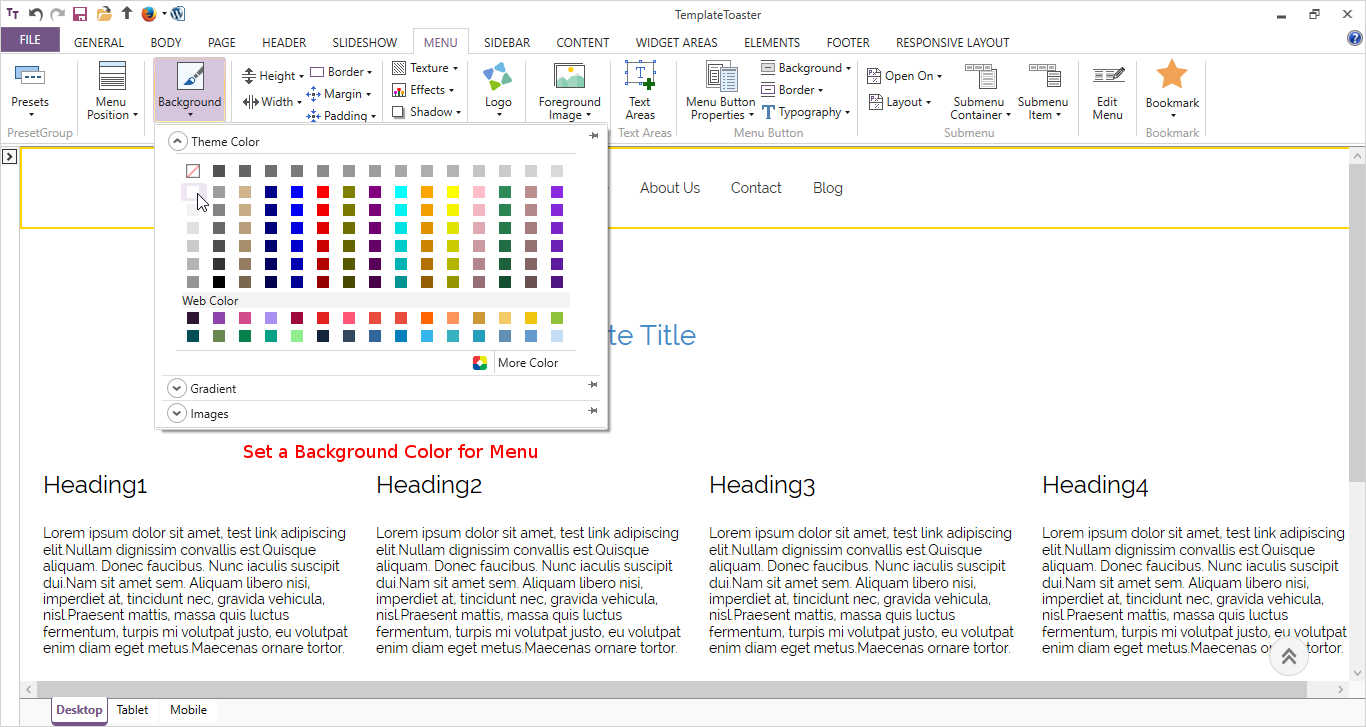
Set a background color from Background option.
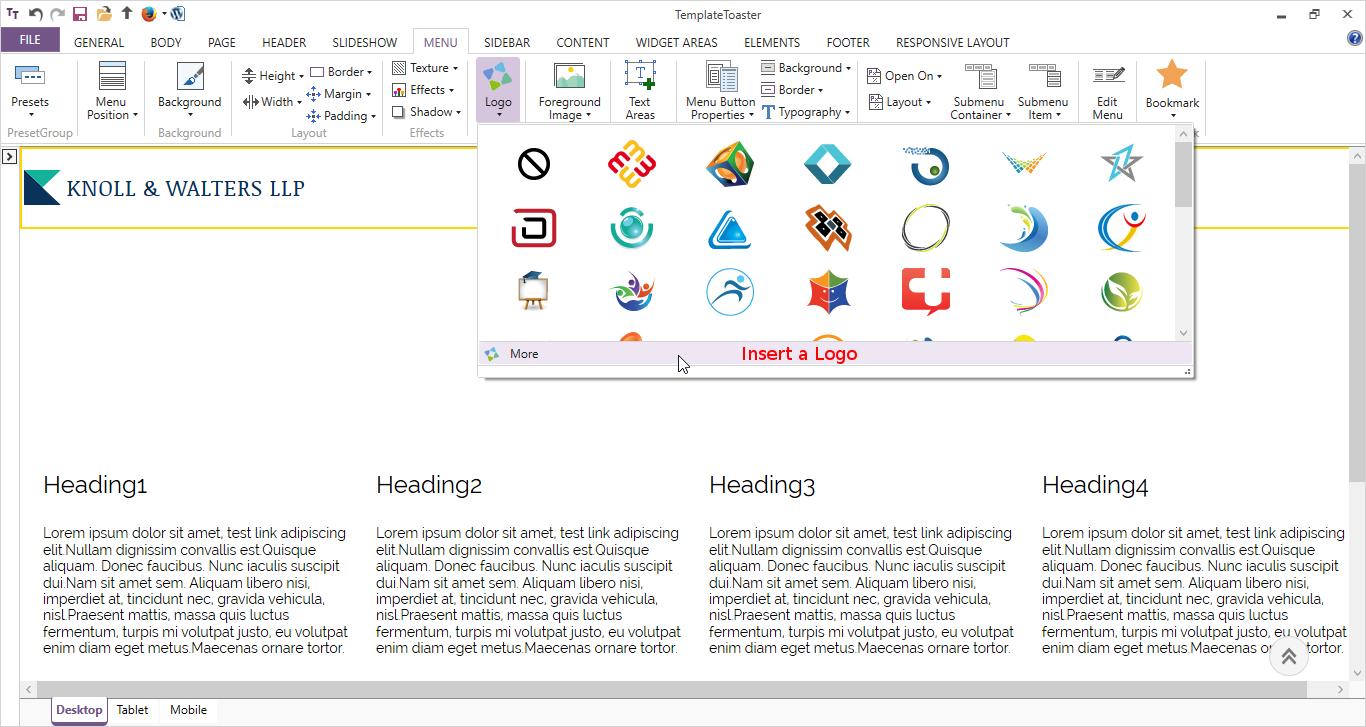
Set a Logo from logo option. You can also browse a custom logo image and specify a title for it too.
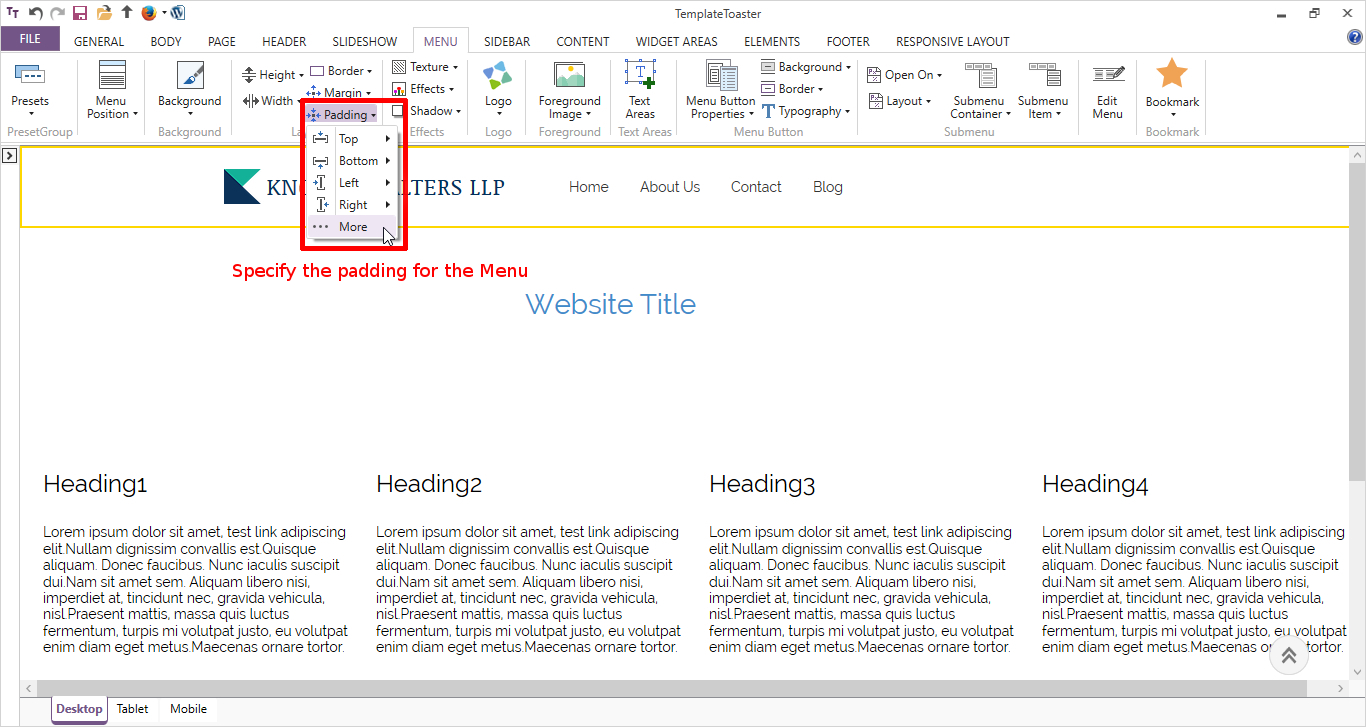
Specify the Padding for Menu Items.
Import Pages from Wix Website to WordPress:
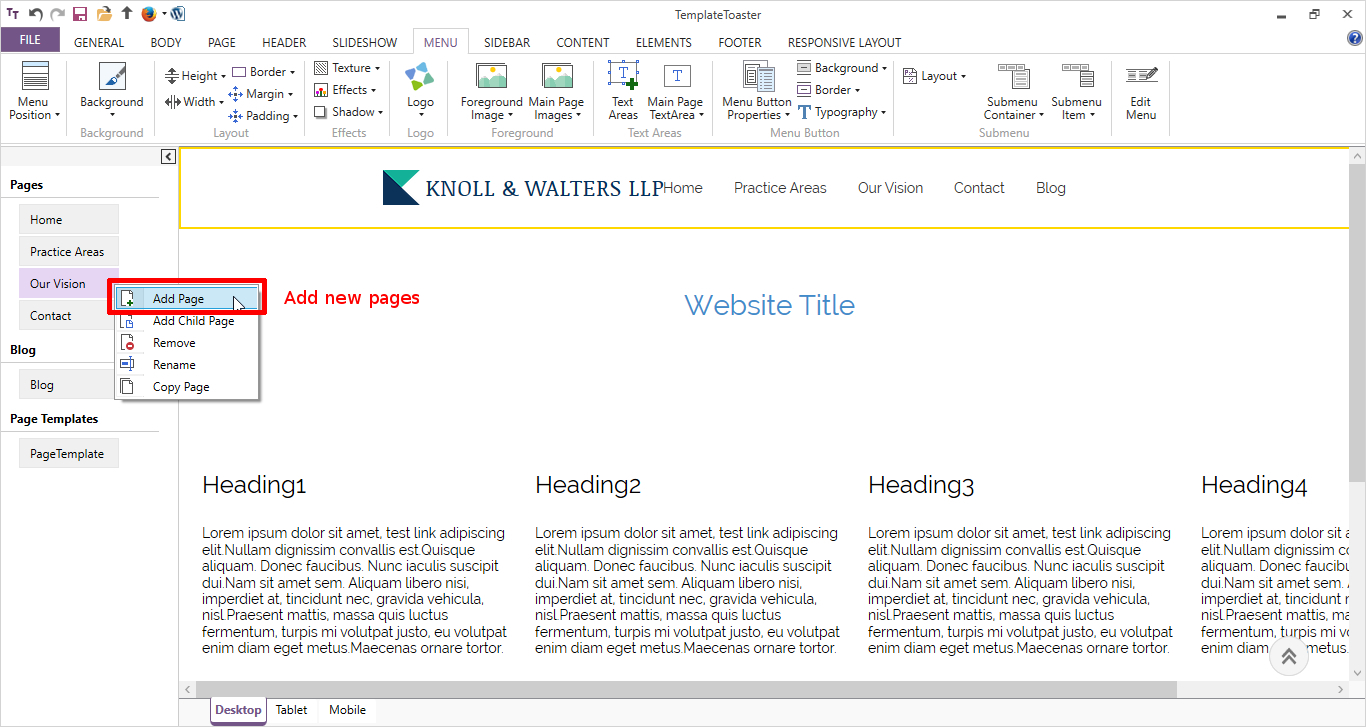
From left pane of the screen, go to Pages option. Add the same pages name as that of Wix website. Click Add Page, name it and copy the content of Wix page and paste it into the corresponding page here.
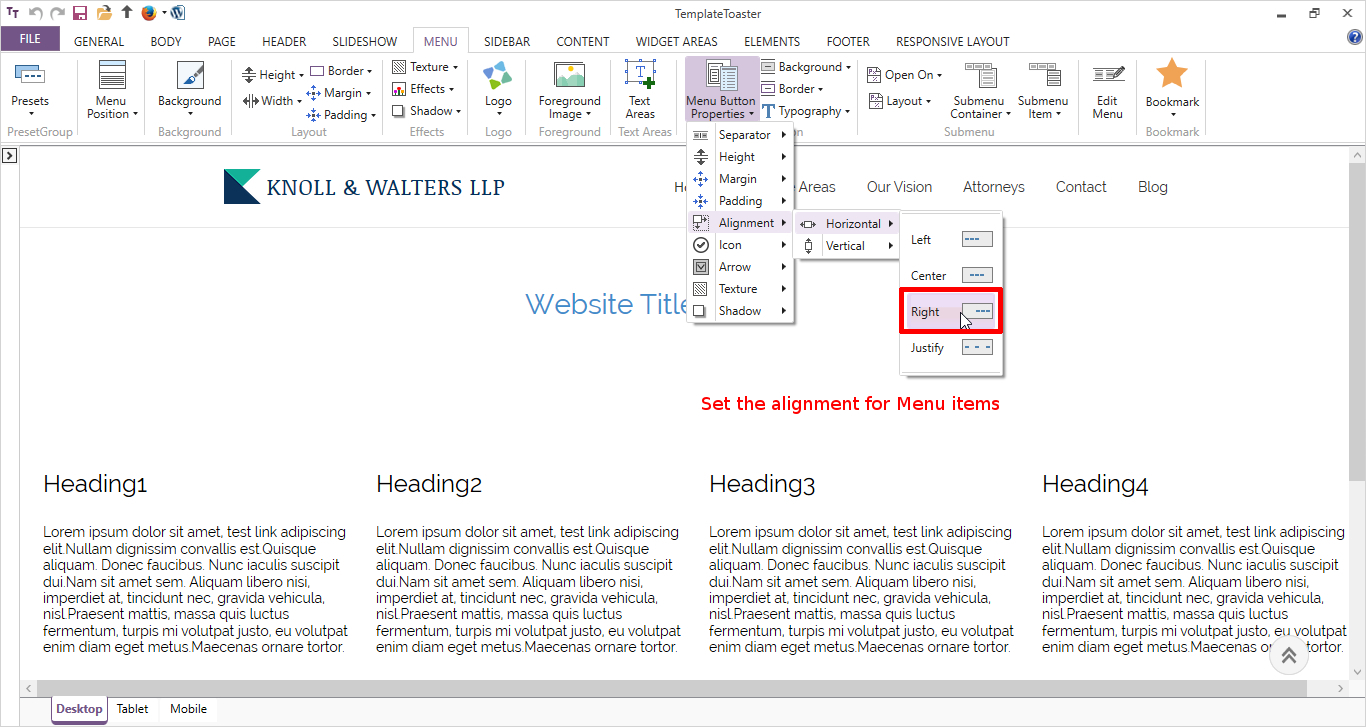
Select the menu item properties like height, padding, alignment etc. as here, the alignment is horizontal and to right.
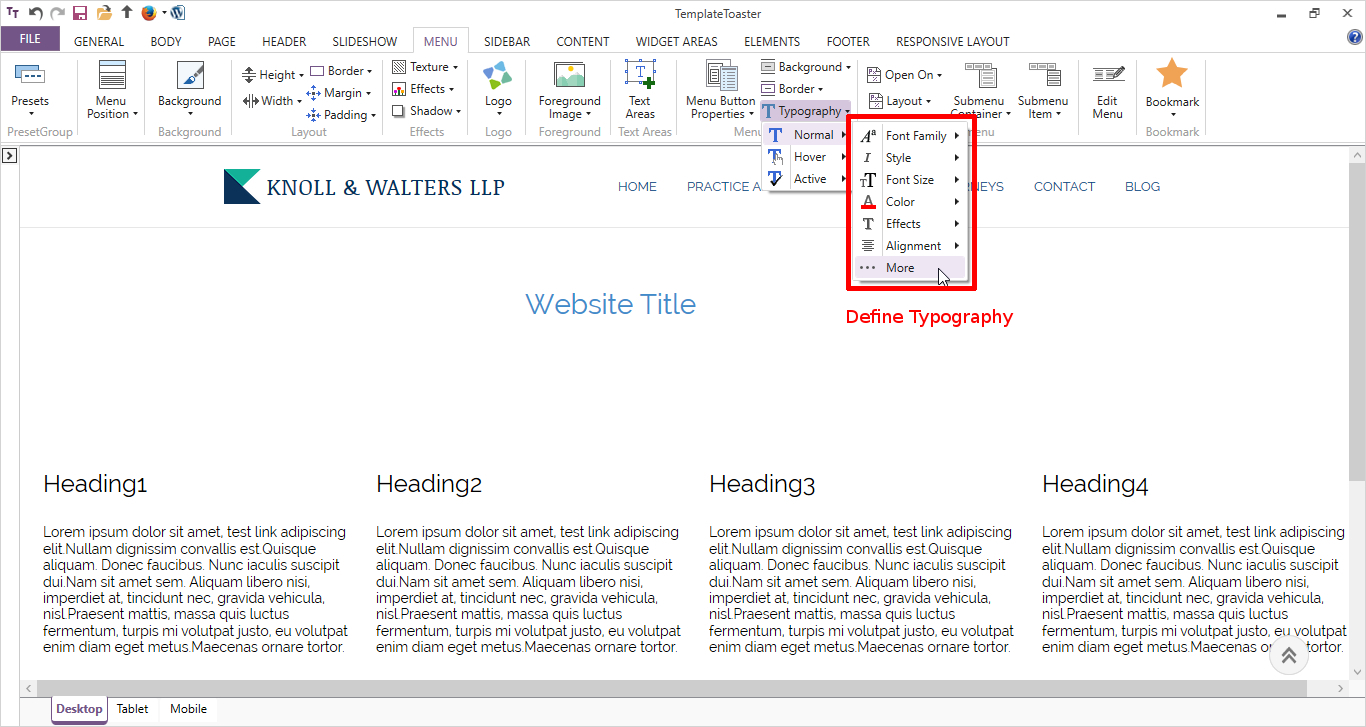
Set the typography for menu and complete the menu.
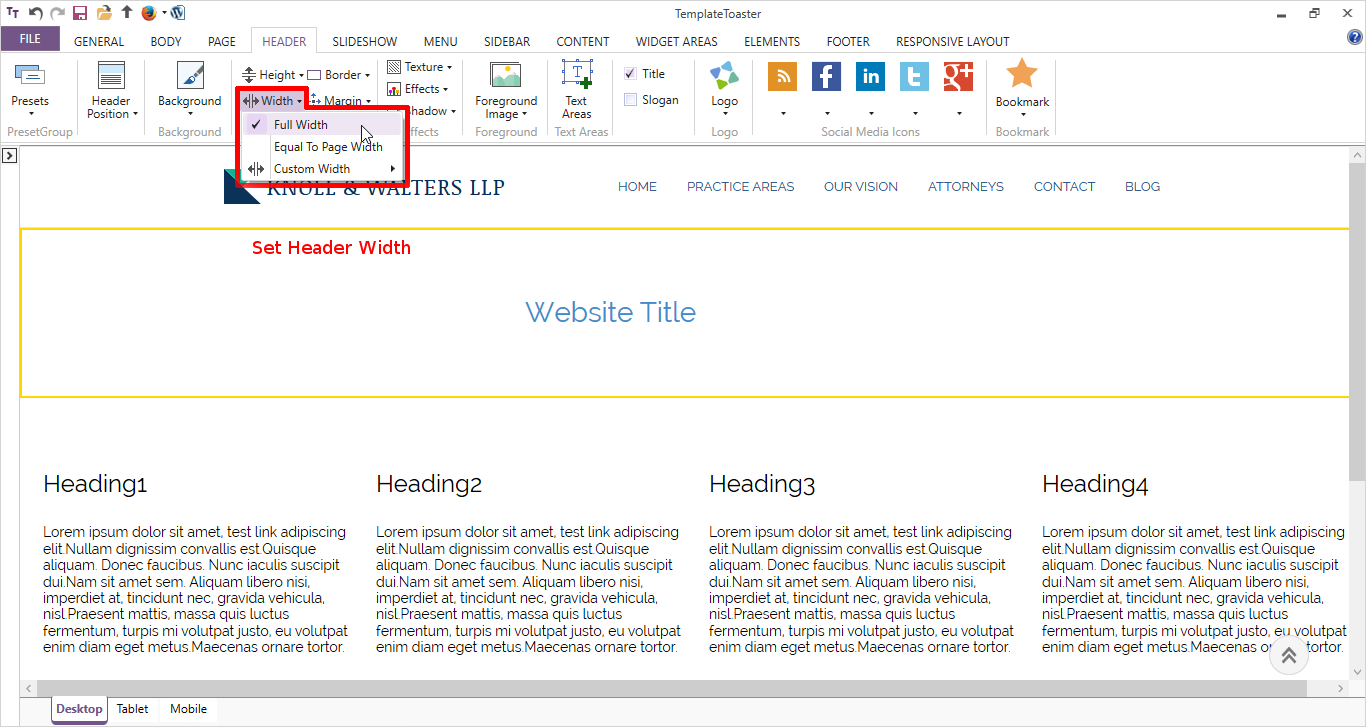
Move to header tab. Set header width as Full.
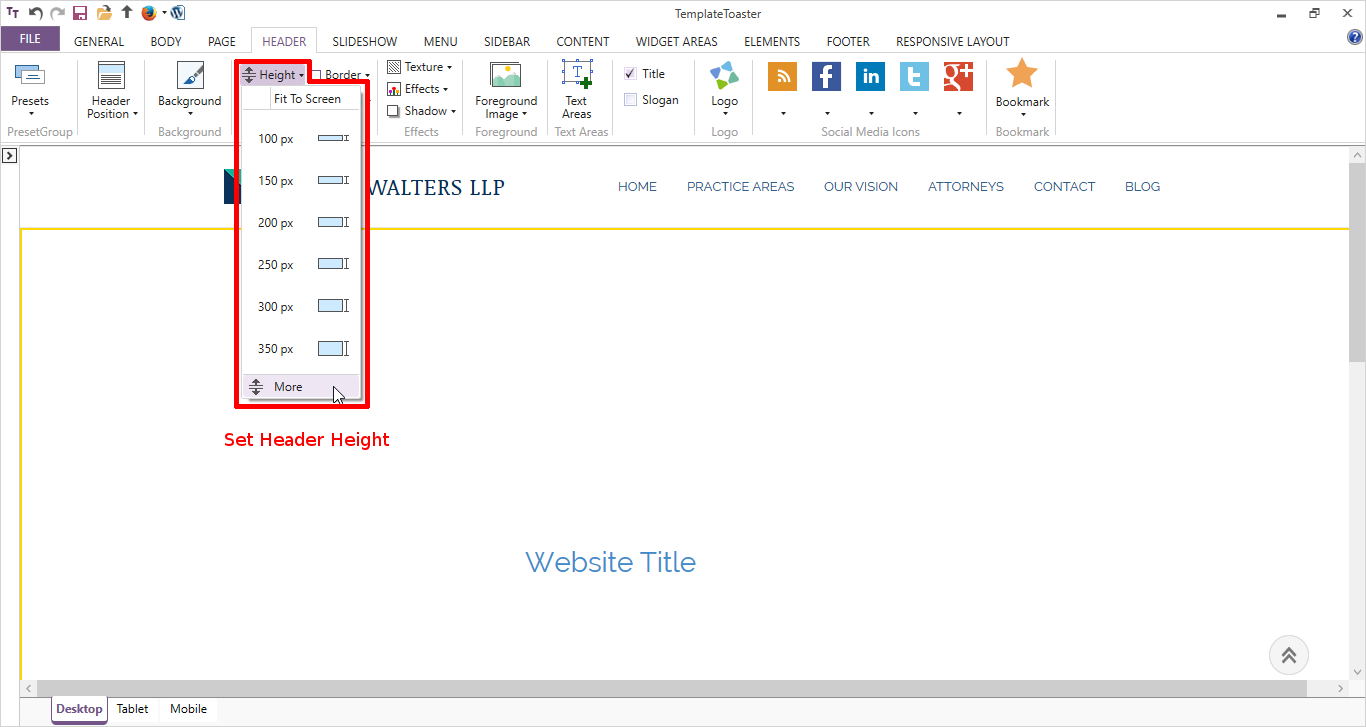
Specify a custom Height for the header.
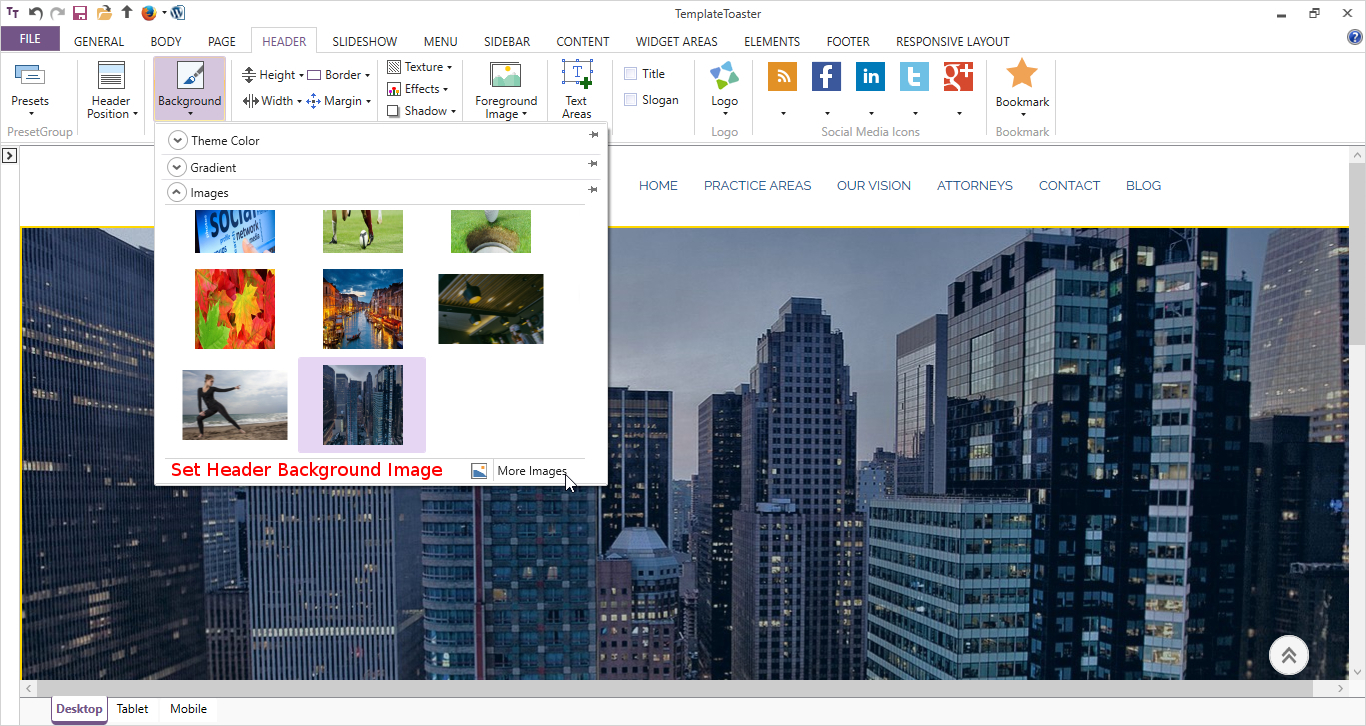
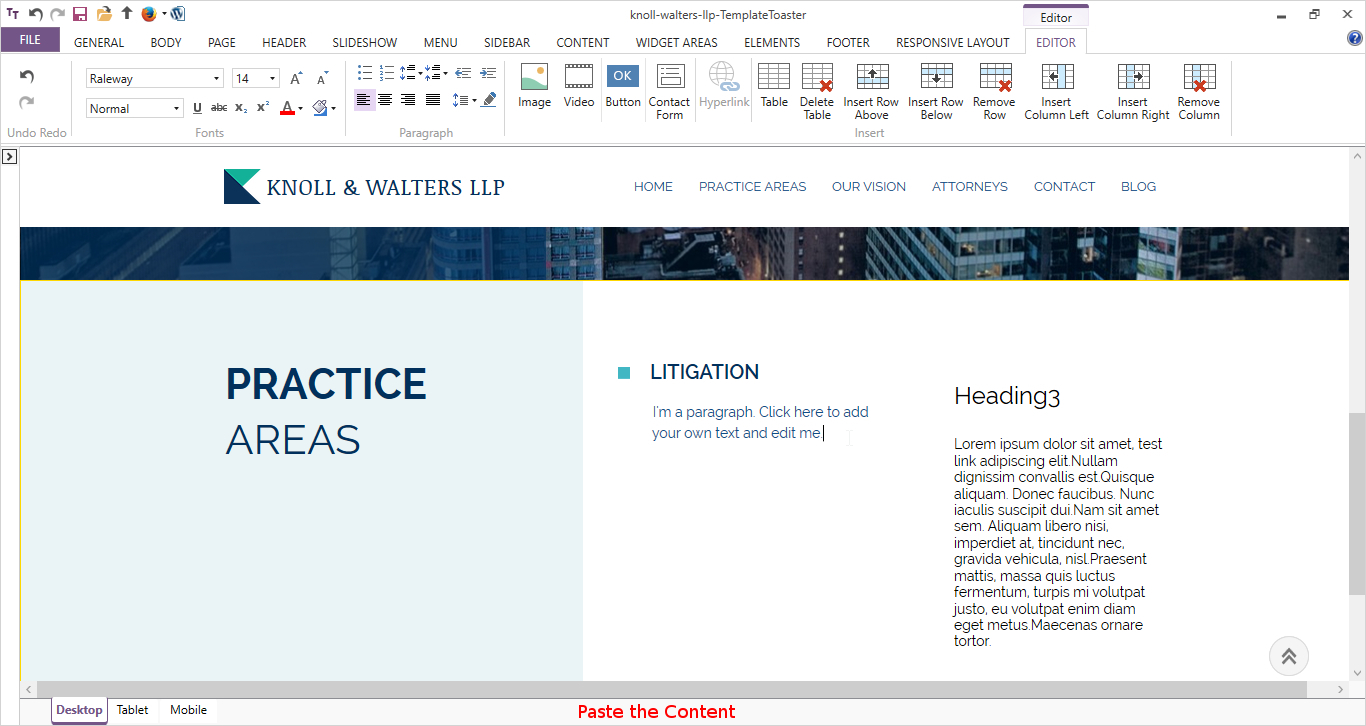
Now, set a background image for the header.
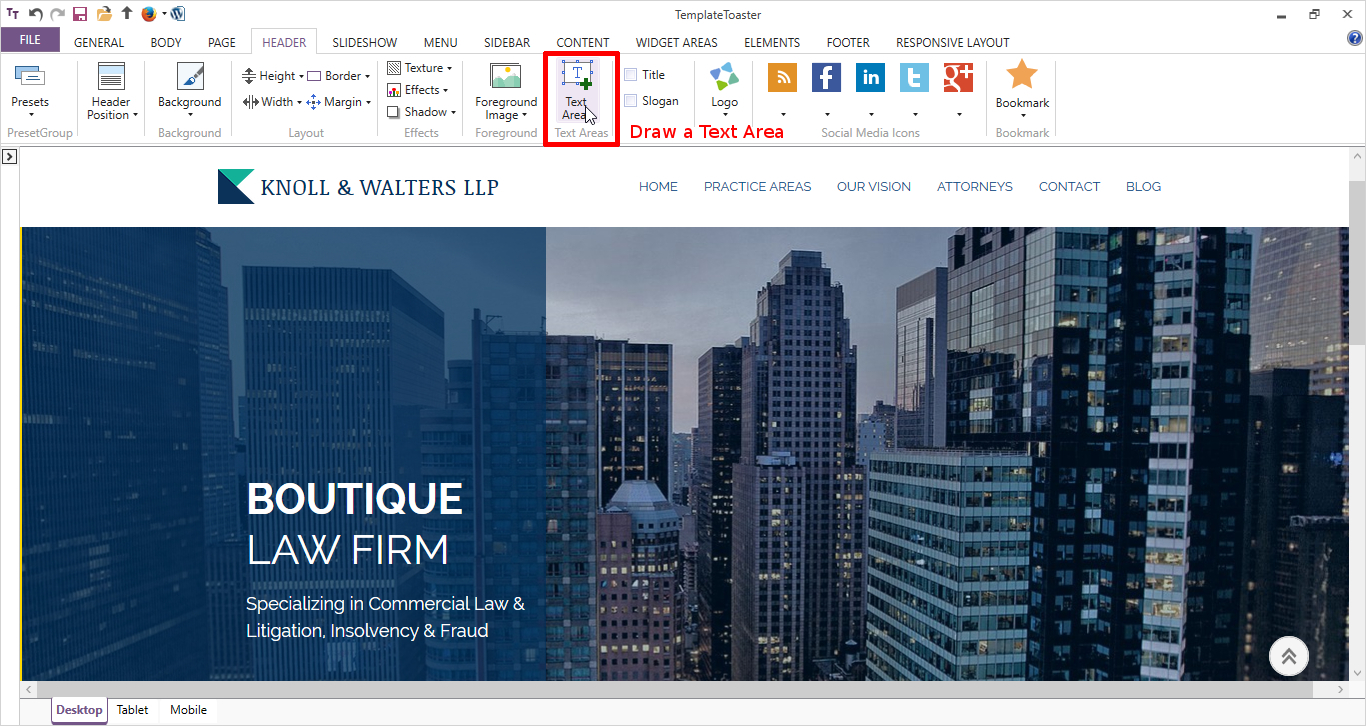
Draw a Text area on the header with help of Text Areas option. Copy the text from Wix and paste it in the Text area.
For the content part, select a layout. As a 3-column layout here.
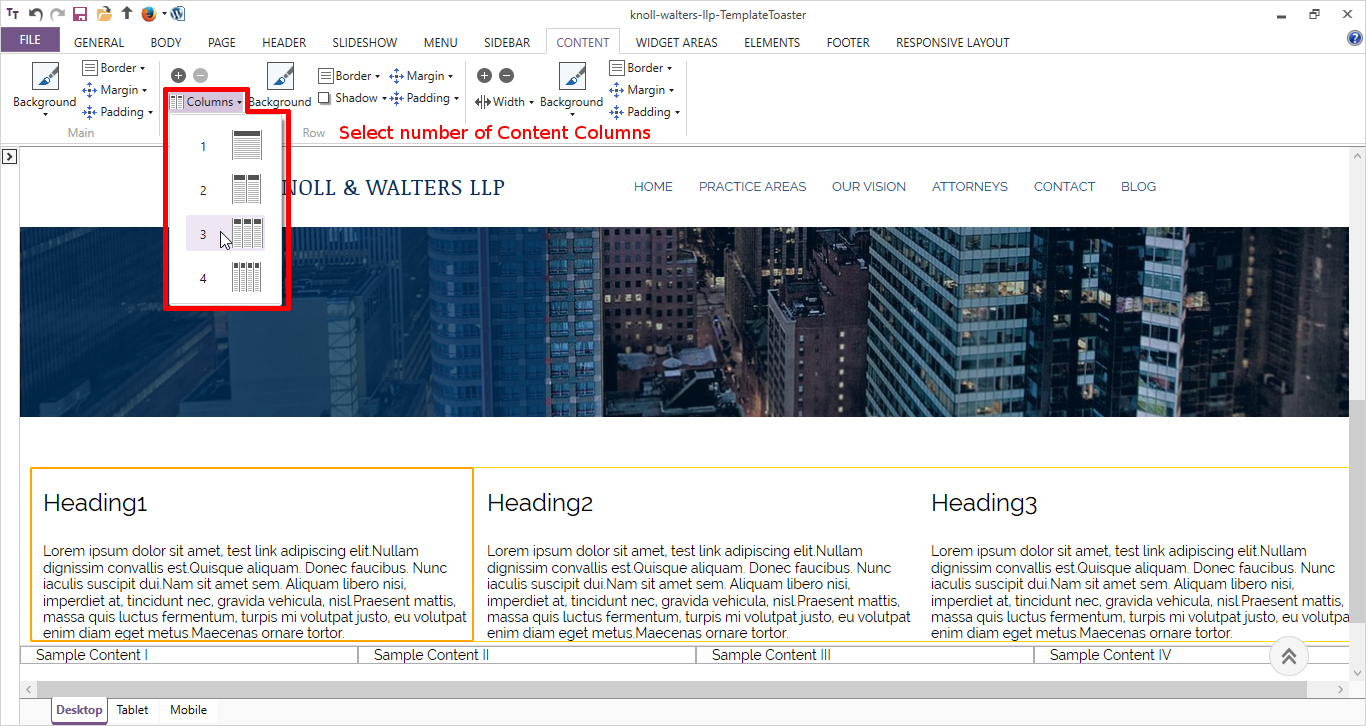
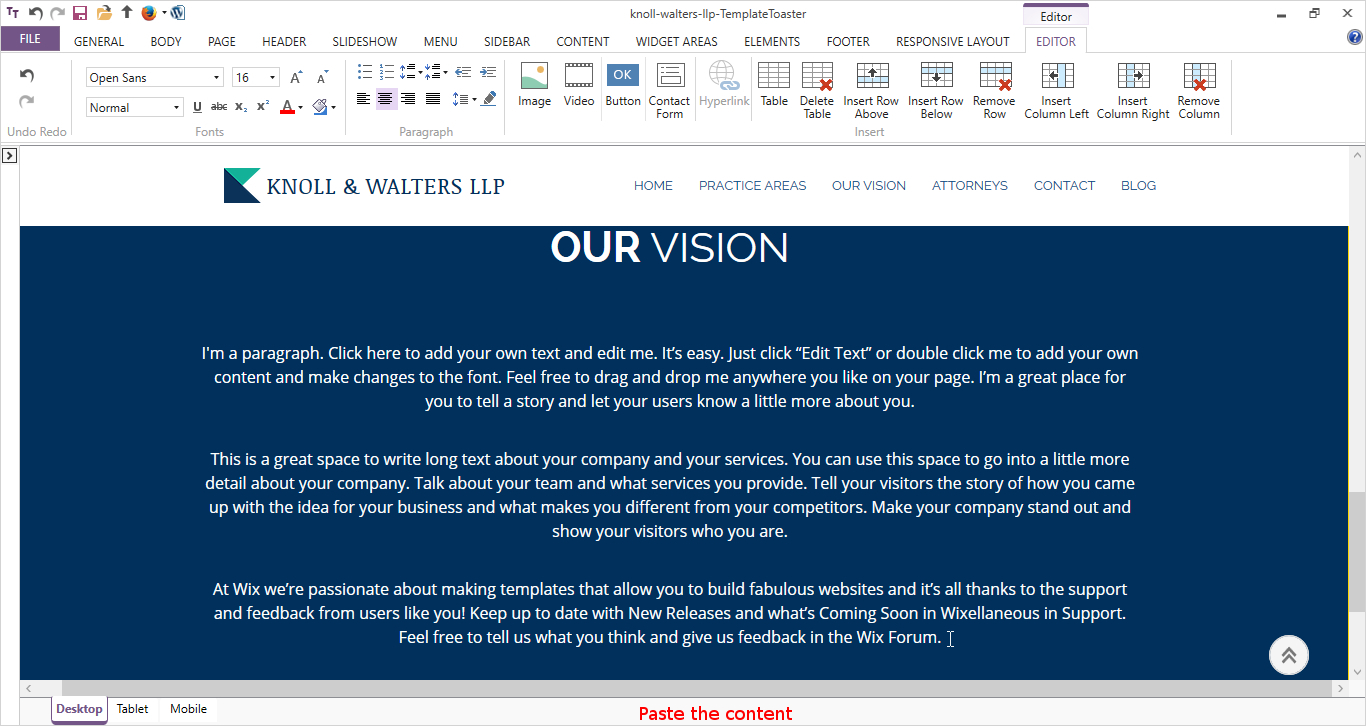
Design it according to Wix website page content and styling.
Now, add one more row below the first one. From Row, + option.
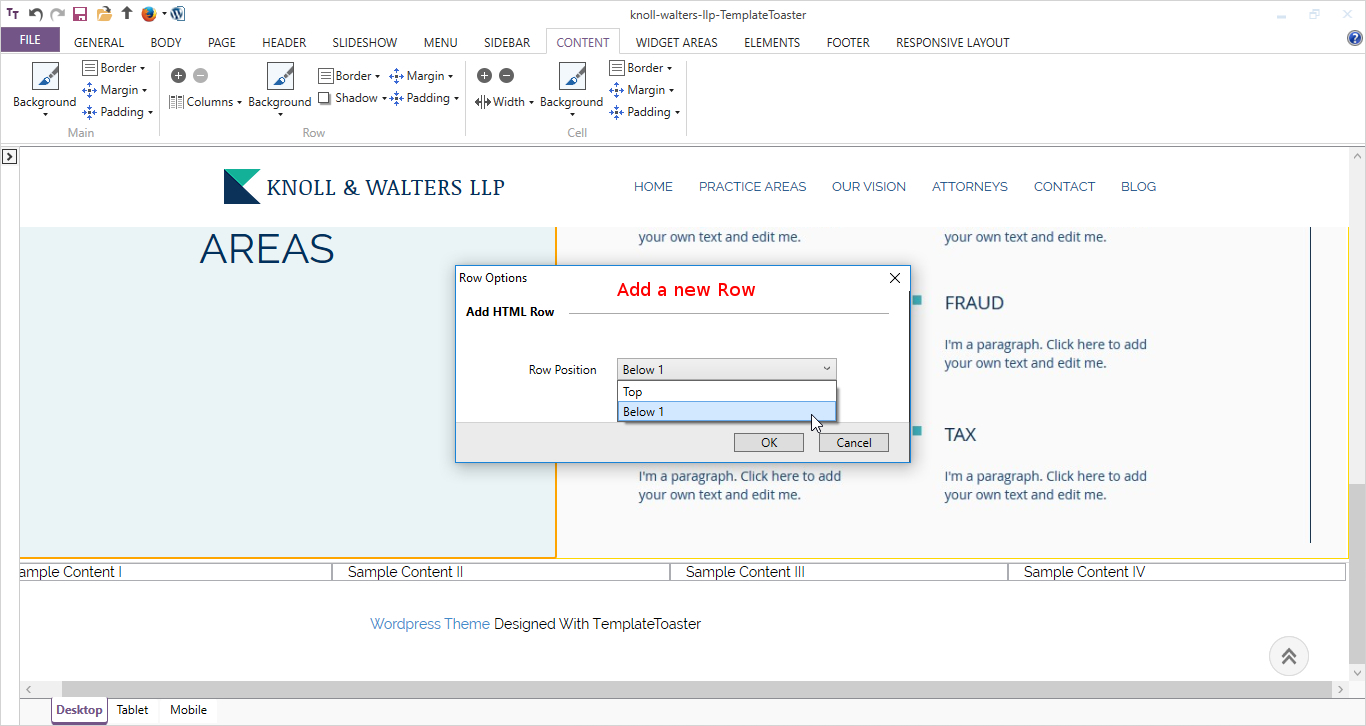
Now add a cell in this row as shown below
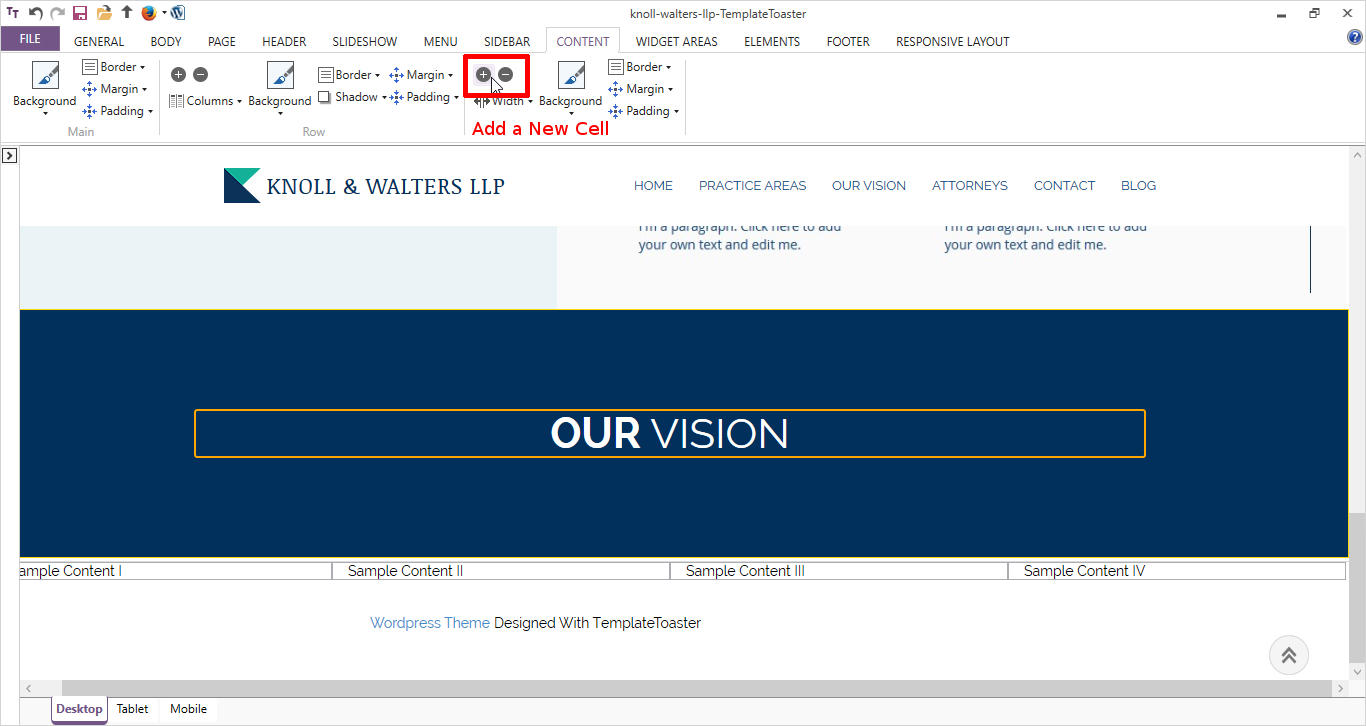
In the second row, select the background image and just paste the content from Wix site.
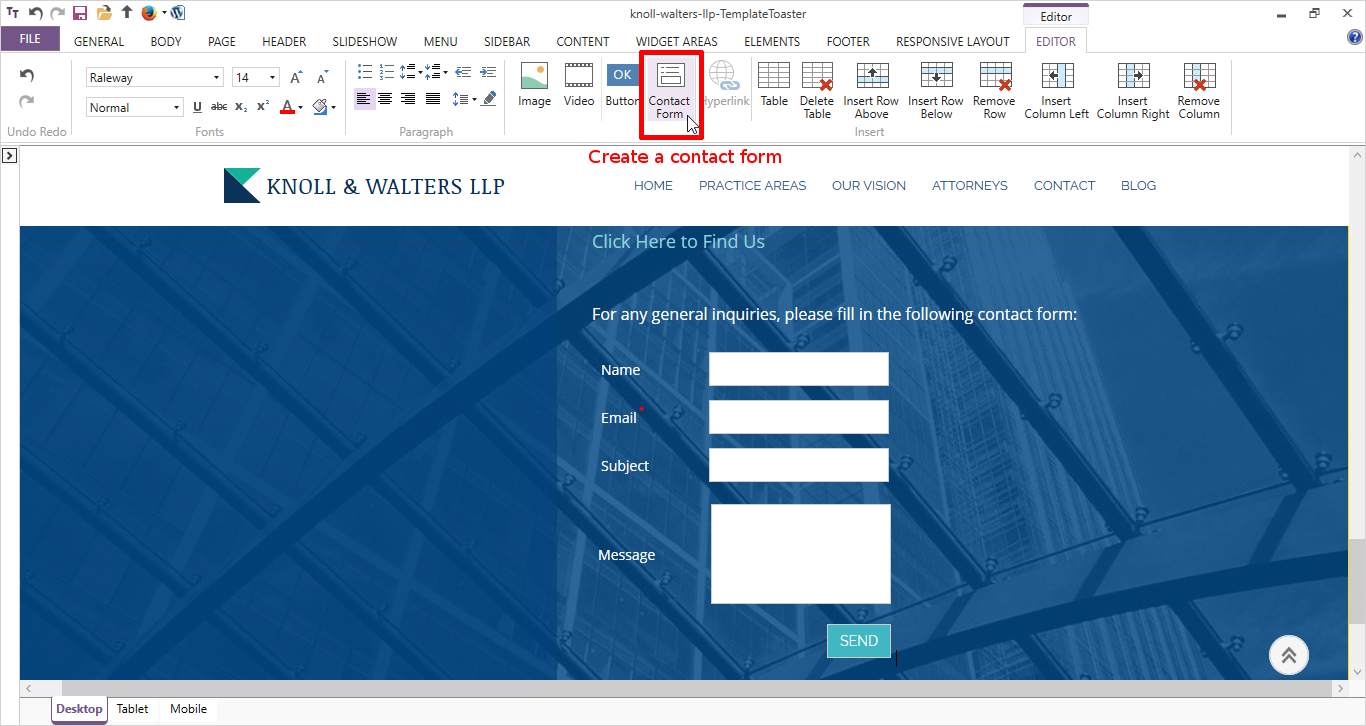
Likewise, you create more rows and put more content. In one row, you need to put a contact form. For that, double-click in the row to open the Editor tab. In this, you will find a Contact Form option. Just select it and design the form accordingly.
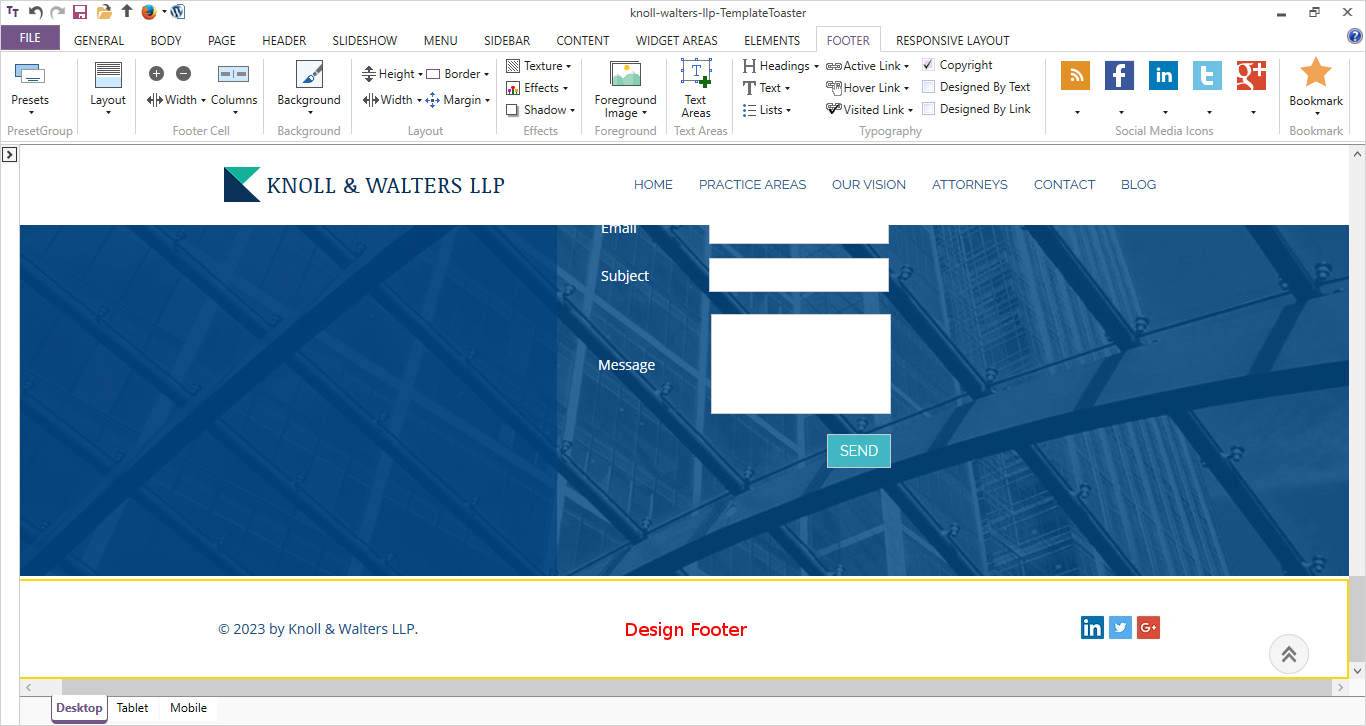
Now, design the footed by adding the Copyright Text and Social media icons as shown below from Footer Tab.
This is the desired theme that will look similar to your Wix website theme as follows

4. Import blogs from Wix to WordPress
As you have designed the theme and create all the pages with content, you are left with importing the blog posts. It’s not easy to import Wix data. But still, you can automate the blog import process via RSS feed. Firstly, you will download your Wix RSS file. If you have a custom domain, you can locate the file at www.yourwixblog.com/feed.xml. If it’s not custom, you can locate your feed.xml file at username.wixsite.com/blogname/feed.xml. You can see a full page of code after navigation. You can save this file by right-clicking on the page. And save the file on your computer at the desired location.
Now, switch to WordPress. Go to Tools → Import. Now click “Install Now” under RSS heading. You will be able to see a new link at top of the page as “Run Importer”, just install it. In Import RSS, upload and import the file feed.xml from Wix that you save on your computer. Once it’s done you will see a success message. Likewise, you can import all the blog posts one by one.
You can check that all the posts are imported in Posts→ All Posts section.
Now, do you want to import posts containing images? If yes, till now you have imported data only. For images transfer Wix website to WordPress, you have to install a plugin named Import External Images. Once installed and activated, you can select the button Import Images Now to import all the images. Put all the images at required places and you are done with data transfer from Wix Site to WordPress.
5. Redirect Wix To WordPress
As you are done with your new website, the next main thing to do is to let your readers know that you have moved. So not only you announce this, but you will have to redirect viewers to your new WordPress site. But you can redirect only if you use a custom domain; otherwise, you are done. For redirecting you have to create a file named redirects.js having the code as follows:
var hashesarr = {

"#!about/c1it7":'/about/',

"#!contact/ce54":'/contact/',

"#!random-article/c1mz":'/random-article/'

};

for (var hash in hashesarr) {

var patt = new RegExp(hash);

if (window.location.hash.match(patt) !== null) {

window.location.href = hashesarr[hash];

}

}
Here, you redirect three pages but you have to do this for all pages in your Wix site. Once finished, you will upload this file into WordPress Theme/js directory. you are done and only left with announcing your viewers about your move. This was all about migrating the site manually.
Final Thoughts
Migrating site from Wix to WordPress is not an easy job. You have seen the manual method of moving the Wix Website to WordPress using TemplateToaster web design software. Though it seems long it’s a reliable method of migration. It reduces the extra burdens as while designing the site you can import all data. But surely, WordPress gives you more control, flexibility, extra customizing power, and more SEO friendly environment. So go for it. If you have any queries, you can discuss with us in the comment section!!
Build a Stunning Website in Minutes with TemplateToaster Website Builder
Create Your Own Website Now
Great post! I like the way of customization you provide. Still, wanted to add that there are easier ways to migrate Wix to WordPress, for examle using automated tools (e.g. cms2cms).