How to fix: “Sorry, This File Type Is Not Permitted For Security Reasons”- WordPress Error

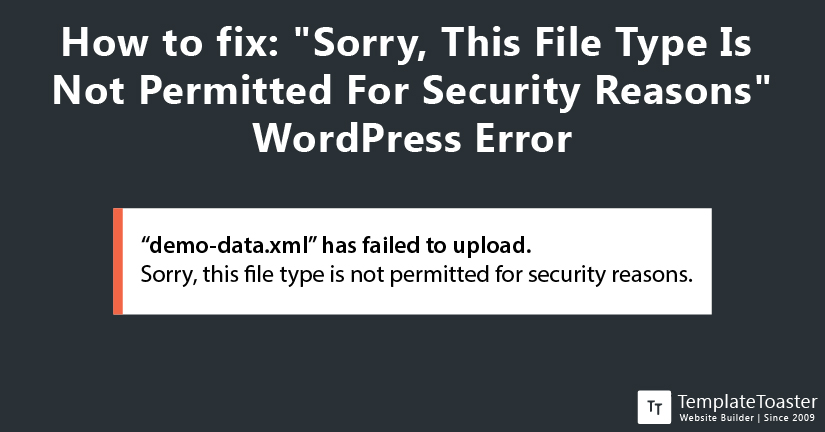
Have you ever experienced a message saying “Sorry, This File Type Is Not Permitted For Security Reasons” when you are trying to upload a file to your WordPress Library. It can be pretty frustrating but fortunately, there are multiple ways to fix this WordPress error. In this article, I am going to explain different ways to get rid of this WordPress error.
What is “Sorry, This File Type Is Not Permitted For Security Reasons” WordPress Error?

When you experience an error saying ‘Sorry, this file type is not permitted for security reasons’, don’t panic or be alarmed. This error is caused by WordPress itself and, it can easily be fixed. WordPress is a powerful CMS (content Management System) and has a strict filtering system for accepting types of files into the system for various reasons. When you get this specific error, it is because you are trying to upload a file type or extension not supported by WordPress. Check this list of supported file types by WordPress for more information.
What is the reason behind this WordPress error?
WordPress allows you to upload images, media, documents, and compressed archives in the majority popular file formats. However, it doesn’t support some of the file types, which are known or poses security threats. When you accidentally or intentionally upload such files on your WordPress site, you can expose the vulnerabilities to hackers. This is the reason, some file types are restricted by WordPress and you get the ‘Sorry, this file type is not permitted for security reasons’ error.
How to fix this How to fix: “Sorry, This File Type Is Not Permitted For Security Reasons” error?
There are various methods to fix this error. This section explains the different ways to do it.
Method 1: Using a plugin
Easiest way to resolve this issue is by using a plugin. As we know, WordPress offers thousands of free and paid plugins. For this purpose, WordPress offers plenty of MIME (Multipurpose Internet Mail Extensions) plugins that can help you add unsupported file types for upload. Follow the instructions to fix the error using the MIME types plugin-
- Install a MIME types plugin and activate it on your WordPress site.

- Login to your WordPress admin area and navigate to Settings> Mime Type Settings.
- In the Add Values section, add the file types and extension you wish to upload and support on your site. Make sure you enter the correct file type and click Save to update the changes.
- After the successful process, you will see the new MIME type updated in the permitted list.
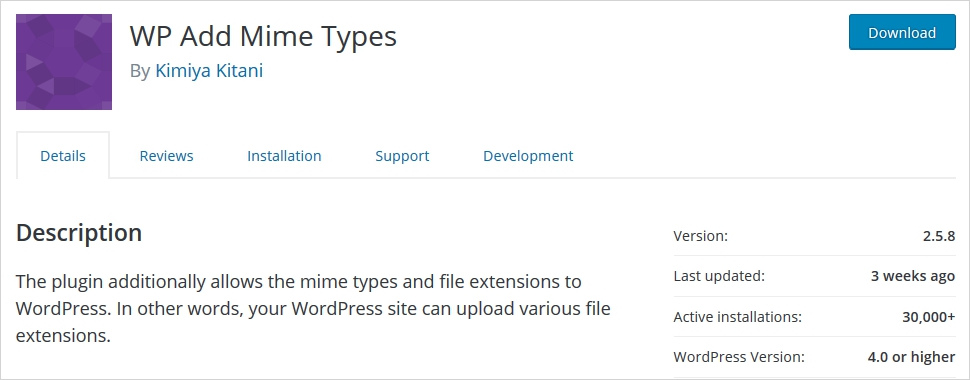
That’s it, you’ve successfully added MIME types on your site using a plugin. For a quick recommendation, go for WP Add Mime types plugin. It is easy to use and serves the purpose effectively.
Method 2: Using wp-config.php file
Professional developers don’t want to install and activate unnecessary plugins on their sites, as it can affect the overall performance of your site. Therefore, editing the wp-config.php file is another way to allow certain file types to enter the media library. However, be aware that this method can make your site less secure. Follow the given instructions to upload the unsupported file-
- Access your WordPress installation directory under public_html via FTP client or File Manager.
- Locate the wp-config.php file, open it and paste the following given code anywhere above the line that says, “That’s all, stop editing! Happy publishing.”
| define(‘ALLOW_UNFILTERED_UPLOADS’, true); |
- Don’t forget to save the changes.
That’s it, you can now upload the unsupported file types you wish to upload on your WordPress site. But I sugegst you to use folliwng method and add only needed MIME type only.
Method 3: Editing the Theme’s functions.php file
If you don’t want to mess around your wp-config.php file, you can try this method. Instead of wp-config.php file, edit your functions.php file. You can alter WordPress’s behavior towards unsupported files by using the upload_mimes filter. Follow the given instructions to edit your theme’s functions.php file-
- Use FTP client or File Manager to access your WordPress installation directory usually its public_html.
- Locate wp-content under themes and then access your current theme’s folder.
- Open the functions.php file and paste the given syntax in the file and add the desired file types or MIMES to the array
| function my_custom_mime_types( $mimes ) { // Add new MIME types here $mimes[‘abiword’] = ‘application/x-abiword’; return $mimes; } add_filter( ‘upload_mimes’, ‘my_custom_mime_types’ ); |
- Save the changes by saving the file.
That’s it, you can now upload the unsupported file types you wish to upload on your WordPress site.
Conclusion
The ‘Sorry, this file type is not permitted for security reasons’ can be frustrating to experience. However, be aware that it’s there for security reasons. Therefore, before fixing this error make sure the file you are uploading is necessary and worth this trouble. I do not encourage uploading unsupported Mime types on your site unless it is necessary, as it can leave your site vulnerable to security threats. I hope that you find this tutorial useful and comprehensive. Please comment below to let us know your thoughts!
Build a Stunning Website in Minutes with TemplateToaster Website Builder
Create Your Own Website Now