How to design Best Yoga Website: Step by Step Tutorial with Images
Do you want to create a stunning yoga website to mark a web presence? Looking for a huge student reach to grow your business? Here is the answer to all your queries.
If you are a Yoga Professional and want to become a Yogipreneur by embracing a huge clientele, a great following…It’s the time to have the best yoga website for successfully market yourself. Learn how to make a captivating website easily in minutes so that can focus on your business and promotes Yoga for physical, mental and spiritual well-being. Let us unveil the easy steps to design the best Yoga website in WordPress even if you have no coding experience.
Step 1: Setting up the WordPress Environment.
Step 2: Build a Theme for your Yoga Website.
Step 3: Upload Theme in WordPress.
Step 4: Install Plugins.
Step 1: Setting up the WordPress Environment
It’s easy to install WordPress either on a web host or a localhost. You can directly work on your site on the server using a web host. With a localhost, you will be creating your site on your personal computer system. But it makes no difference in using WordPress on a web host or a local host. Almost every web host gives an option of One-Click Installation. So, you can install WordPress with a single click on the web host.
If you have an interest in the local installation of WordPress then, read out the procedure for installing XAMPP and WordPress. Later on, you can move this theme designed from a local environment to the server.
Step 2: Build a Theme for your Yoga Website
Now, you primarily need a theme for your Yoga Website. Here, we are going to showcase the customization of a Yoga Website Theme with the help of TemplateToaster website maker. Before starting, it would be imperative to know about this theme building tool. TemplateToaster is a unique desktop application to design themes/templates that automatically generates code at the backend. Hence, you can easily design a theme with this dynamic Drag & Drop theme builder without any coding overheads.
Let us delve into the designing process of a Yoga Website
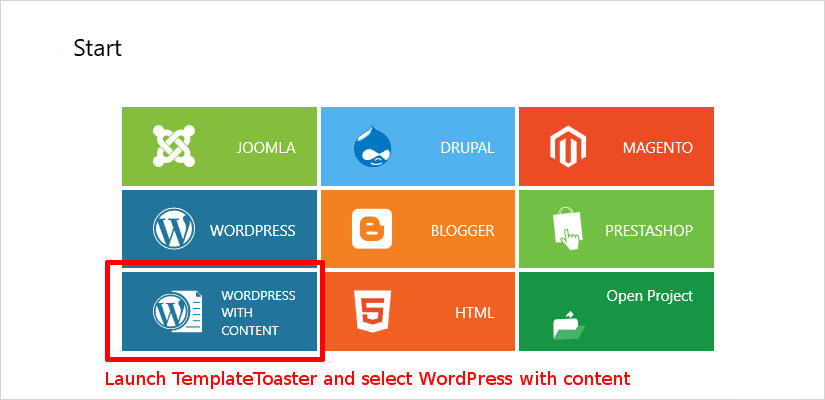
- Launch TemplateToaster WordPress website builder and we will see a start-up dialog as shown below. As it supports all popular Content Management Systems, so we have to choose the one that we need – WordPress with content.
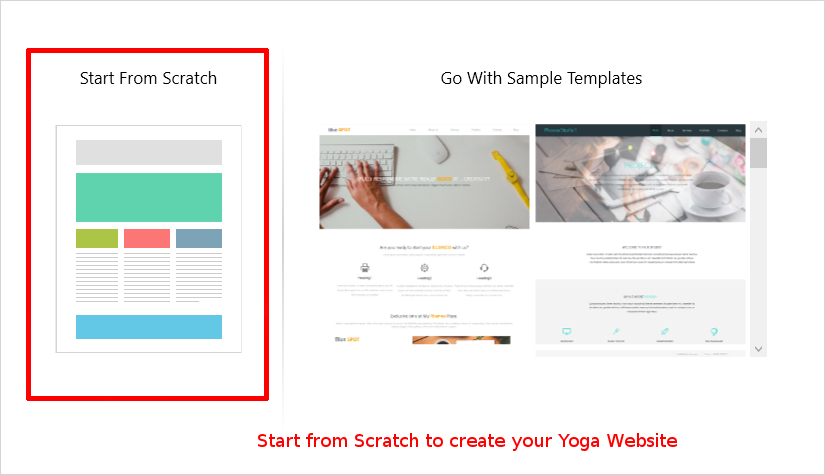
- Next, we get a choice to start from scratch or to go with the Sample Templates. But we preferred to design the Yoga Site from scratch.
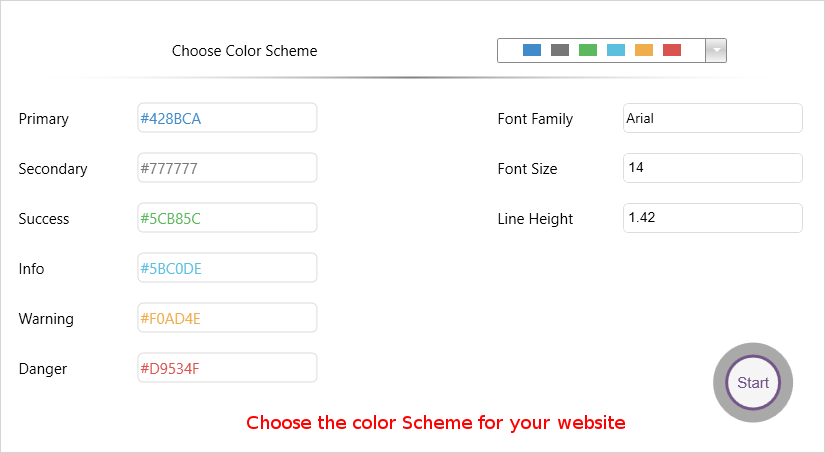
- Now, we specify a Color Scheme and Typography for the theme from next screen and Start with the customization from Main Interface of the software.
Here is the Main Interface of the software, facilitating various options in a well-structured design for the user convenience.
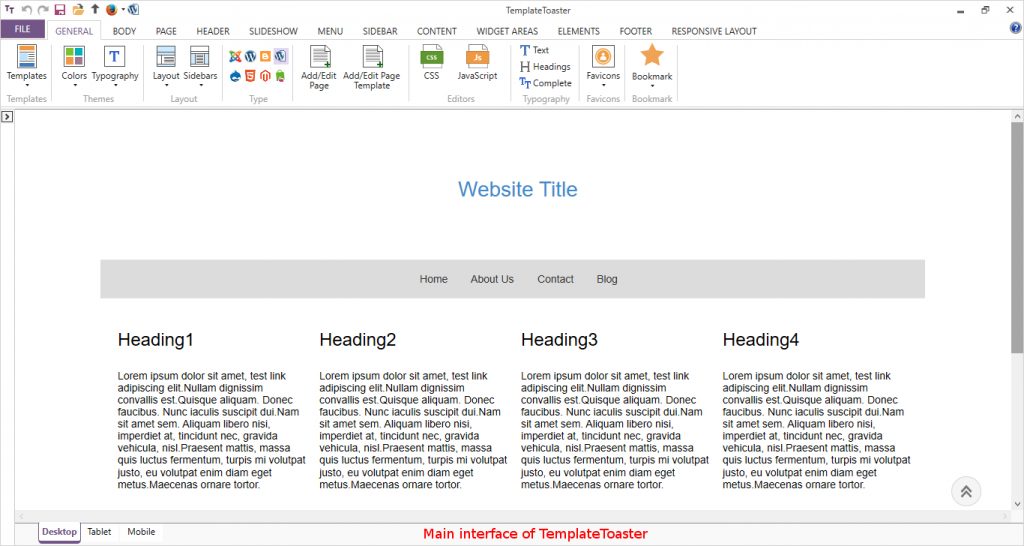
The first thing to start with is a Header. So, we select Header Tab but we preferred a ‘No Header’ layout from Header Position.

- Designing a Menu
Moving further with designing a Menu, we placed a Logo from Menu Tab. One can select the Logo from available stock or can browse your own custom Logo with More option.
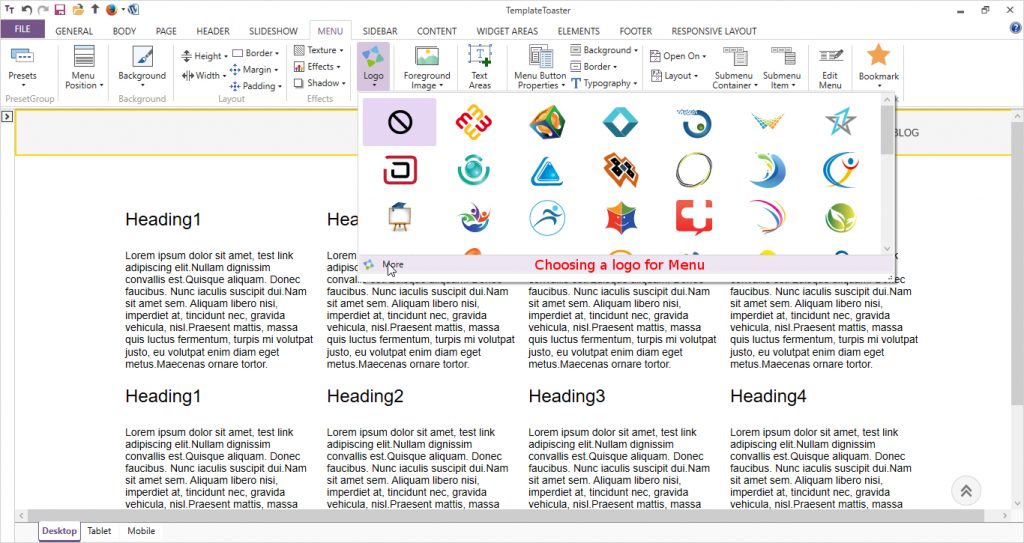
Once we got the Logo in Menu, we can drag it to set its position. We placed it in the left corner and moved the Menu Items on the right by selecting Menu Button Properties → Alignment → Right and Height – 50%.
Now, in Menu Button group options; we set the background color of menu items in the Active state as:
Background → Active → Select color
Here we set all the properties like Panel Margin, Button Margins, Padding, Texture etc. as per our design preferences.

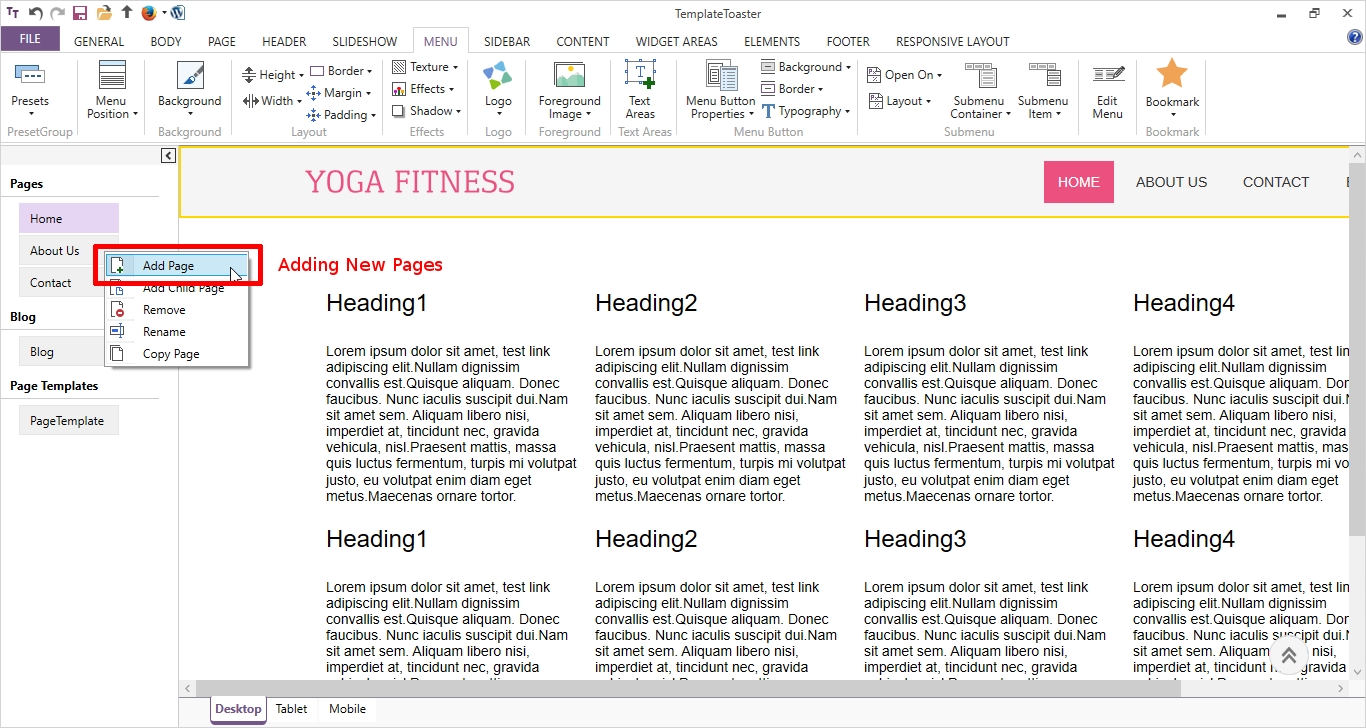
Add Pages to your Website
Now in TemplateToaster from left Pane, we can add new pages to the website as Pages → Add New Page. The basic pages that we add to our Yoga Website, will be – Home, About us, Membership, Classes, Blog, Contact us.
- Designing a Slideshow
Navigate to Slideshow Tab and checked the Slide Show option.
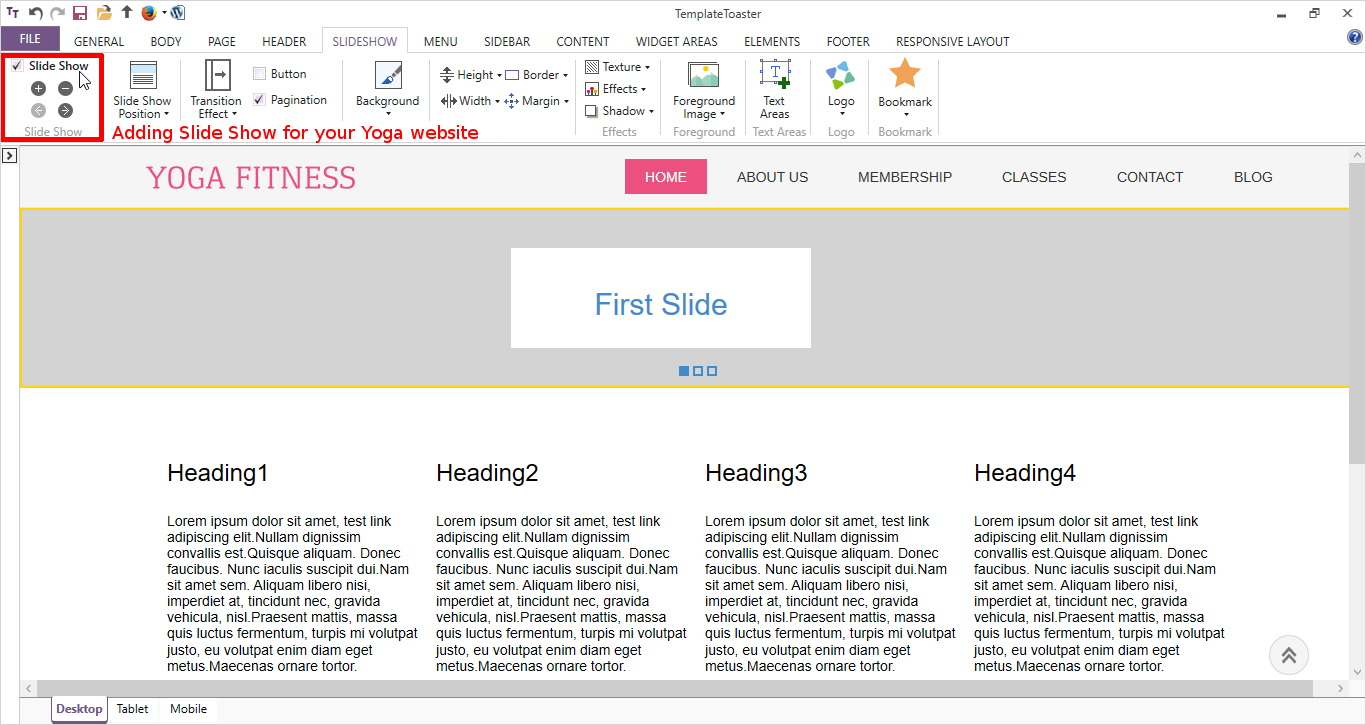
In Slide Show Position, Selected Menu Inside slideshow. Now we moved to the First slide of the Slideshow.
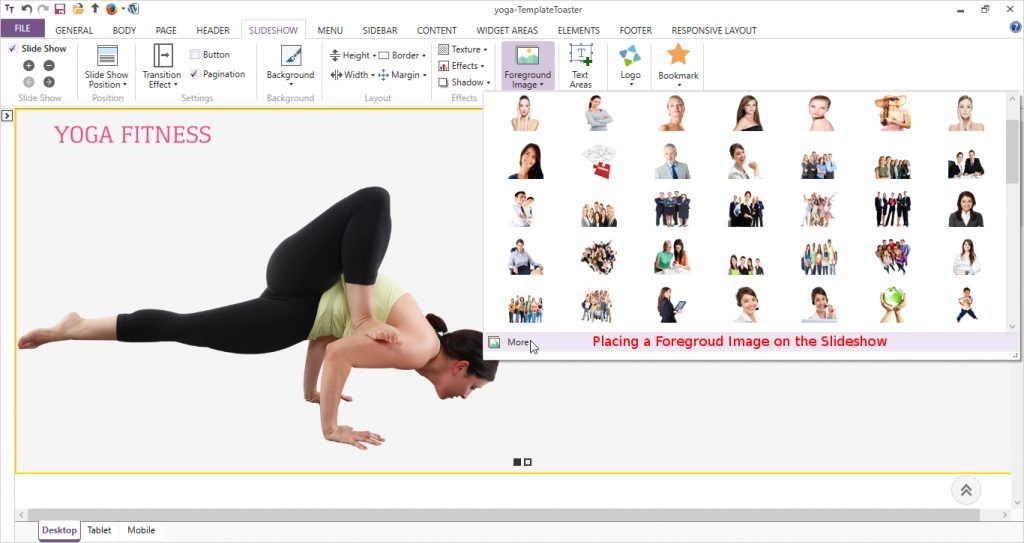
Select a Foreground image for your slideshow from available stock of images or we can browse our own image. When we click on the image in the slideshow, a format tab opens to set the Height, Width, Transition Effects, Transition Duration, Begin time, Slide Effect→ left here.
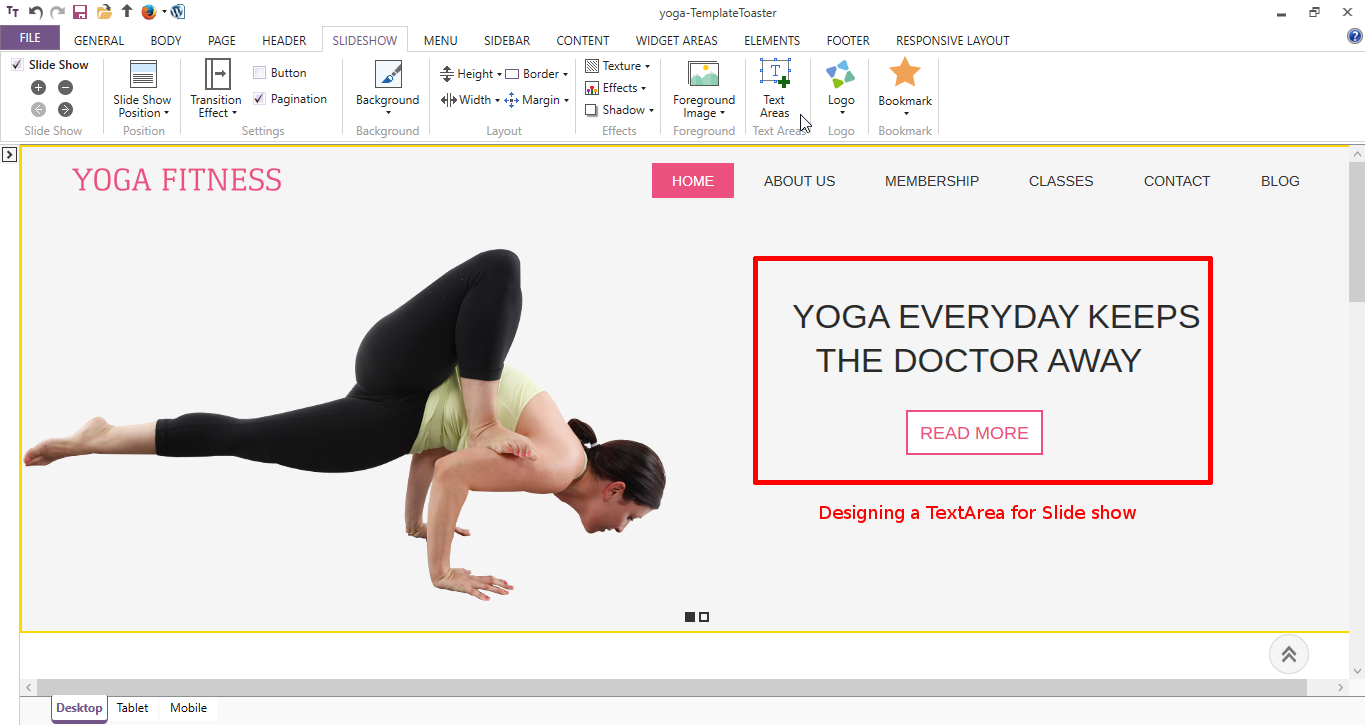
Now, we put a text area in the slideshow with the help of Text Areas option. Like a foreground image, we can also set its Height, Width, Transition Effects, Transition Duration, Begin time (more than image), Slide Effect→ Right here.
Similarly, we design the other slides as per our need with various designing options available.
- Designing The Content Page
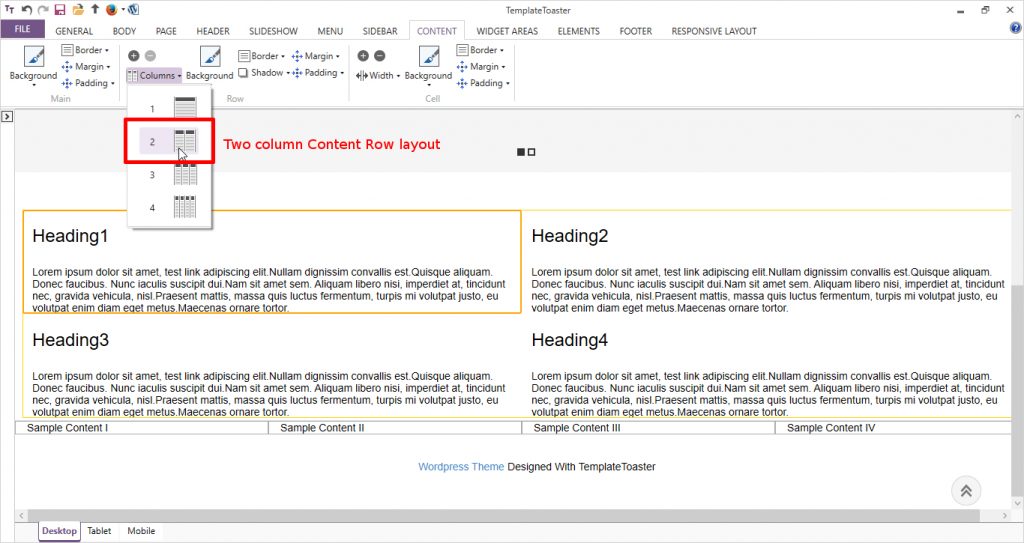
Now moving to the Content Tab, when we click in the content section- all the options get activated. Firstly, as we need only two columns in the First row, we preferred to delete extra cells from the Cell option and from Columns, Select the Two column layout.
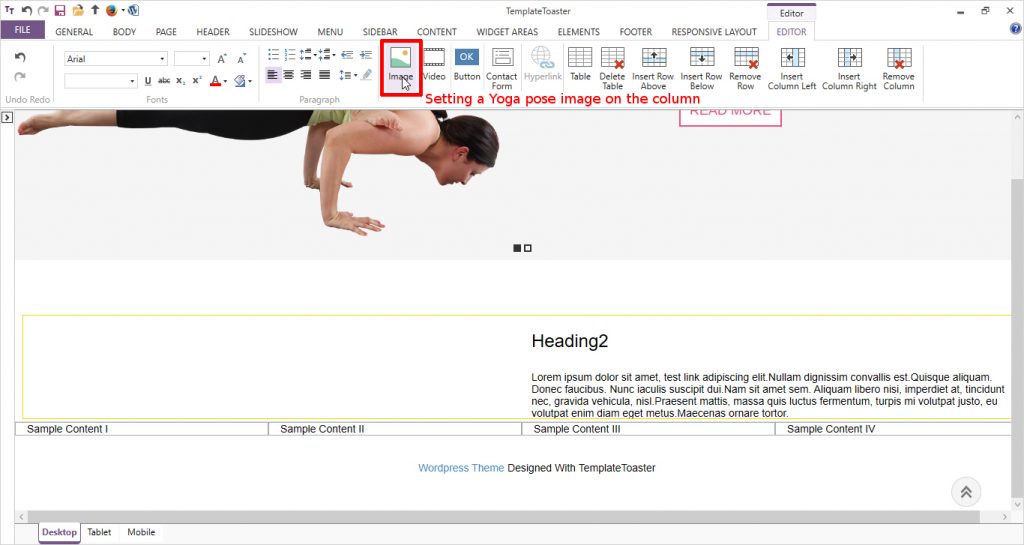
And now in the First column, delete the content and from Editor Tab – we add an image of a Yoga Pose as:
Editor tab → Image → Browse image → Open → Ok
In the Second column, we place the text related to this Yoga pose. We add the Title and content to this cell.
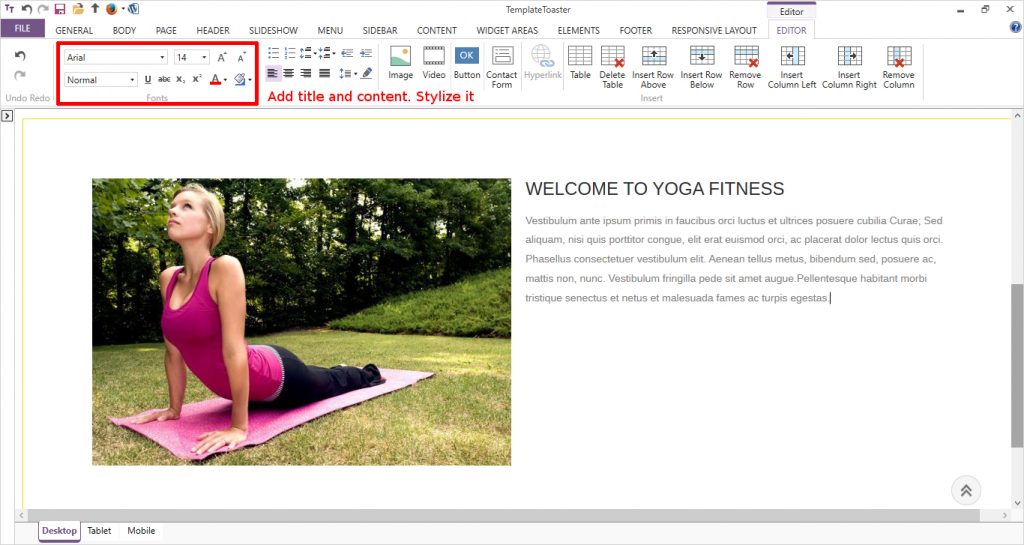
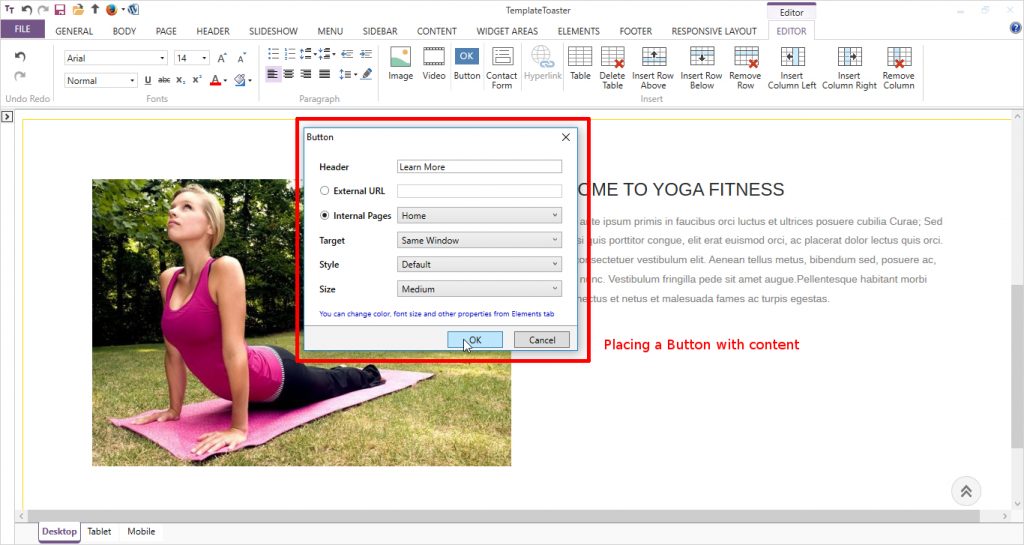
Then put a Button labelling Learn More. And we can style and link this button to another page.
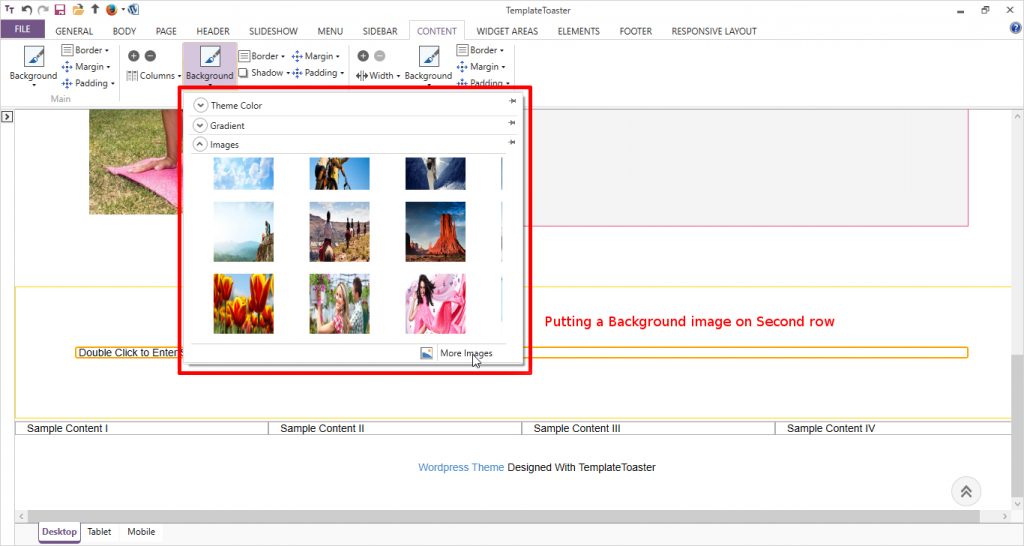
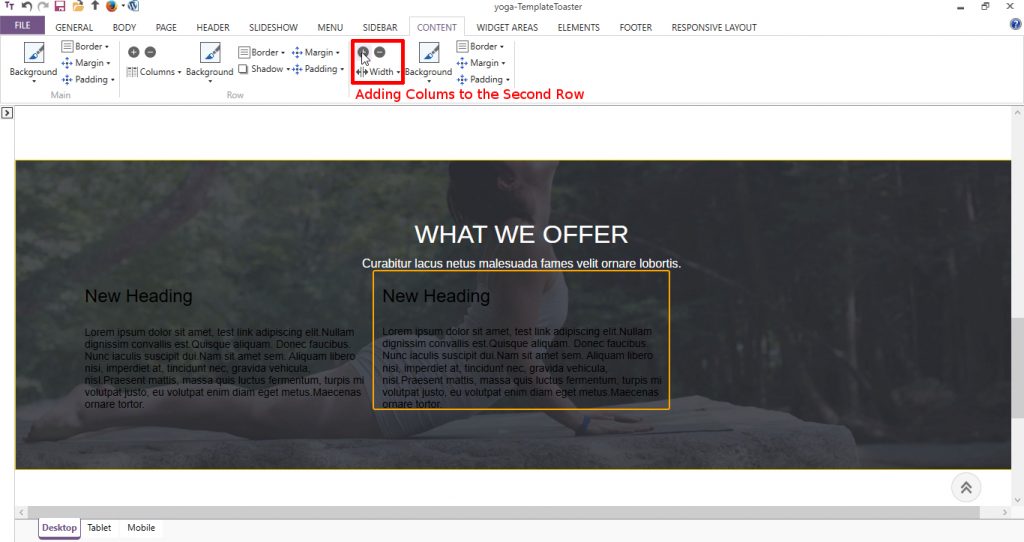
Now for the Second Row, we chose a Four Column Layout to put more content. Firstly, we add the background to this row.
If you need, you can add more rows or delete the existing ones from + and – buttons in Row option. Similarly, we can further design the content part according to our preferences.
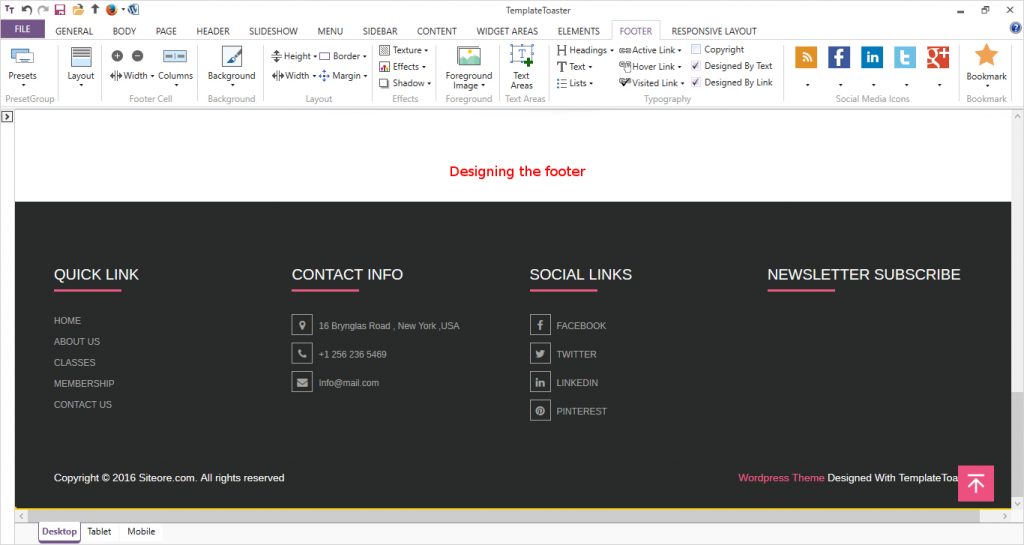
- Designing the Footer
For the Footer, select the desired Presets design and Layout. Set a Background and add content and do its linking properly. You also have the option to add Social Networking Icons here in TemplateToaster.
We are all set to export our Yoga Website theme. In the top Quick Access Toolbar, from WordPress icon – we can easily export the theme by specifying desired name and location.
Or
Go to File —>Export —> Specify Filename and path —> press Export.

Step 3: Upload Theme in WordPress
Firstly, export your theme file onto the desired location.
Now, log into WordPress Dashboard and from the left sidebar navigate to Appearance → Themes → Add New → Upload → Browse.
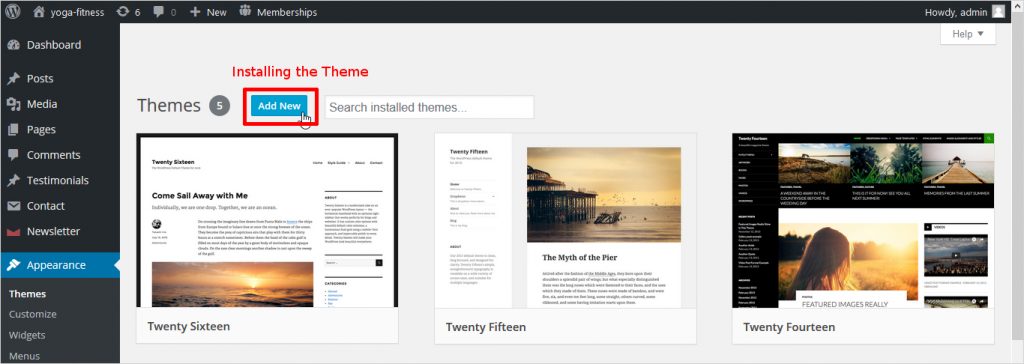
Once you browse your exported file, click Install Now and then Activate.
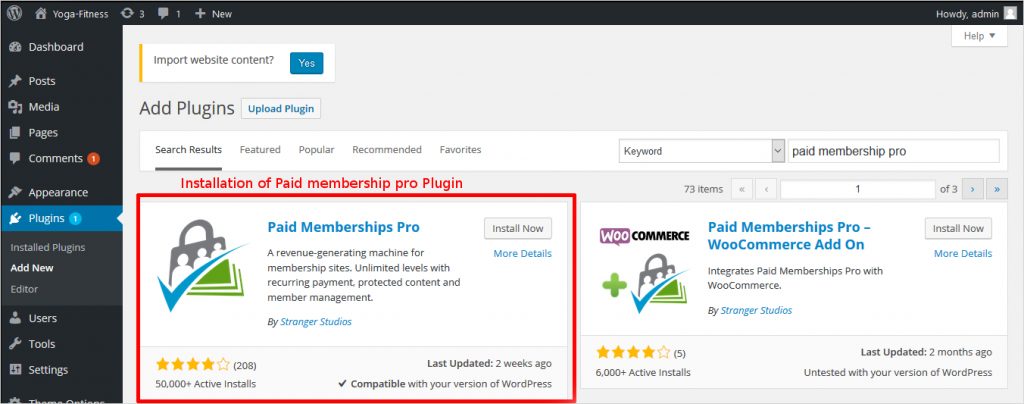
Step 4: Install Plugins
Now for displaying different membership plans, we need two plugins.
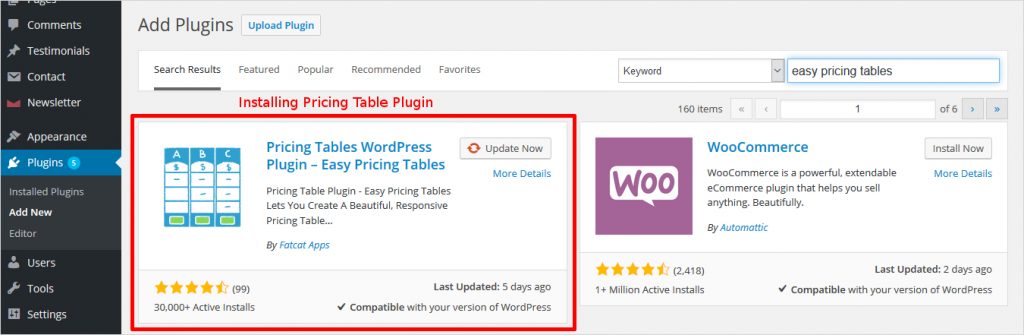
Pricing Tables WordPress Plugin and Paid Membership Pro. These plugins are flexible and easy to customise and to install plugins:
Select Plugins → Add New → Install Now → Activate
 Now you can see the Plugins in the left sidebar and one by one can make the settings for both the plugins.
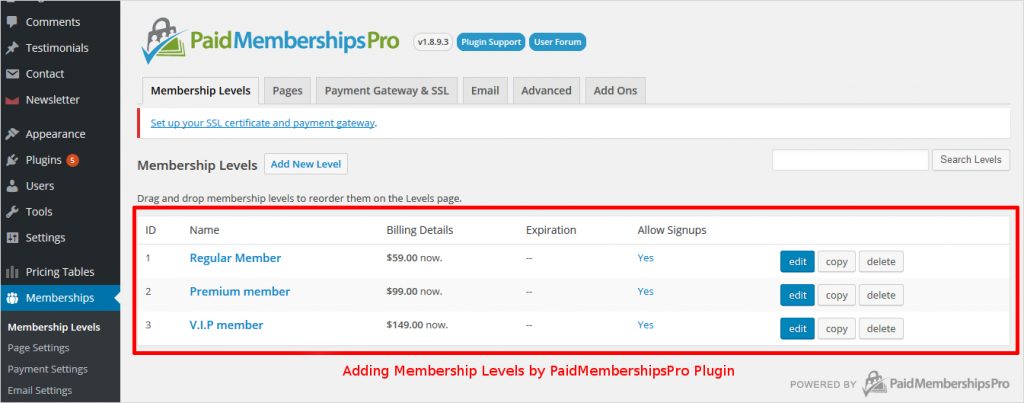
Firstly, We create member levels in Paid Membership Pro plugin like Regular, Premium, V.I.P Member as shown below:
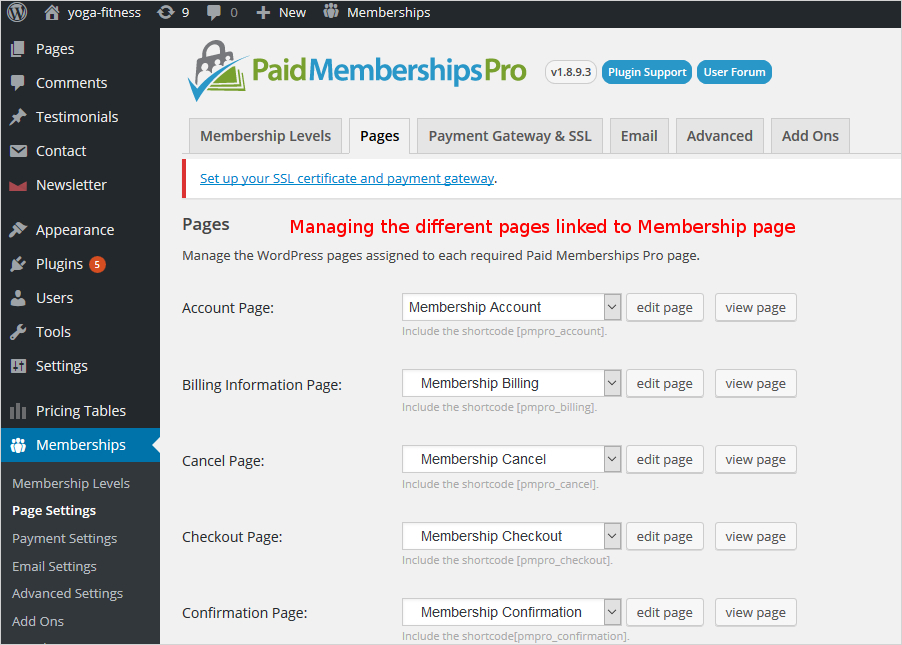
Now, we can easily manage the automatically created associated pages with membership levels such as Account Page, Billing Information page, Check out page etc. as shown below. You can also specify the different Payment Gateways like Visa, Mastercard and much more.
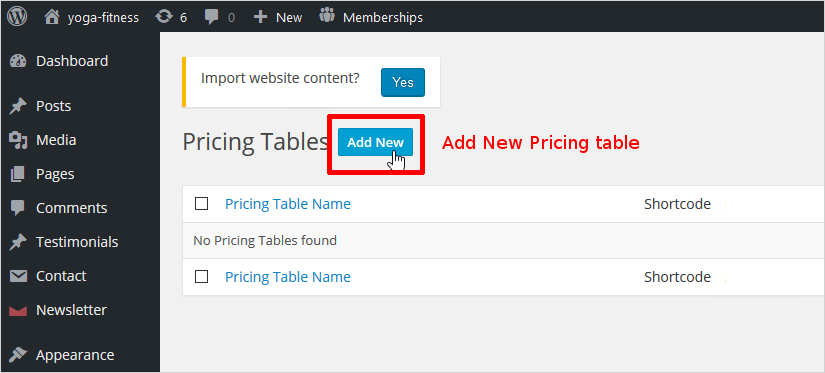
Once, we are done with all the settings here, move to Pricing Tables plugin. Here we will add a new Table by clicking “Add New” button i.e. “home membership”.
Now by clicking on the table name, you can add membership plans like for Regular Member, Premium Member, V.I.P Member etc.

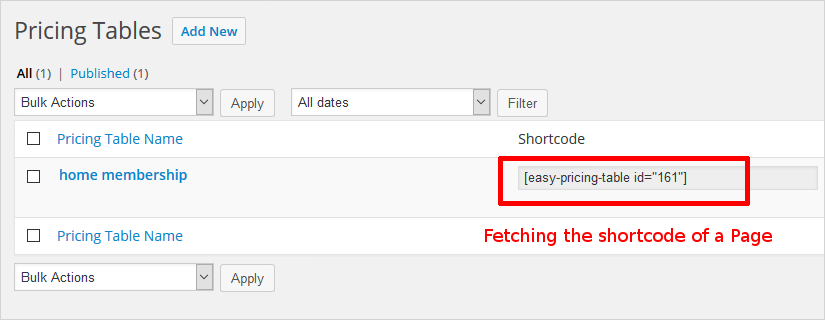
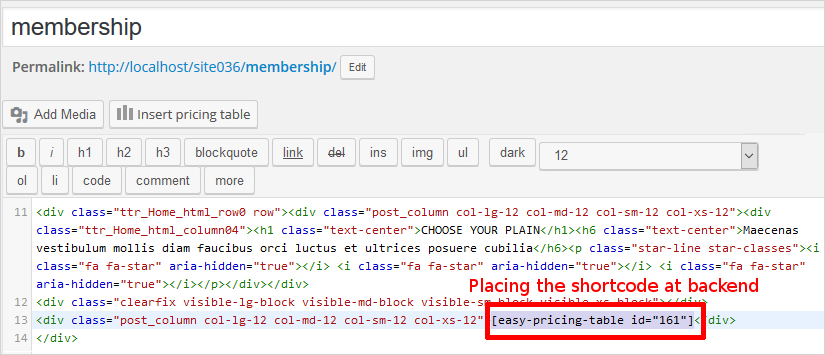
Now we will fetch the shortcode of membership plans table that we just created as shown below:
and paste the code to the end of Membership Page as shown below:
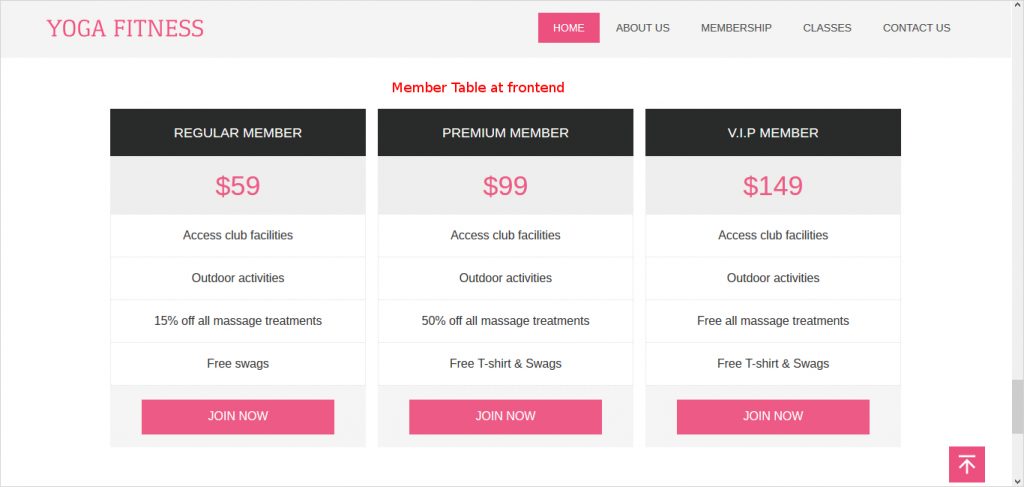
The resultant Membership page at the front end will look like:
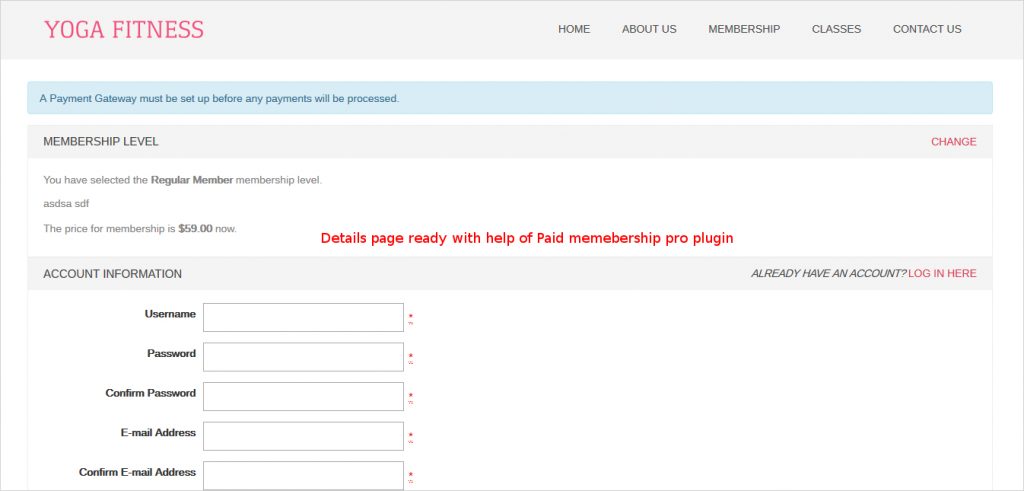
Similarly, the page of a member’s particulars created with help of Paid membership pro Plugin is used to get information about Name, Address, Suitable Timings etc. This page will open when we click JOIN NOW button on the Membership page.
That’s it !! We are ready with a Yoga Website. We can see it on the browser finally.
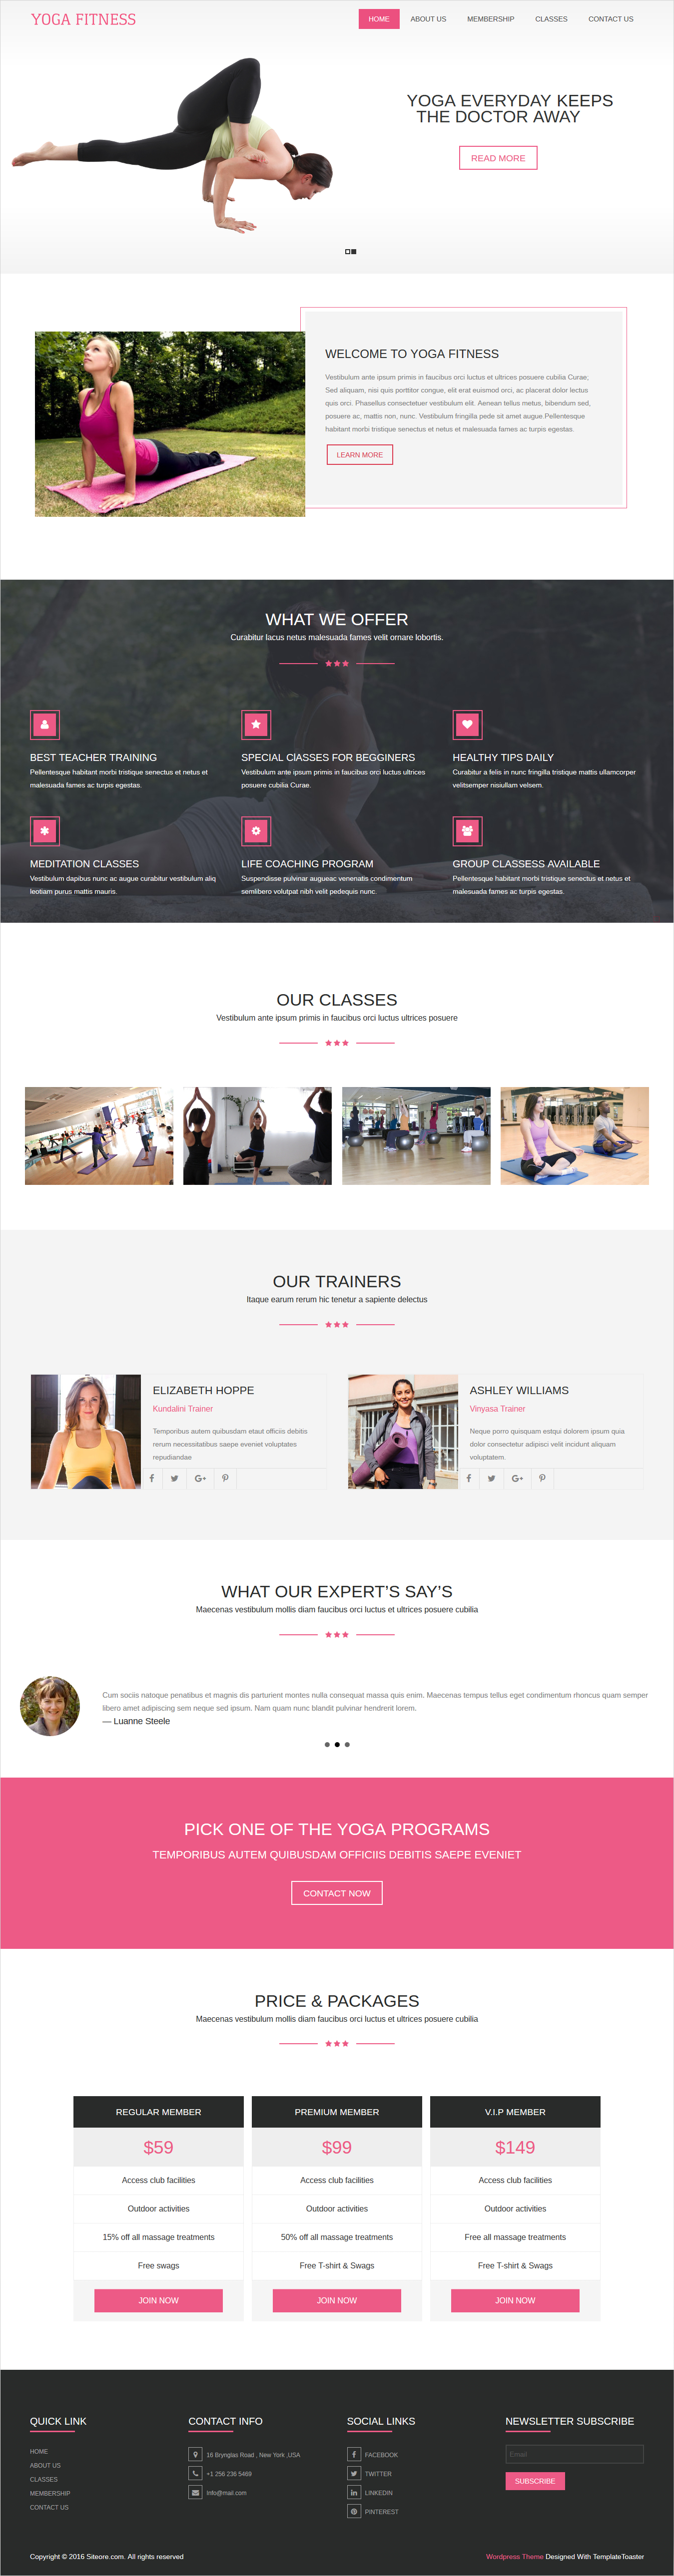
To Sum Up
We have designed a Yoga Website with a TemplateToaster generated Theme and Plugins of Pricing tables, Paid Membership Pro. As TemplateToaster, a web design software guarantees the responsive layout for themes, be confident about building a searchable website through viewers smartphones and tablets. It is an adroit choice made by the users to create professional themes and templates in less time. So getting a website up, is your cup of tea now with this unique theme and template builder.
Build a Stunning Website in Minutes with TemplateToaster Website Builder
Create Your Own Website Now