How to Create a Music Website: Step-by-Step Guide for Musicians
Looking to make your mark in the music industry? Knowing how to create a music website is essential for musicians, bands, and music enthusiasts who want to showcase their talent, connect with fans, and even sell their music online. This guide not only walks you through the steps of building a music website but also serves as a practical send the song website tutorial, helping you create a platform where you can easily share your tracks with the world. Dive in to craft a website that perfectly reflects your unique style and captivates your audience.
Creating a music website doesn’t have to be complicated, even if you’re not a tech expert. Thanks to modern tools like a WordPress Theme Builder, you can design a professional-looking website tailored to your musical style without writing a single line of code. If you’re aiming for a highly customized design, learning How to Create WordPress Theme can give you the flexibility to craft a unique online presence. With the right approach, your music website can become a central hub for streaming tracks, sharing updates, and engaging with your audience.

How to Create a Music Website – Beginners Guide
Today, when everything has become digital, having a website is essential. Especially for rising talent, who is new in the music industry and wishes to showcase his/her musical talent to as many people as possible. And a send the song website gives you the freedom to reach all the big giants of this huge industry. Furthermore to attract and keep your fans. So, to bring your or your client’s talent to the digital reality you need to create a website.
And I will guide you on how to create a music website without any technical skill. For your convenience, I have broken down this tutorial into easy steps. And here’s a little brief:
- Select best-suitable web hosting.
- Pick a preferred content management system.
- Create your own theme or customize the pre-designed theme.
- Export and upload your music website.
Don’t get frightened, they are pretty simple to perform. And without any further delay let’s start the process of creating a music website.
Steps to Create a Music Website
We will create a website using the very simple, yet so powerful website builder TemplateToaster. It is certainly one of the easiest website builders you will find online. So, quickly download and install it on your PC and get ready to start your musical journey with me. I assure you the entire process will be as smooth as your music composition. So, dive in!
Step 1: Design a Music Website Theme
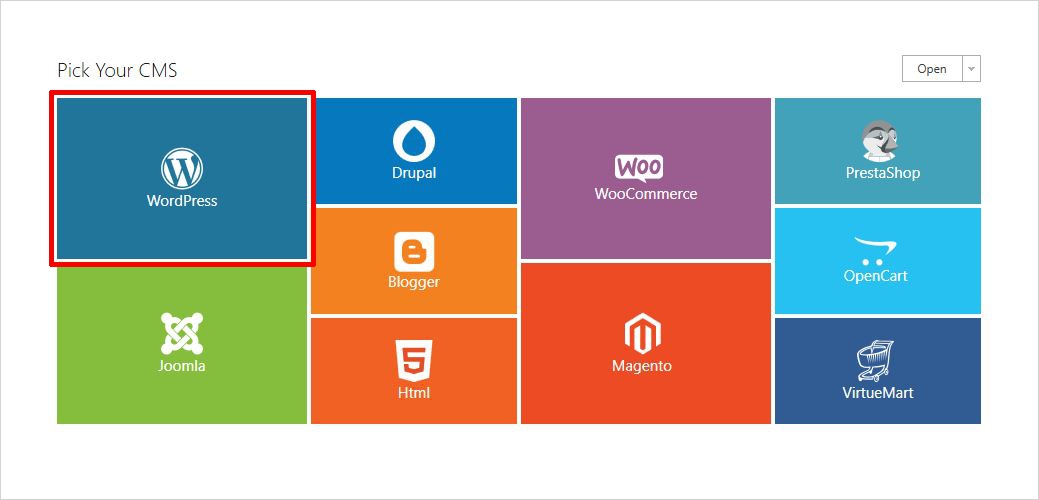
Here I will choose the simplest yet so efficient website builder – TemplateToaster. And as soon as you launch this offline website builder software, you will see a screen displaying all major open-source CMS software. I will choose WordPress here.
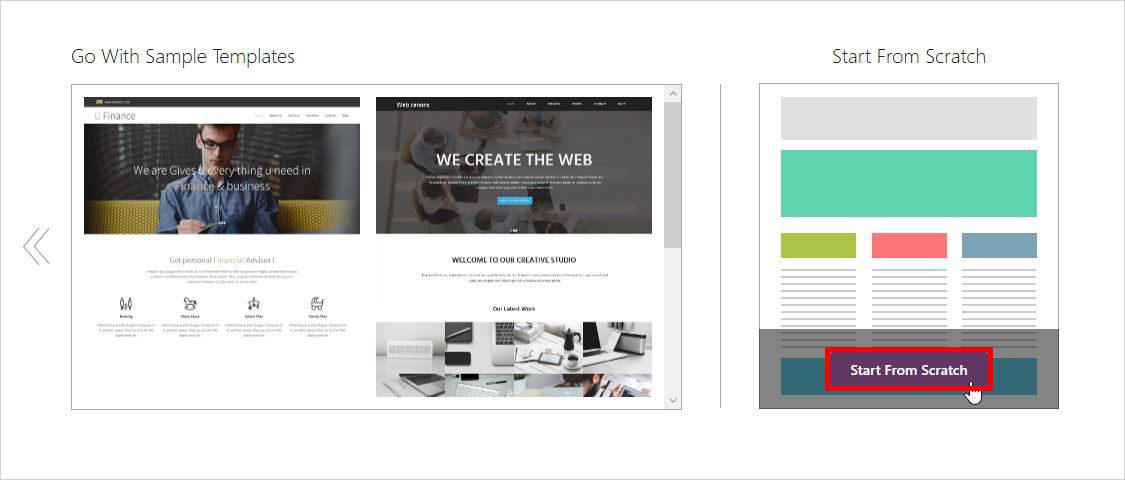
Now, you shall see a screen to choose between “Go With Sample Template” and “Start From Scratch.” However, there are various beautiful free WordPress themes you can find in the TemplateToaster repository. But for now, we will choose the “Start From Scratch” option. The main interface looks like as shown below.
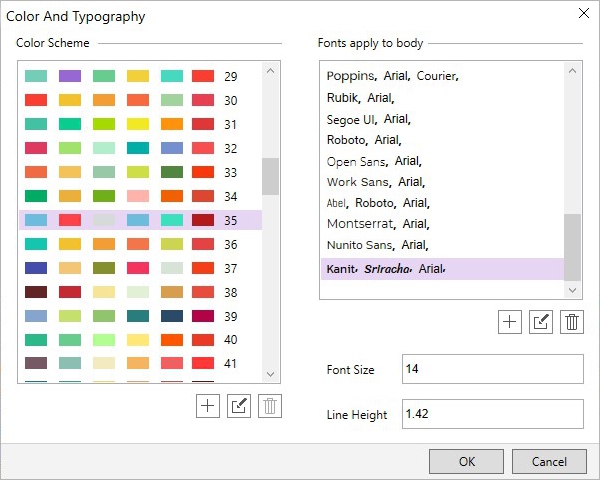
The very first thing you will customize is the color, font, and the typography of your music website. Yes, the next screen covers the “Color and Typography” that you want to select for your music website. Select it and click on the ‘OK’ button to confirm your choice.
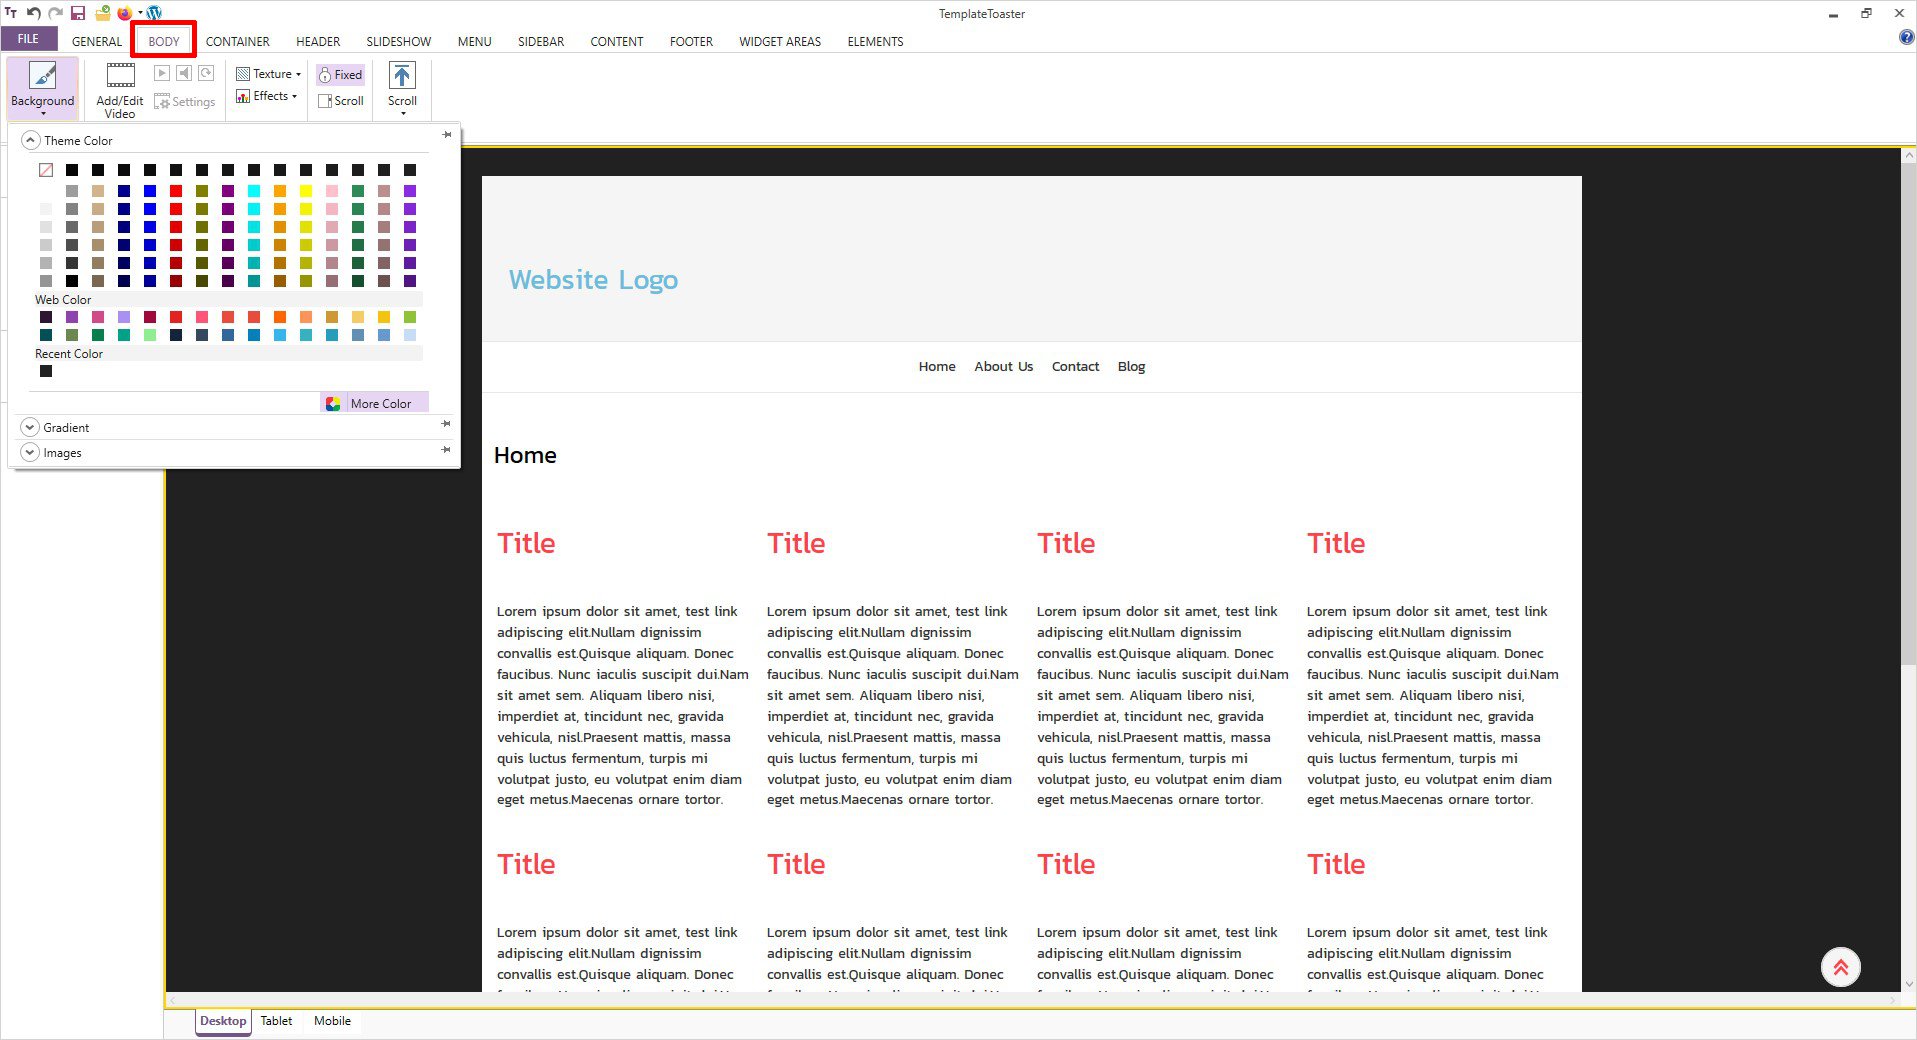
Step 2: Set the Body Background
You can set a body background for your music website, to do so click on the Body tab and choose any color of your choice and make your music website as vibrant as you want.
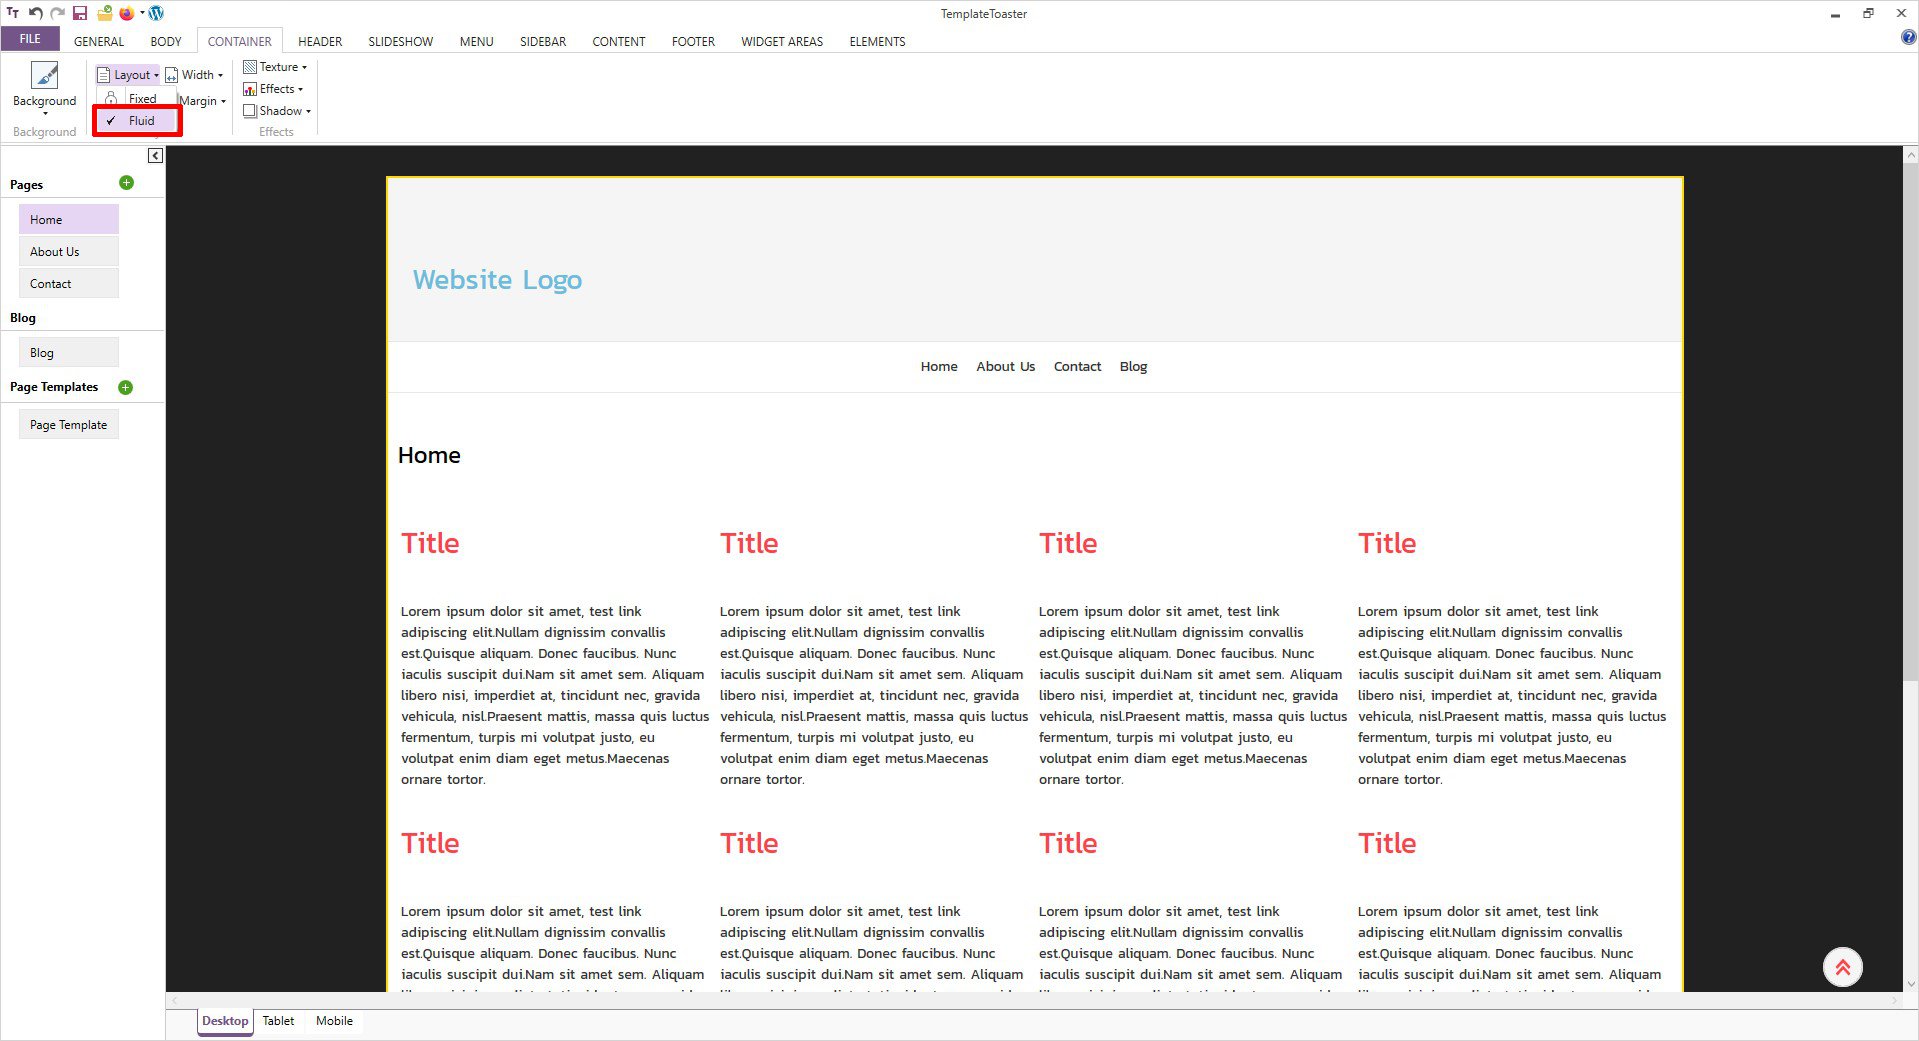
Step 3: Set the Container Layout
In order to set the container layout, you need to switch to the ‘Container’ tab and set the layout either ‘Fixed’ or ‘Fluid’ however you like.
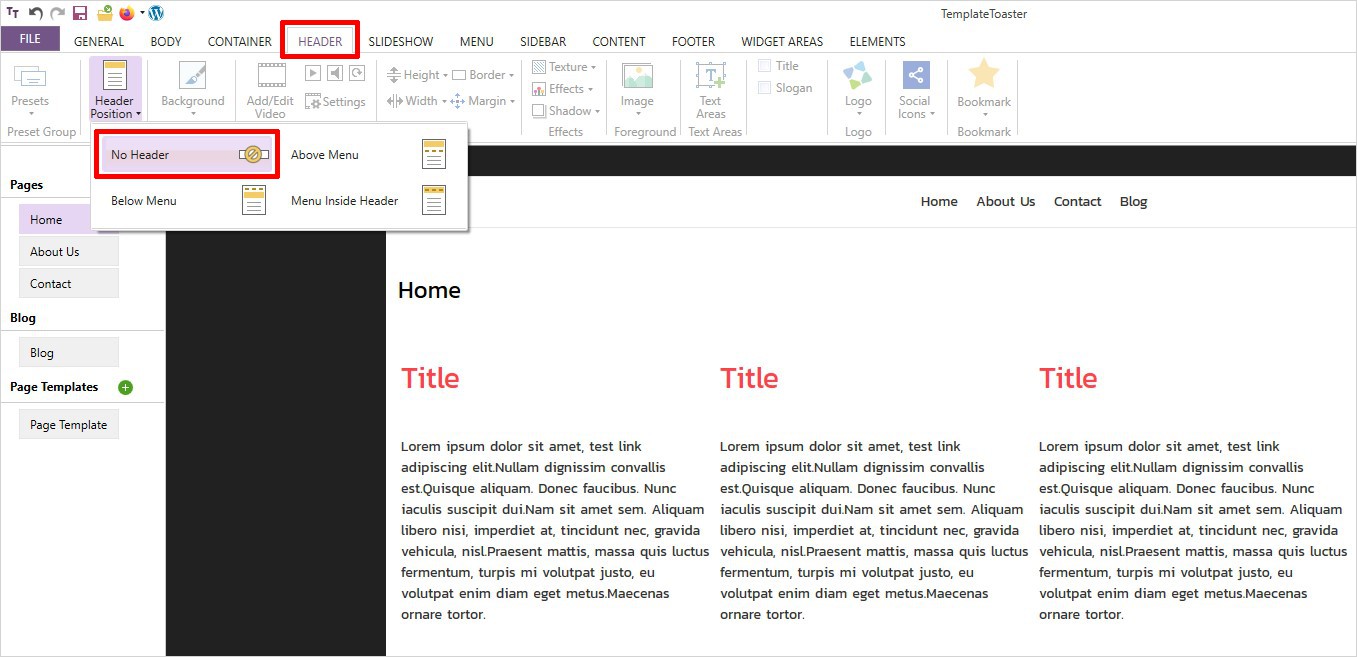
Step 4: Design the Header
A header is really important in your music website. Here you can easily manage the position of the header like the above menu, below menu, menu inside the header or no header at all is also one of the options. Whereas, if you don’t want to have a header on your website, you may choose that too. As I am not having a header on my website this time.
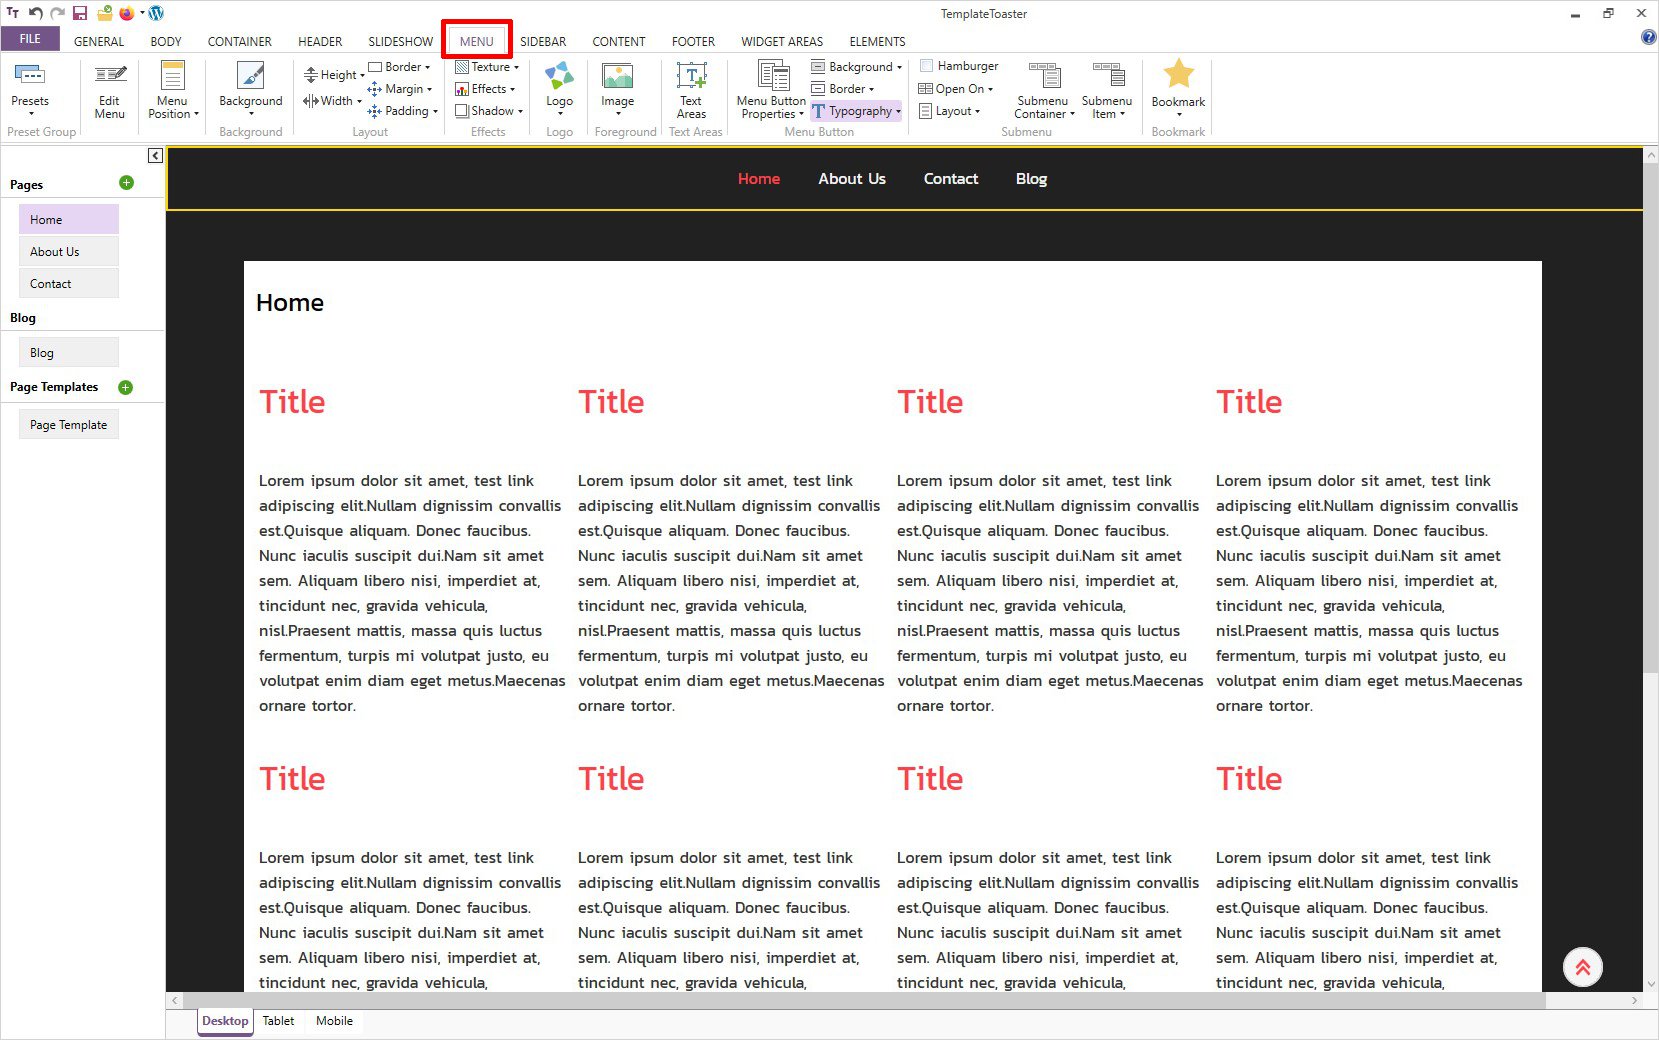
Step 5: Design the Menu
You can modify the menu by customizing its border color, background color, alignment, position, margin, padding, etc. as shown below.
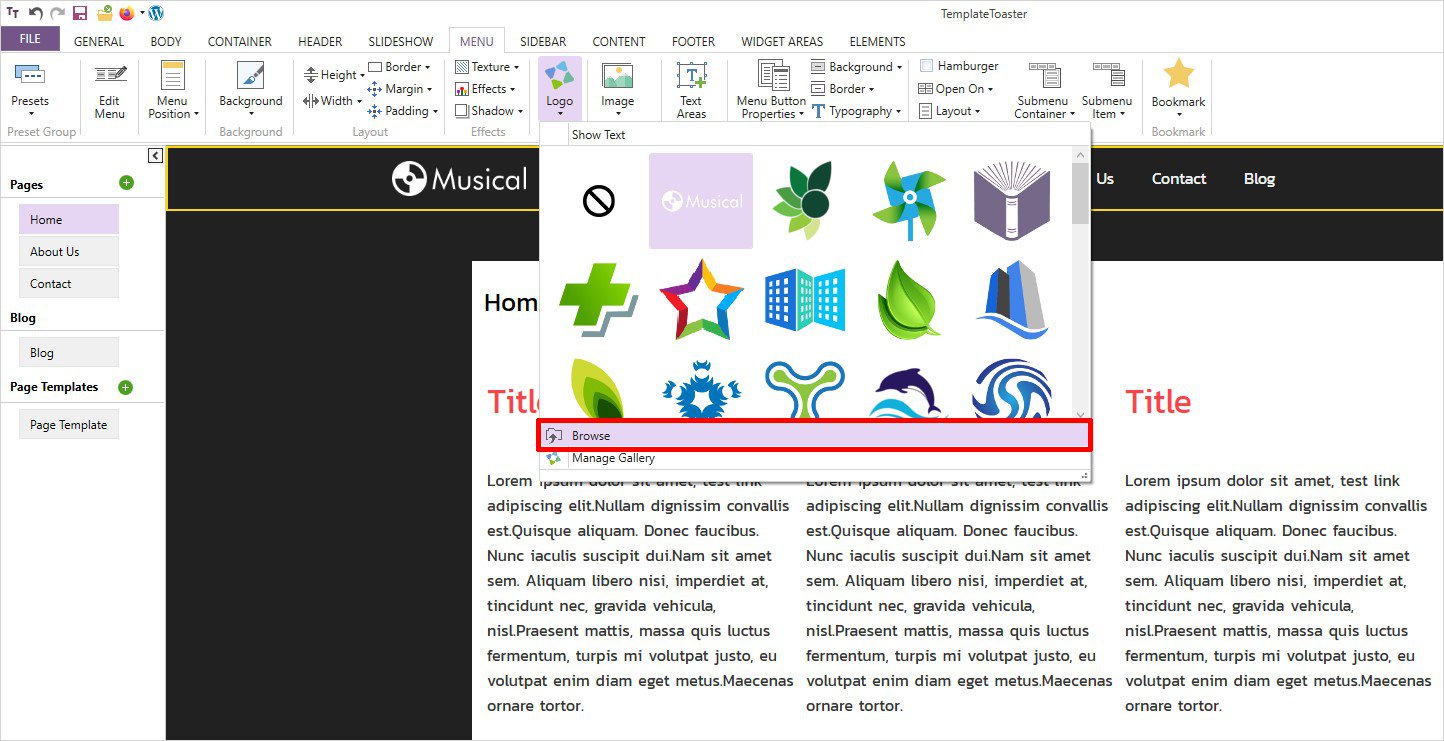
A logo is your brand’s identity. This is how people will recognize you. If you have already used some logo design software and you are ready with your logo then you can easily have your custom logo. On the contrary, if you haven’t created one, make sure you choose the font, color, and shape for your logo with a lot of care.
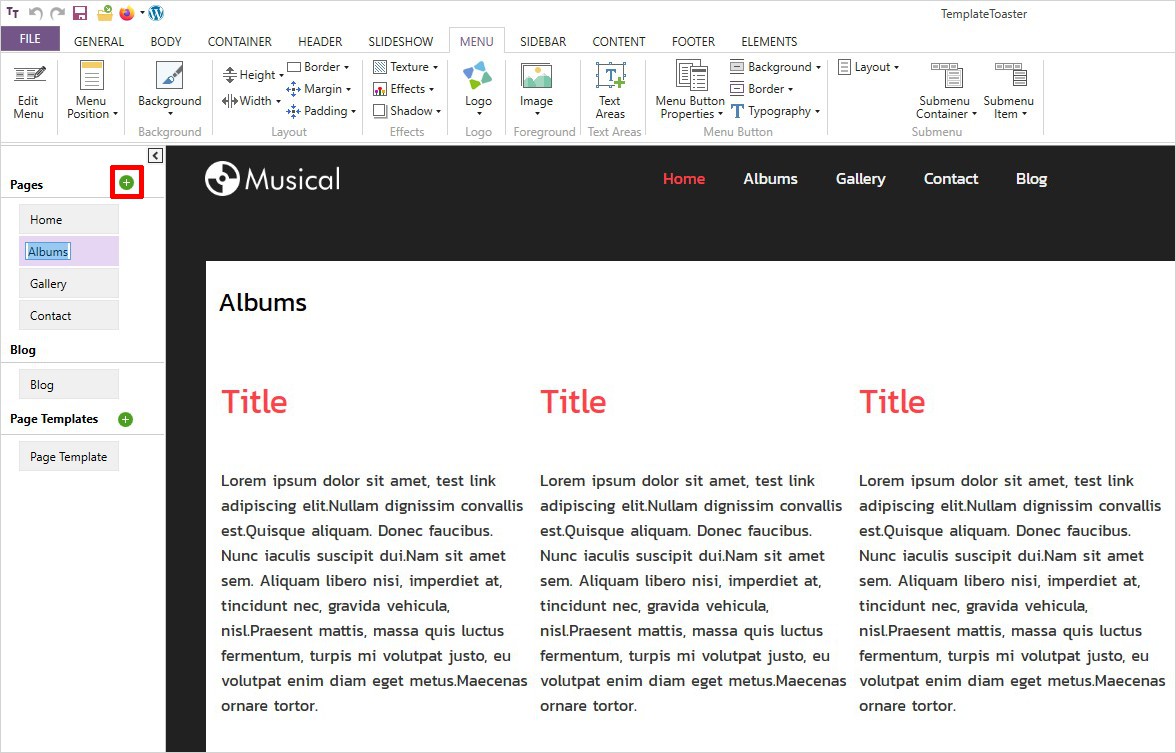
Step 6: Add Pages (As many as you want)
- The next thing is to add pages to your music website. This is both interesting and important to have as many pages on your website as you want. Head to the horizontal left bar and click on the ‘+’ icon to add pages to your music website. However, you can also right-click and select the ‘Add Page’ option to add a new page. Every field contains different functions intended for different purposes.
- You can add/delete/rename/customize the desired pages as per your specifications. For instance, to rename a page title, simply double click to make it editable and rename it.
- I have created the ‘Album’ page here.
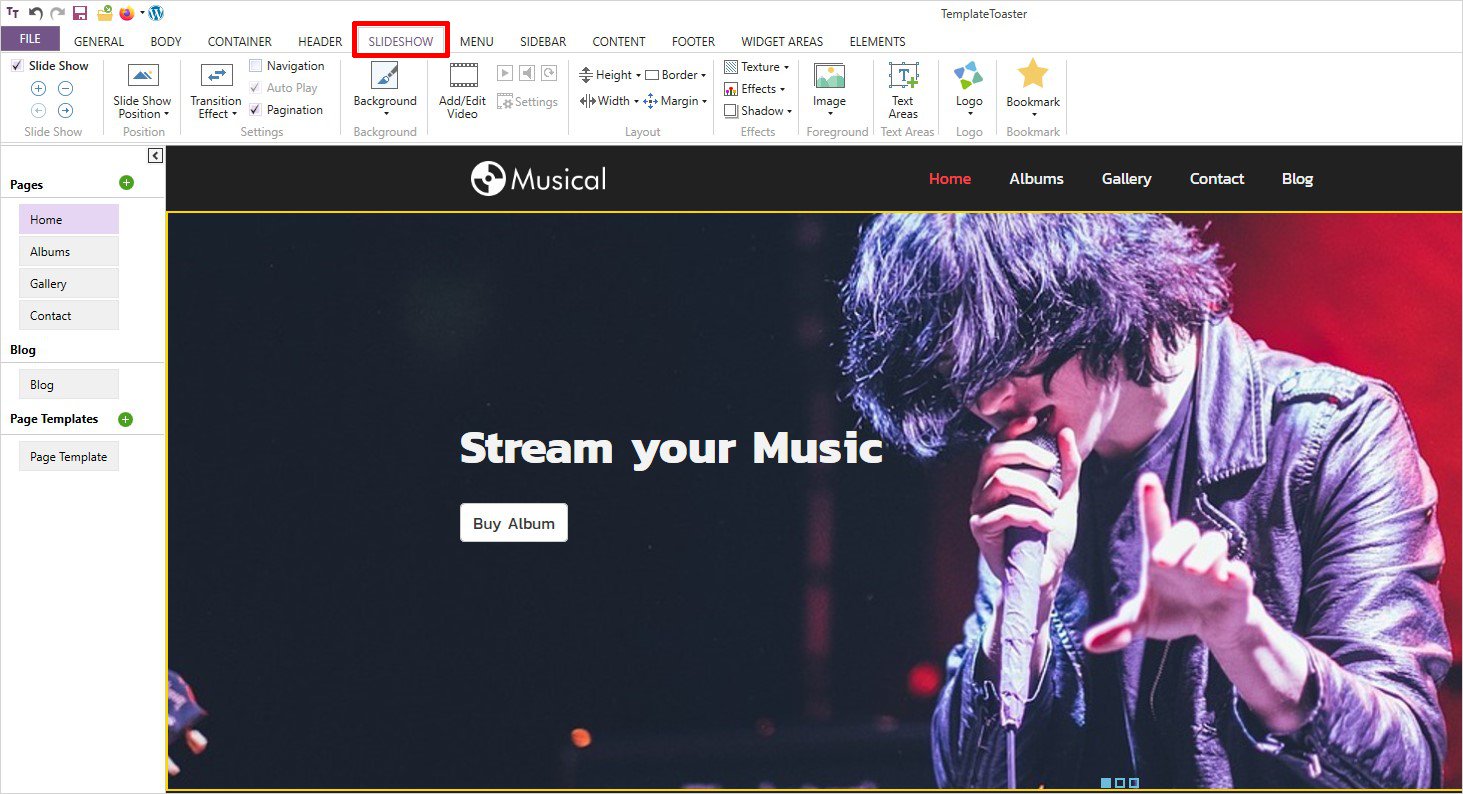
Step 7: Adding Slideshow to Your Music Website
- A slideshow always adds that appealing factor to any website. Especially on a music website, you may use pictures of your concerts, events, and other awards you might have won for your talent.
- To add a slideshow, go to the ‘Slideshow’ tab and explore related features. You can make a beautiful slideshow by changing the background color, background image, apply transition effects, add multiple slides, etc.
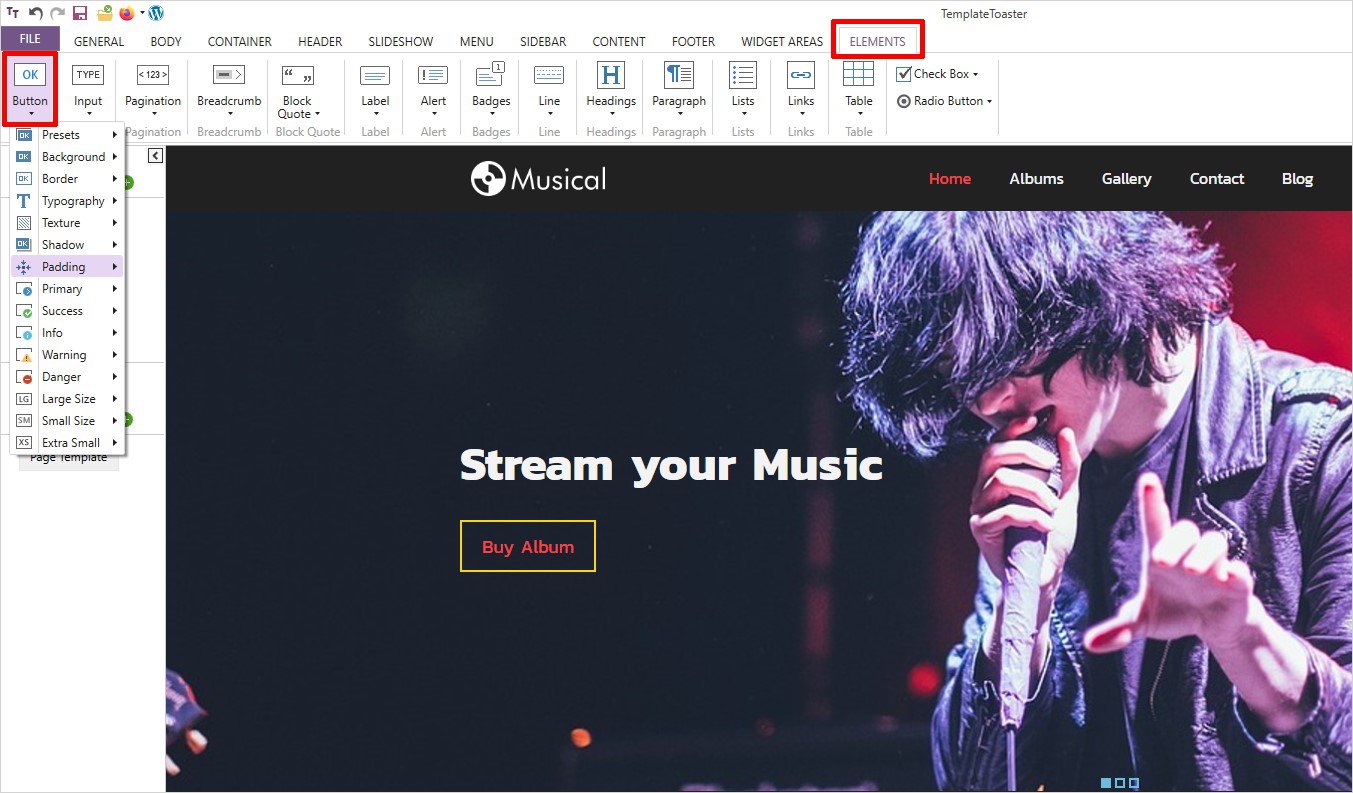
The button on your slideshow can be styled matching with your music website. There are many options to style the button such as padding, border, size, etc.
Step 8: Add Content Page to Your Music Website
Content editing helps you edit your website content. However, you can anytime make your own settings such as setting a margin, padding, width, height, border, shadow, etc. All you have to do is click on the ‘Content’ tab and start editing. You may use the ‘+’ and ‘-’ icons to increase or decrease the number of rows and columns as and when required.
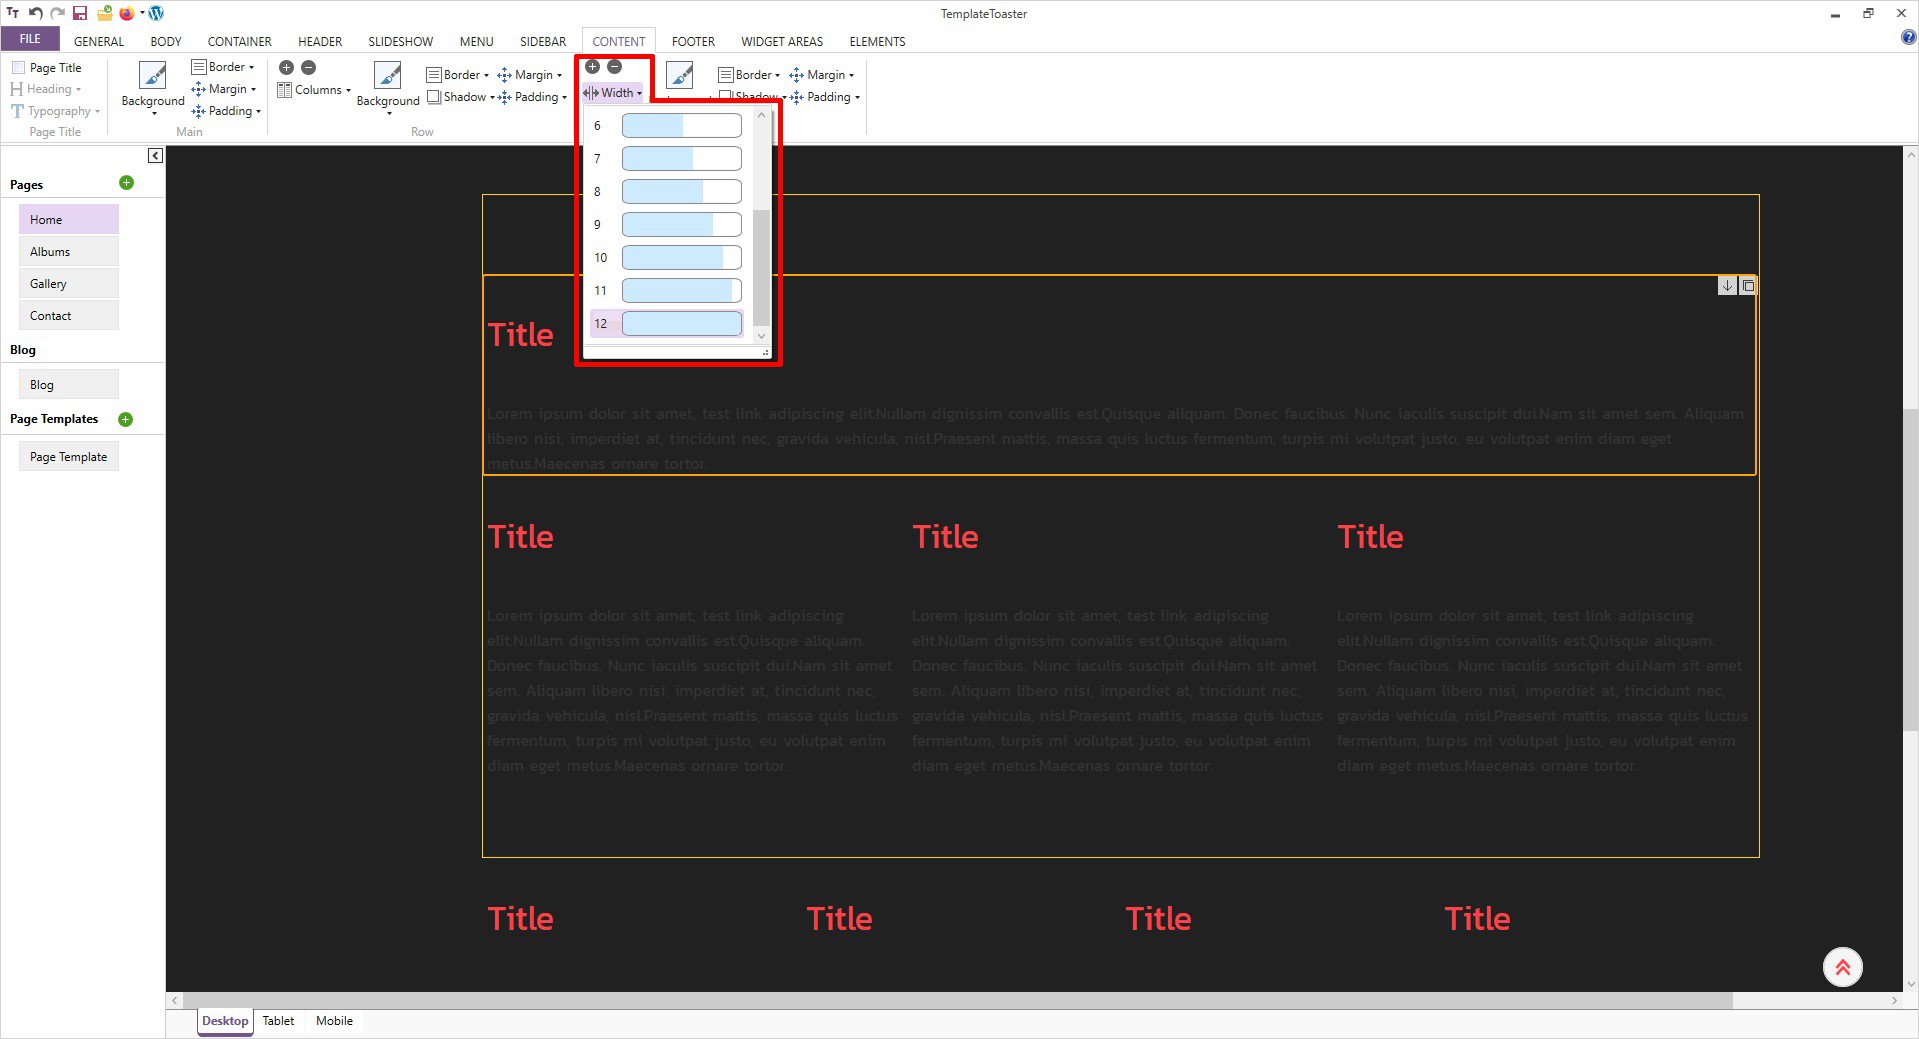
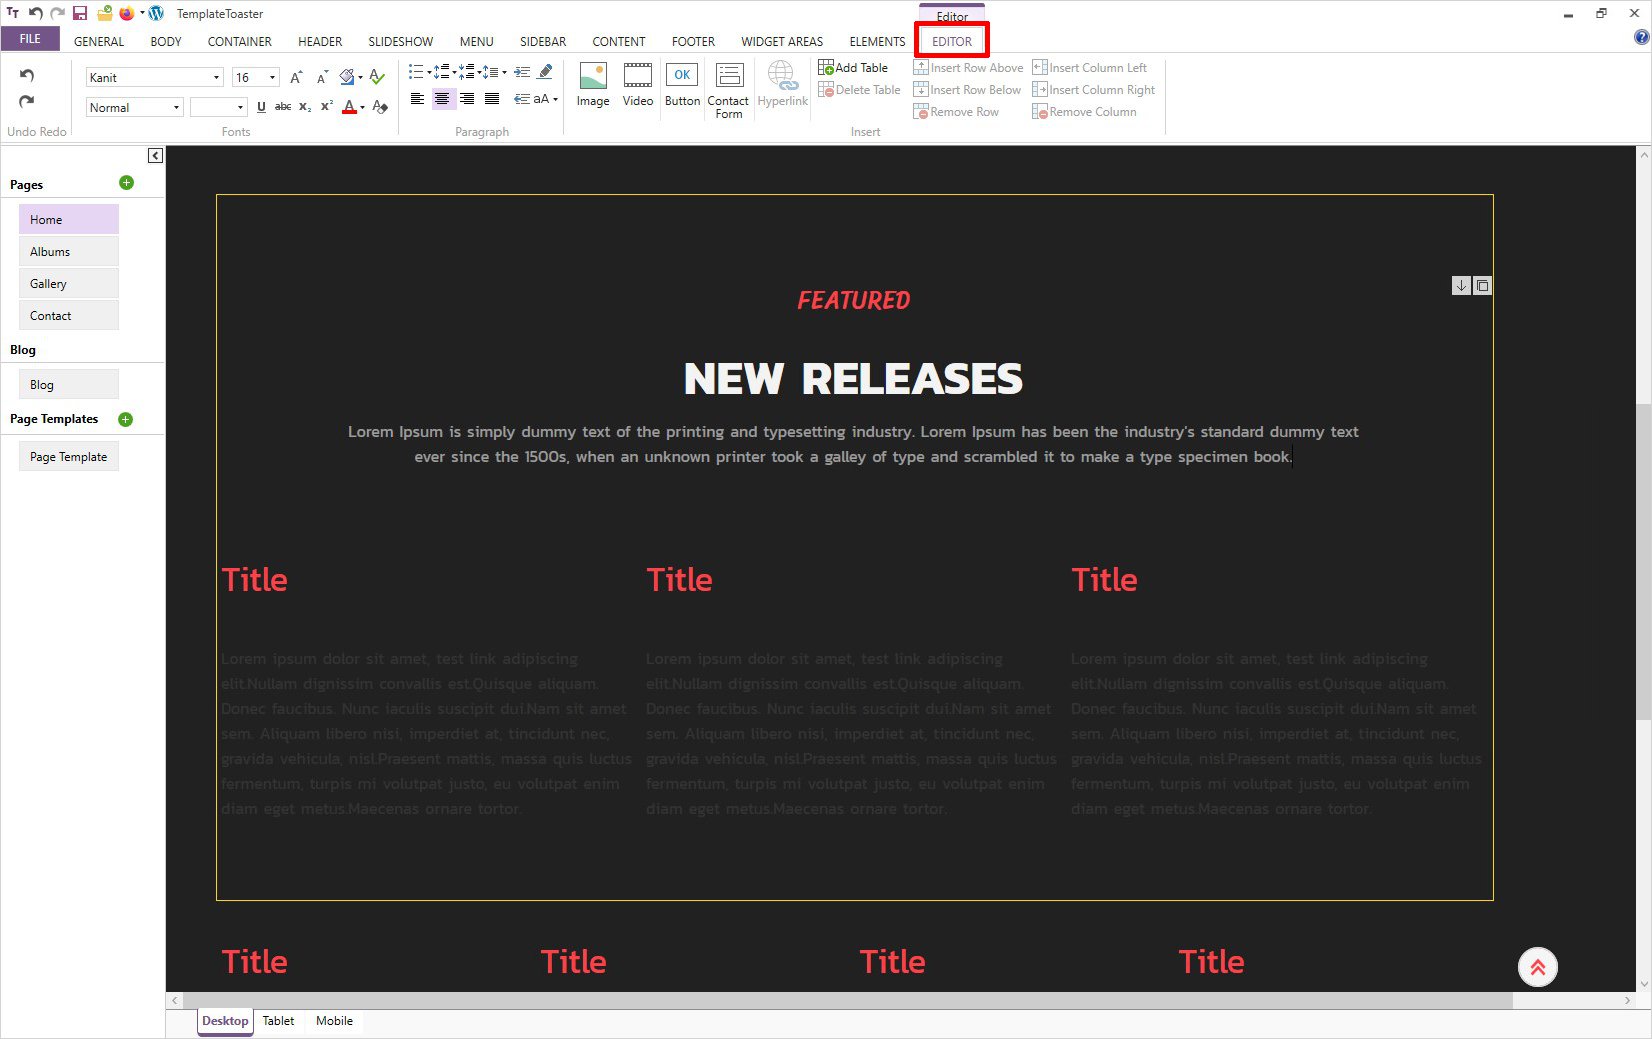
Once you click on the selected content area it makes it editable. And then you can easily add the content to your music website as shown below.
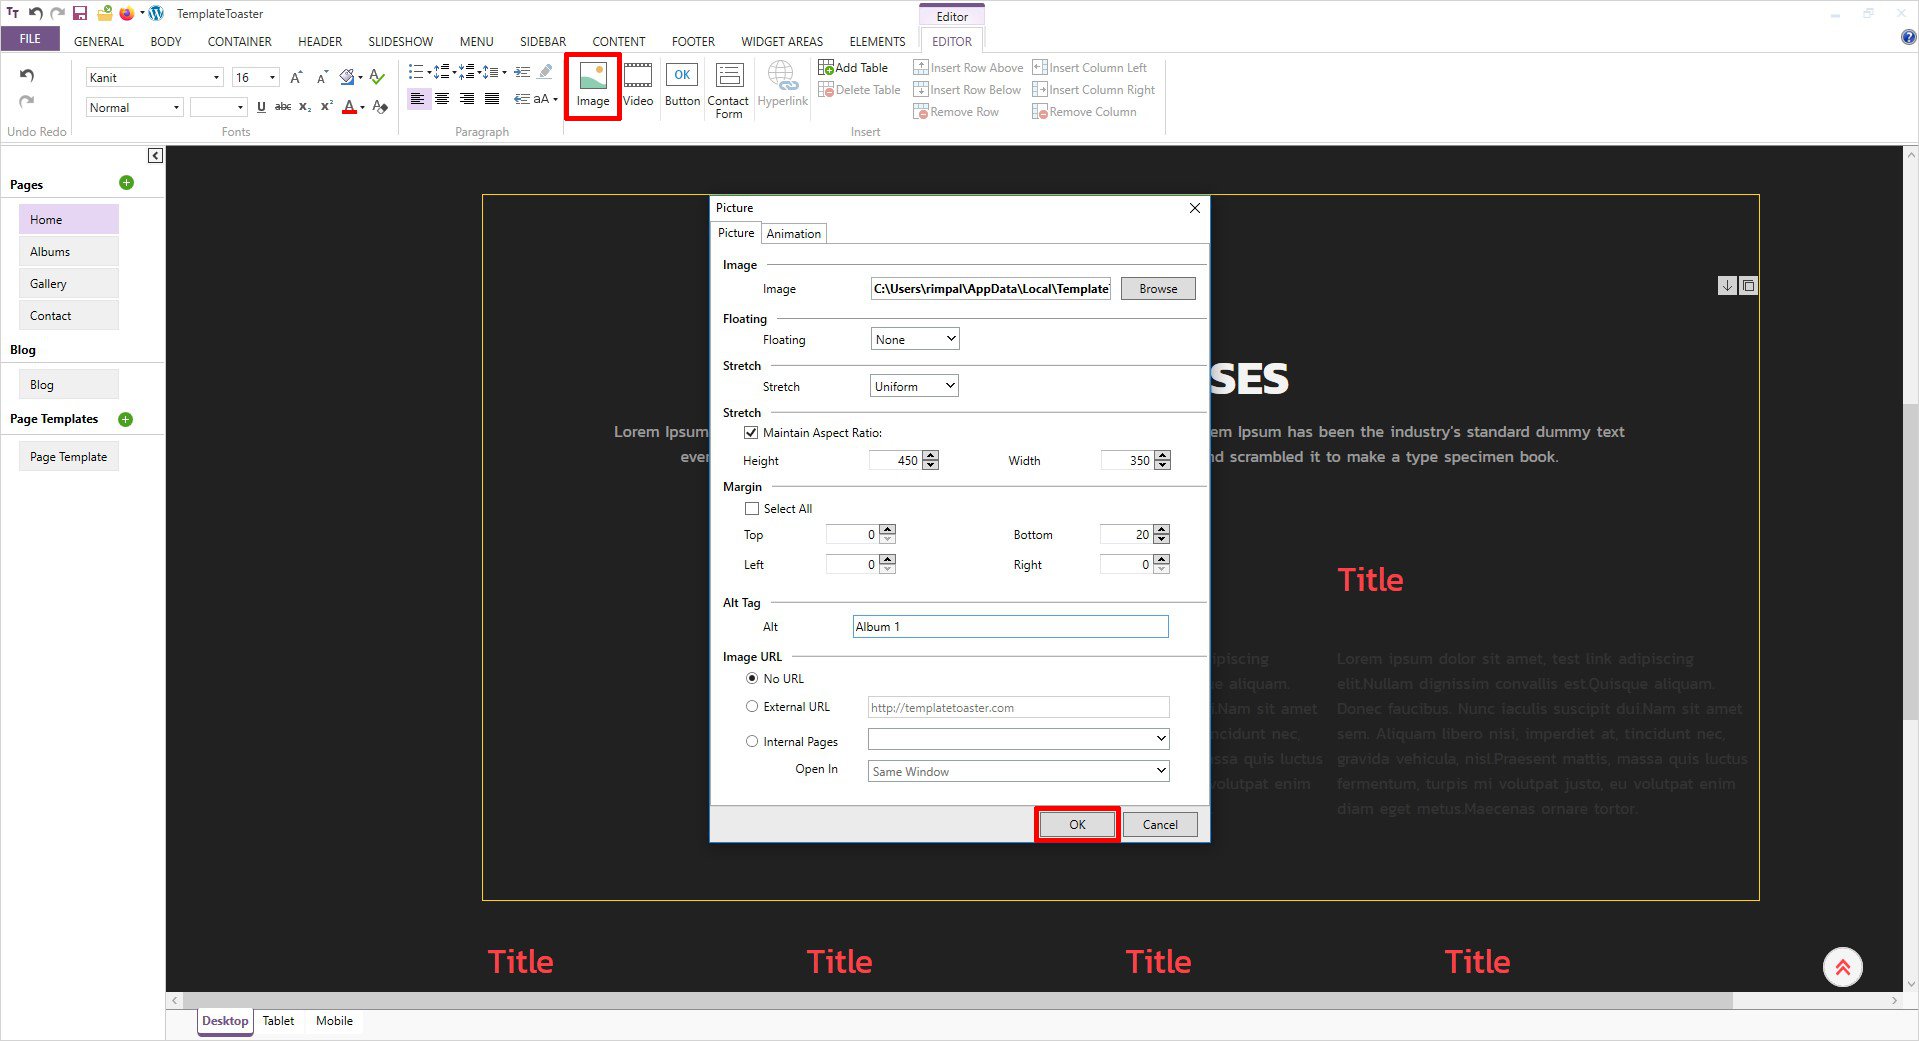
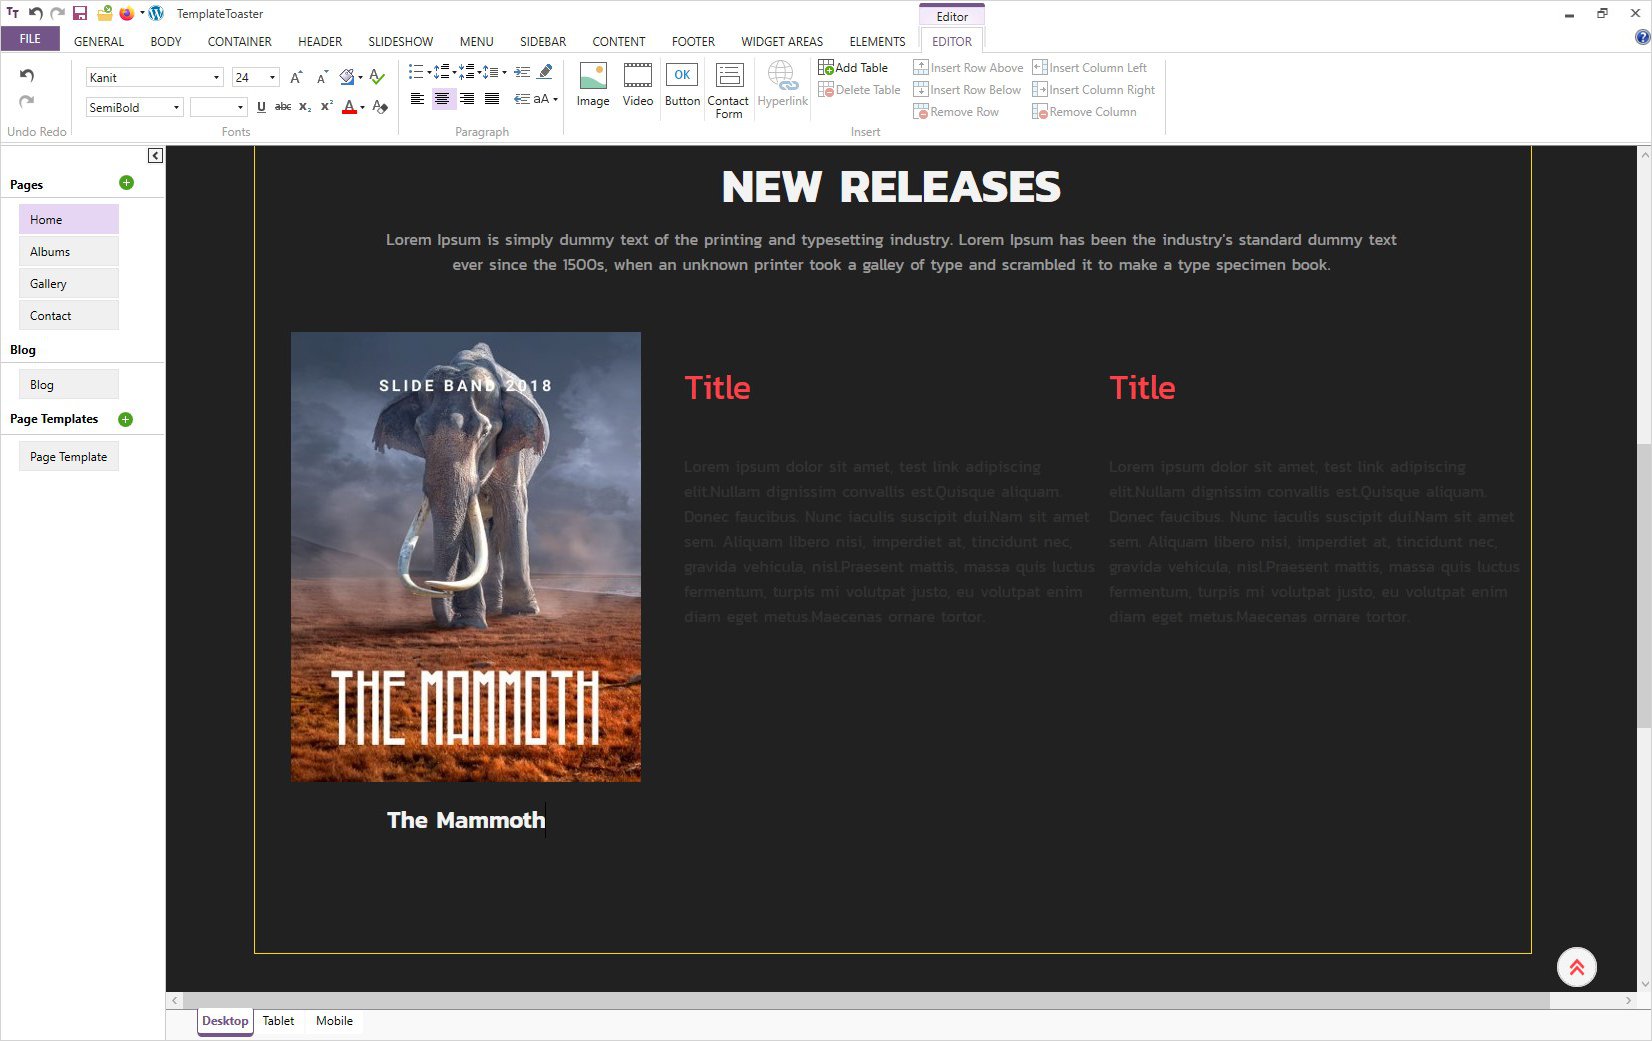
Similarly, you can have an image inserted along with your content. Image settings such as adjusting the aspect ratio, margin, alt tag, stretch, float, etc. You may also add a link to your image using the given options. And then simply click the ‘OK’ button to confirm it.

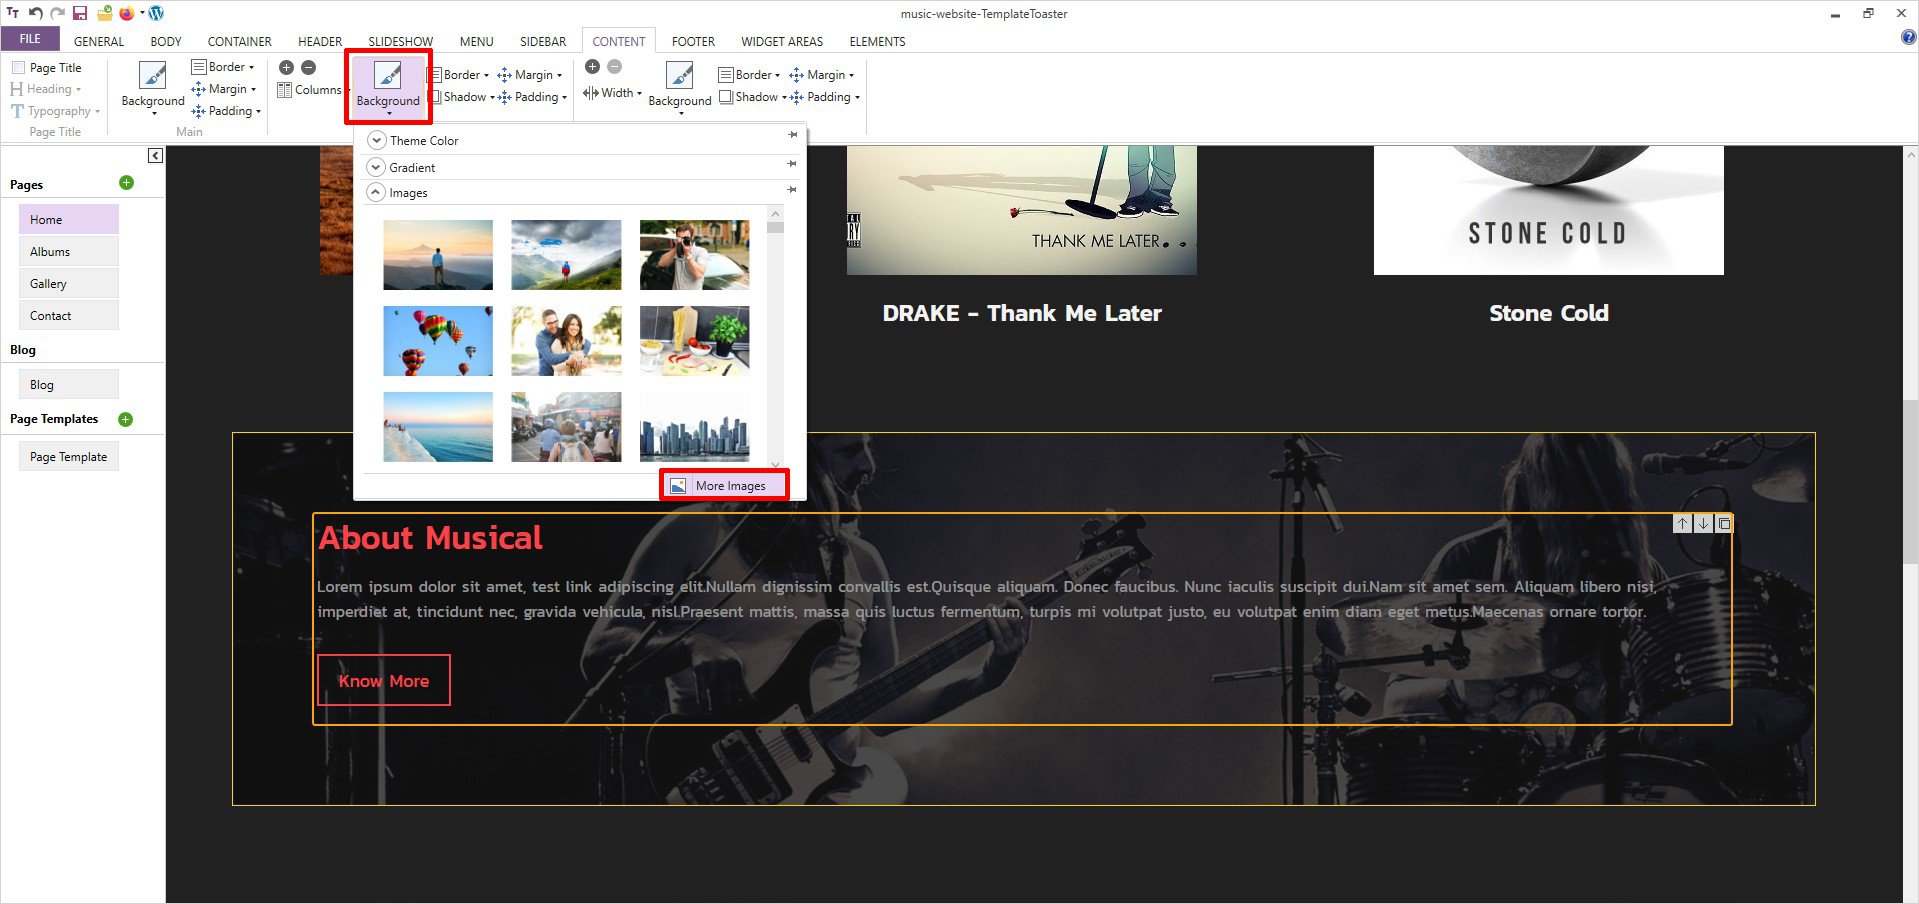
Likewise, you can add a background image to any specific row of your choice as shown below. Simply go to the Content tab and click on the Background option and select your preferred image.
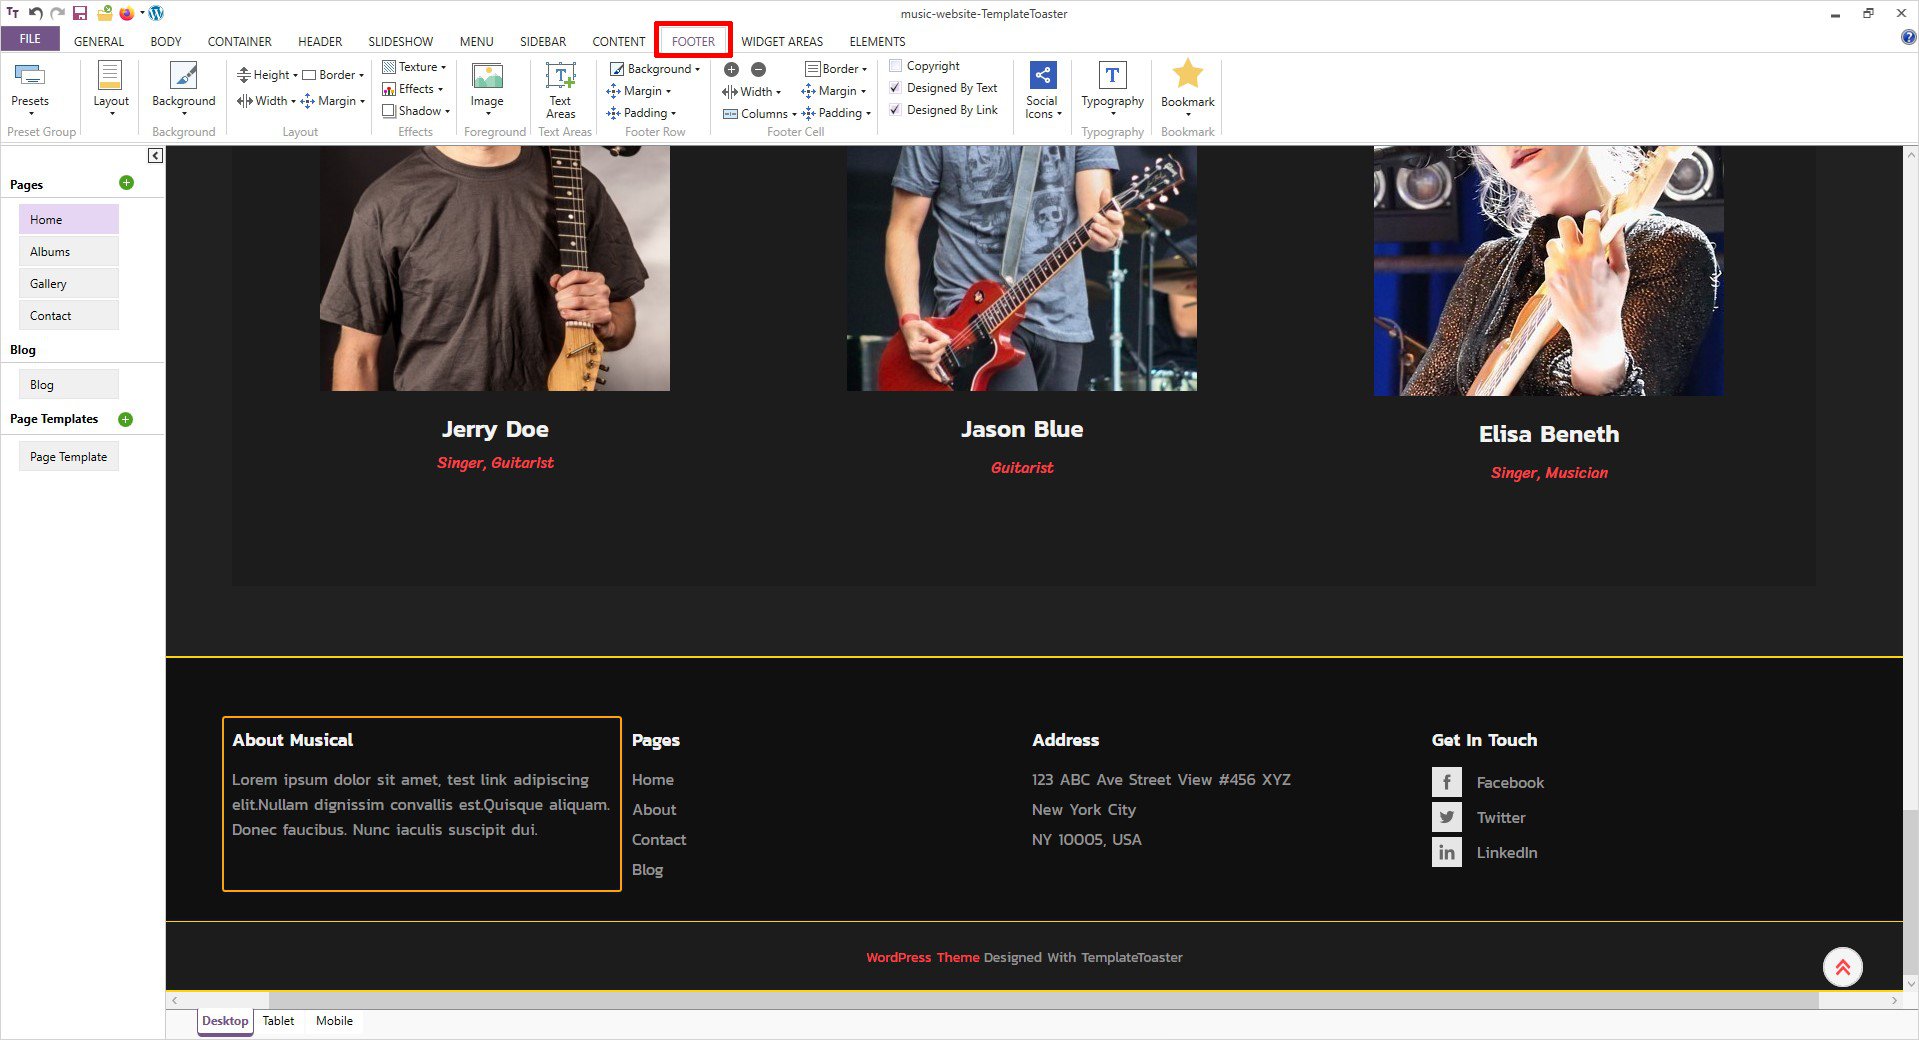
Step 9: Design the Footer
I am sure you know the importance of the footer on your website. It contains information that helps users already at the bottom of the site to navigate. You can also add a call of action in your footer and make the design so engaging that people should keep moving through your music website.
After designing a footer, you are ready with your own music website design. However, there are many other useful features TemplateToaster has to offer you. You can add all the features to your music website and attract your potential users. And once the design is ready, you are required to export it with just one single step.
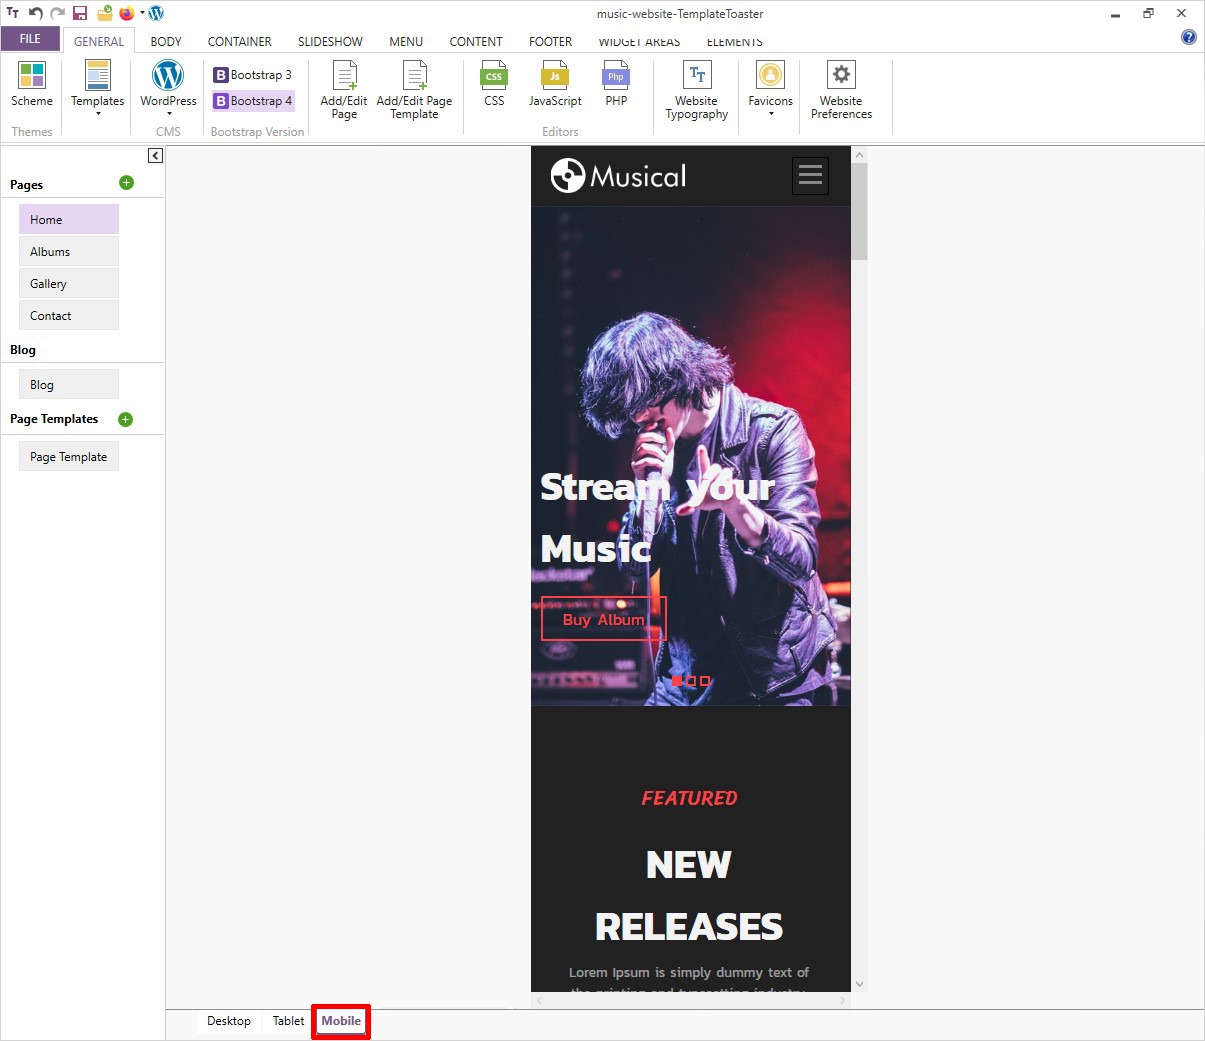
Step 10: Responsive Web Design
Responsive web design is a very helpful and trending design practice nowadays. So, having a responsive music website will help you get mobile traffic as well. And your TemplateToaster created website will be 100% responsive. You can see how it will look on multiple devices such as mobile phones, tabs, laptops, and PCs. etc. as shown below.
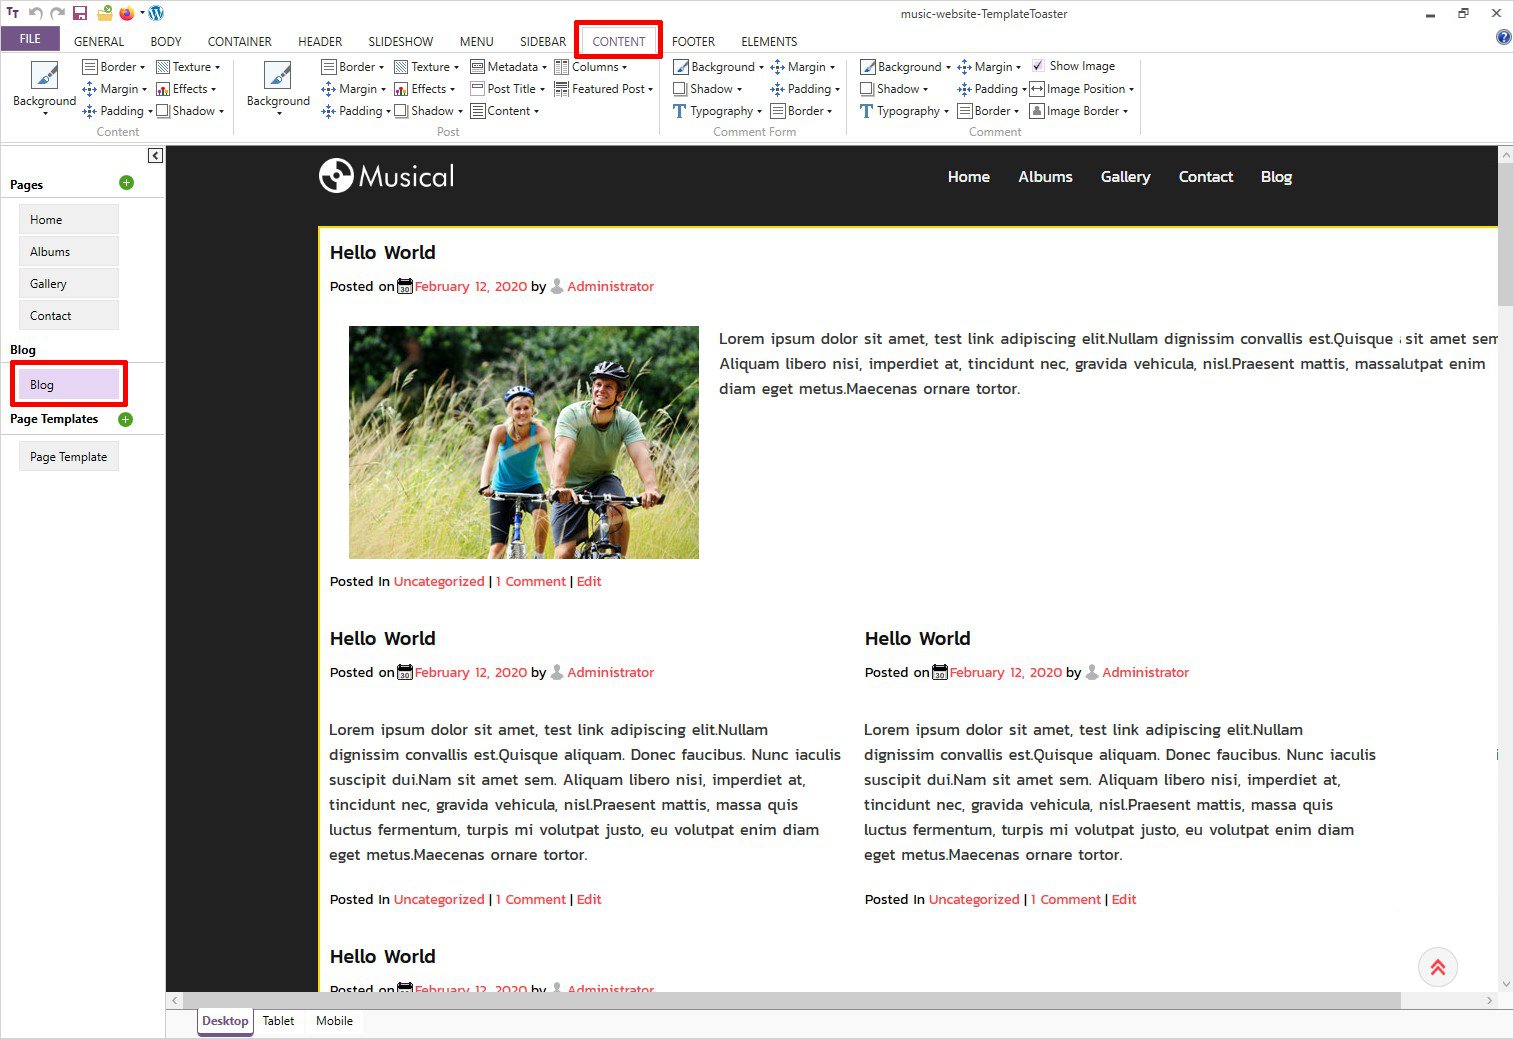
Step 11: Blog Styling
If you are having a music blog also, use blog styling options to create an innovative music blog and share your knowledge with your visitors.
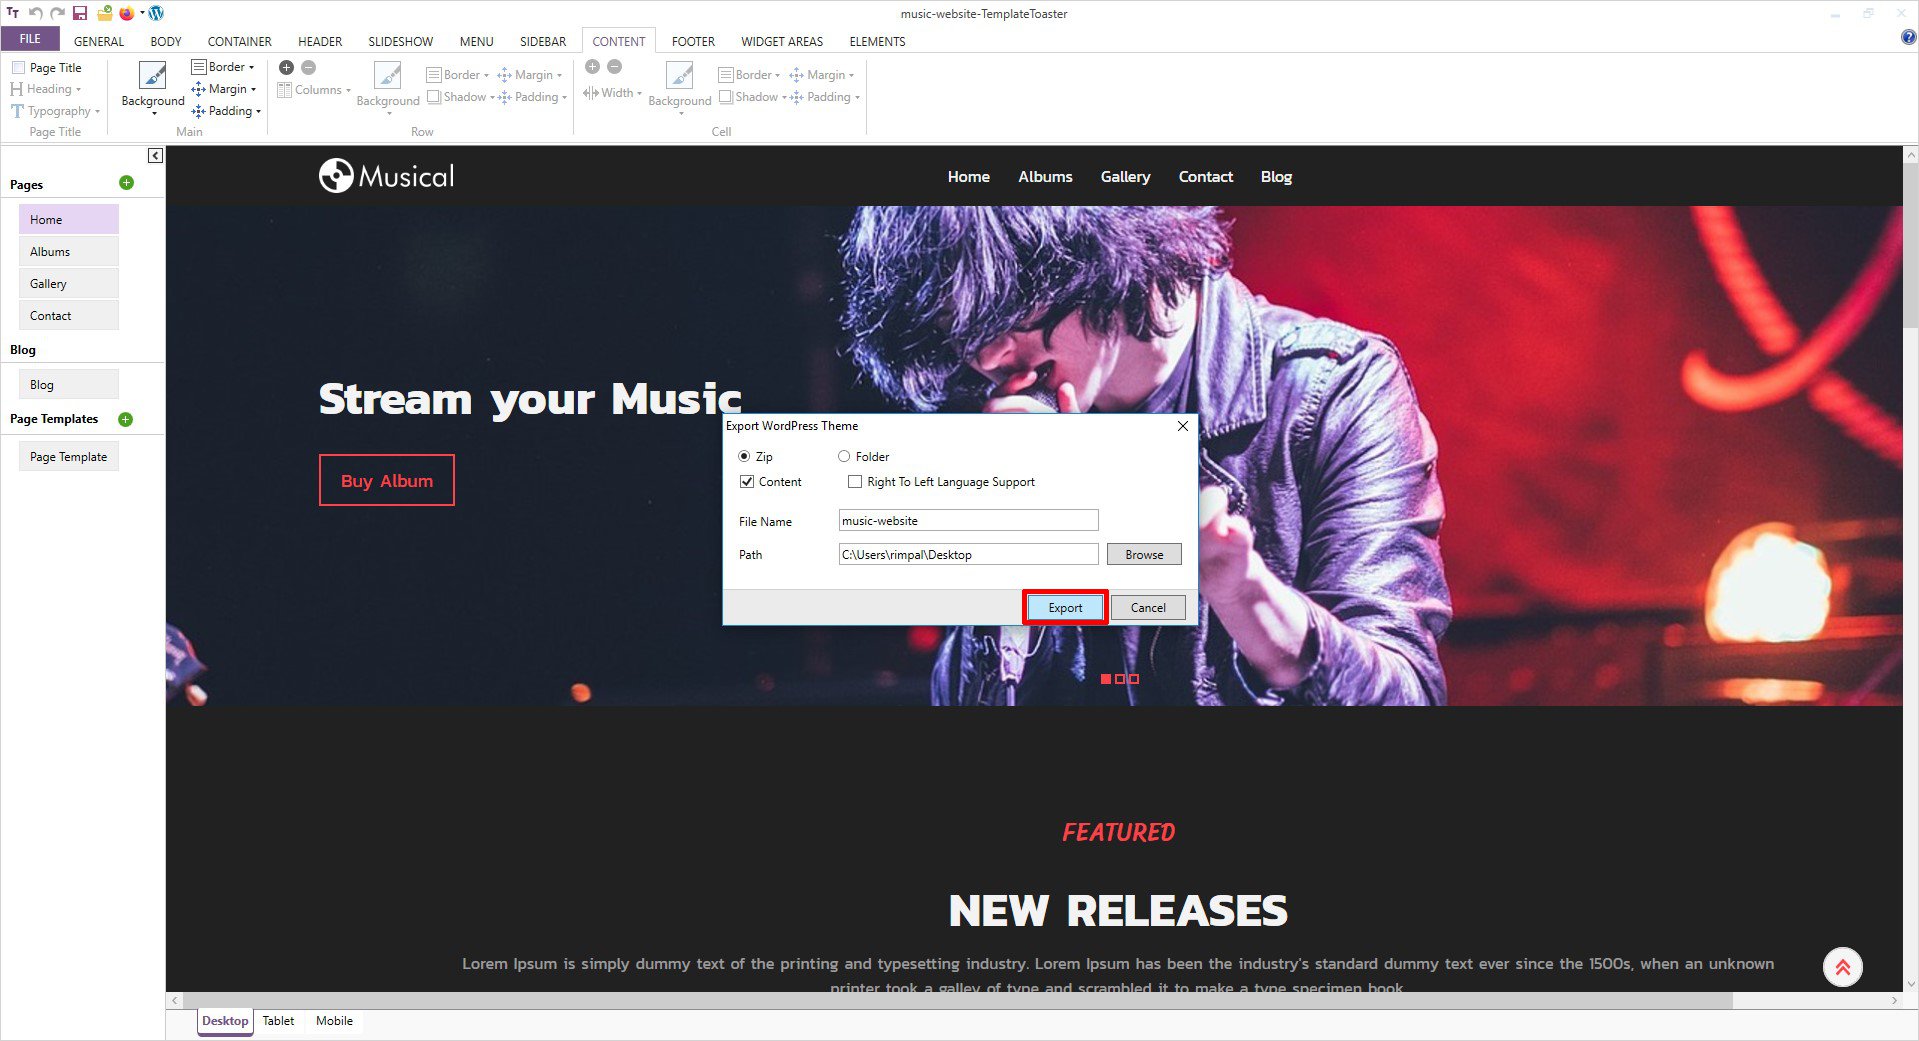
Step 12: Export Your Music Website
Now after creating a music website design, export it to WordPress as shown below.
File → Export → Specify Path and File Name → Export
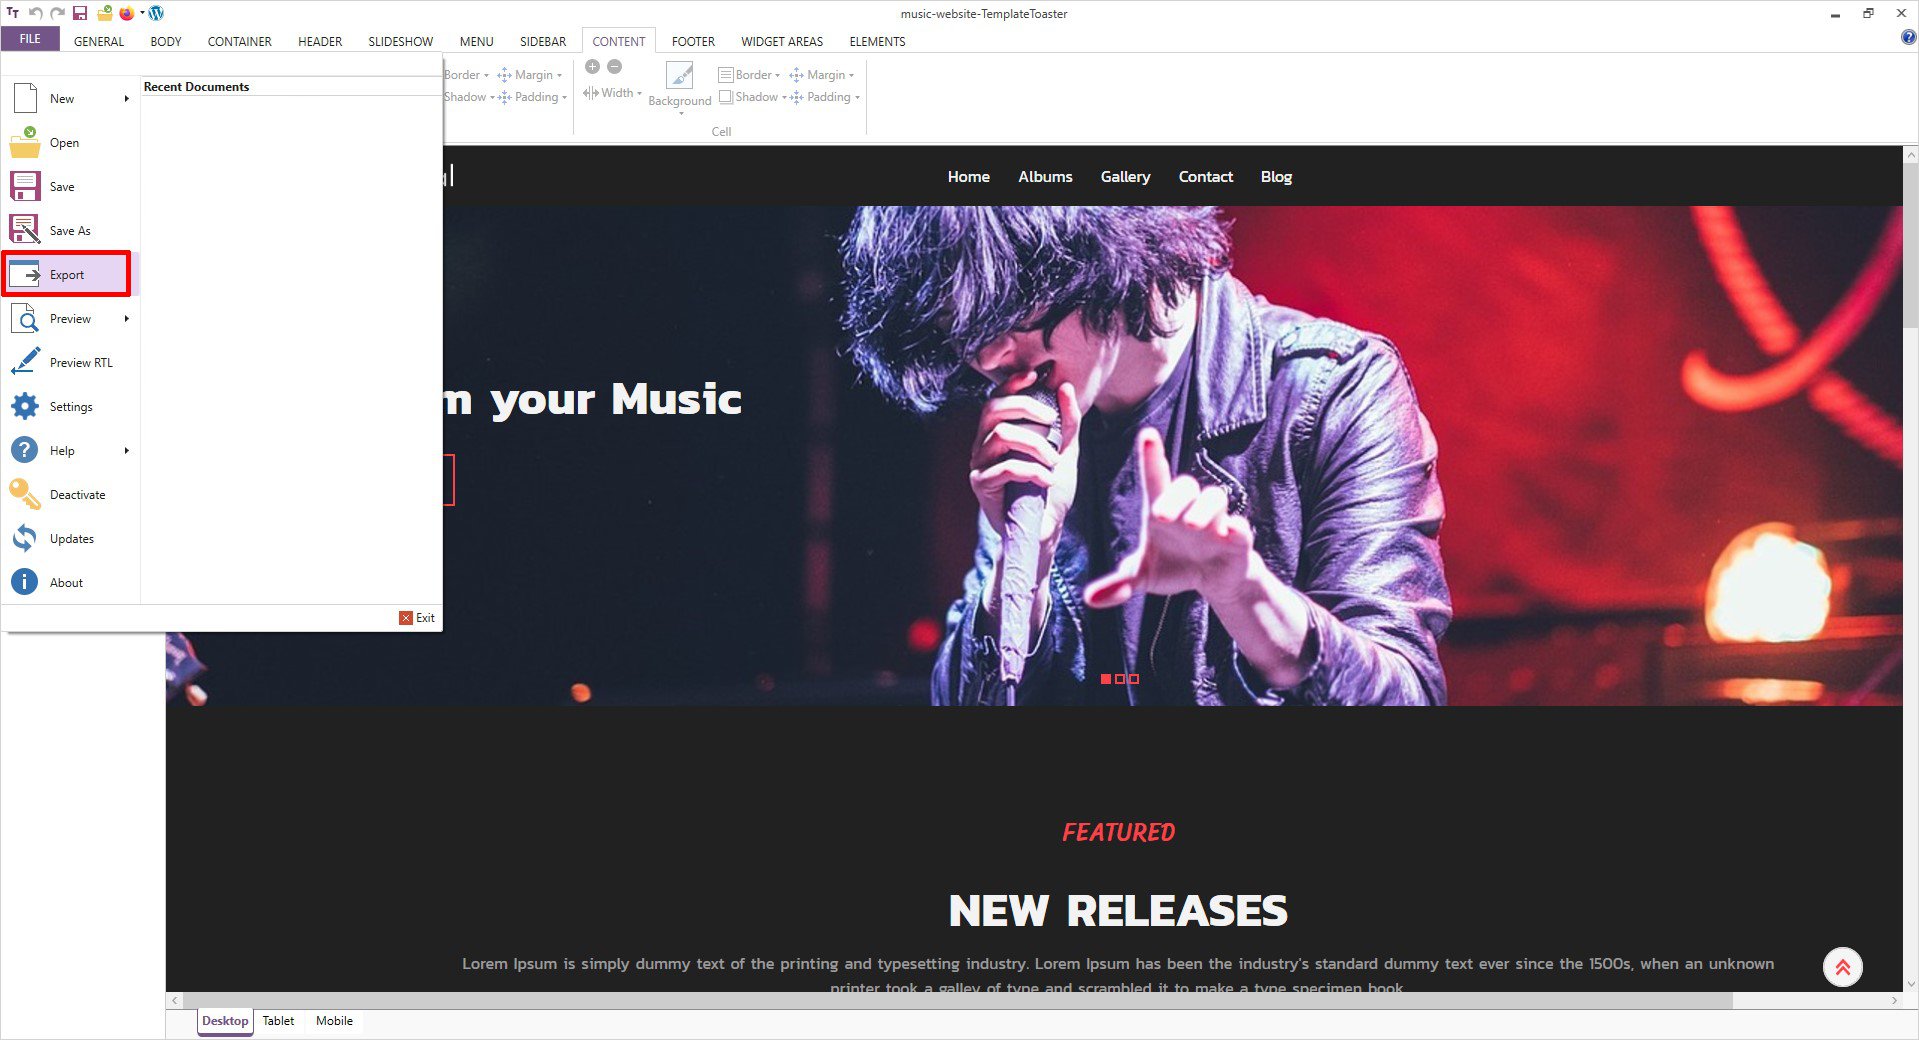
The pop-up will appear, now Export your Music website to a particular location first.
Step 13: Upload Music Website to WordPress
So, now you are ready with your music website design. The next thing is to upload it to WordPress. Sometimes developers keep a website on a local machine for some reason (For some testing or development purposes). And there comes the role of XAMPP software. Thus, if you want you can also download and install XAMPP on your local PC for testing your music website locally.
Another important factor to keep in mind is hosting. However, if you have already purchased your Domain Name and Hosting, then you can skip this step and move ahead. Rest everyone needs to choose a domain name and hosting to get online.
Which hosting platform should you go with?
Website hosting is a crucial decision while creating a music website. It can be a little daunting to decide which hosting provider is best for you. I’ll recommend shared hosting if you are just starting a new website because you won’t be having much traffic yet.
Coming back to our music website created with TemplateToaster, it is time to export it.
- Log into your WordPress dashboard.
- Go to the left sidebar and click on Appearance → Themes → Add New → Upload → Browse
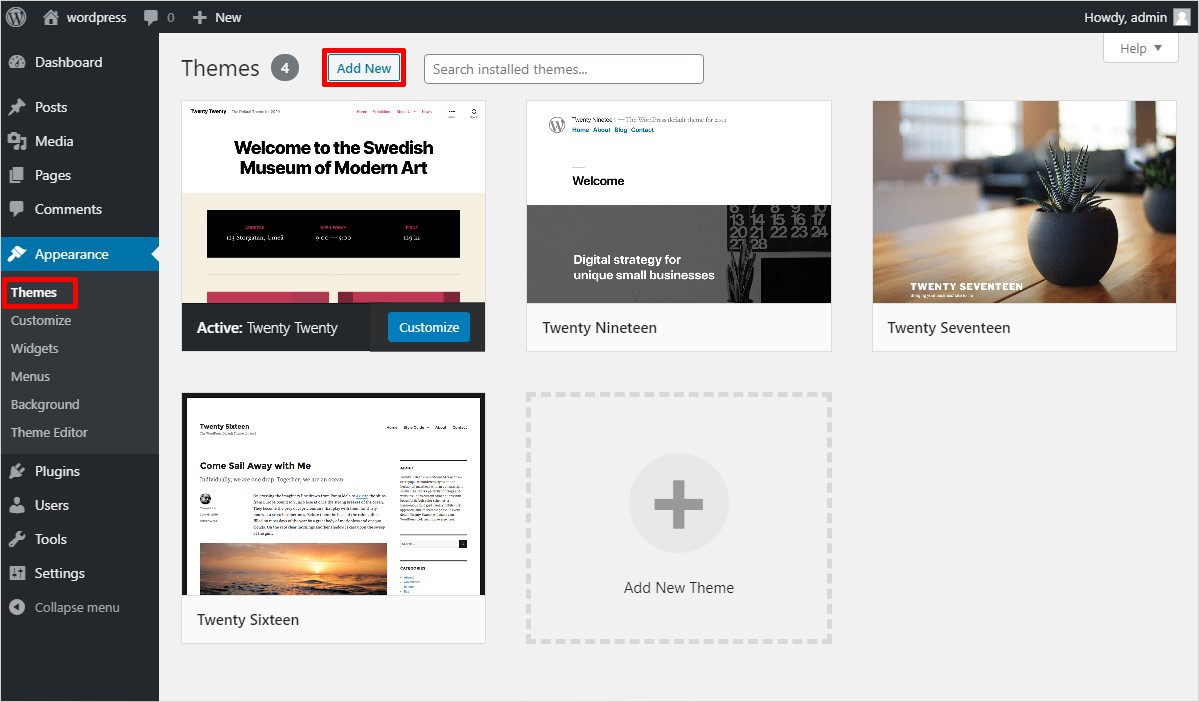
- Now browse your own music website theme to upload.
- Click on Install now and then hit the Activate button to confirm your choice.

Upon activation, a message will appear on the screen saying “Import Website Content?” click on ‘Yes’ to import the content and get ahead.
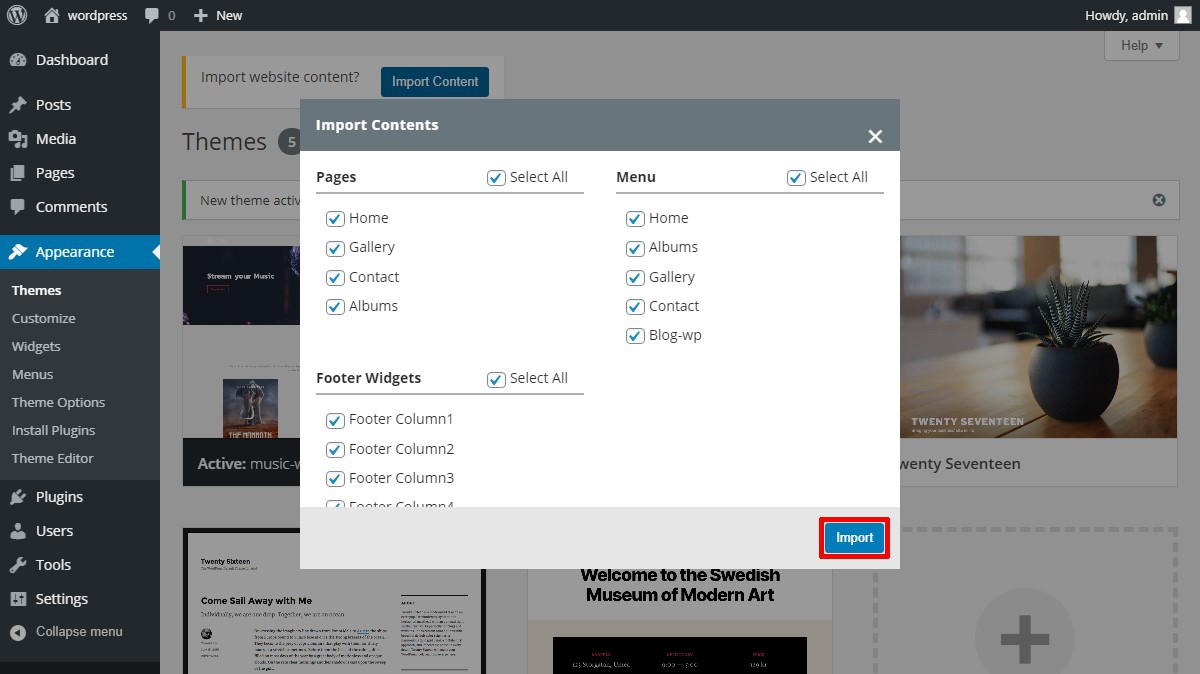
Congratulations! Your music website is now ready to rock.
Bonus: Install a WooCommerce Plugin to make your own music website a full-fledged online store
If you are thinking of having an eCommerce website to sell music instruments, CDs, accessories, brand-related clothing, etc. You can easily create your eCommerce website with TemplateToaster. Just follow three simple steps and you are all set to sell your products online.
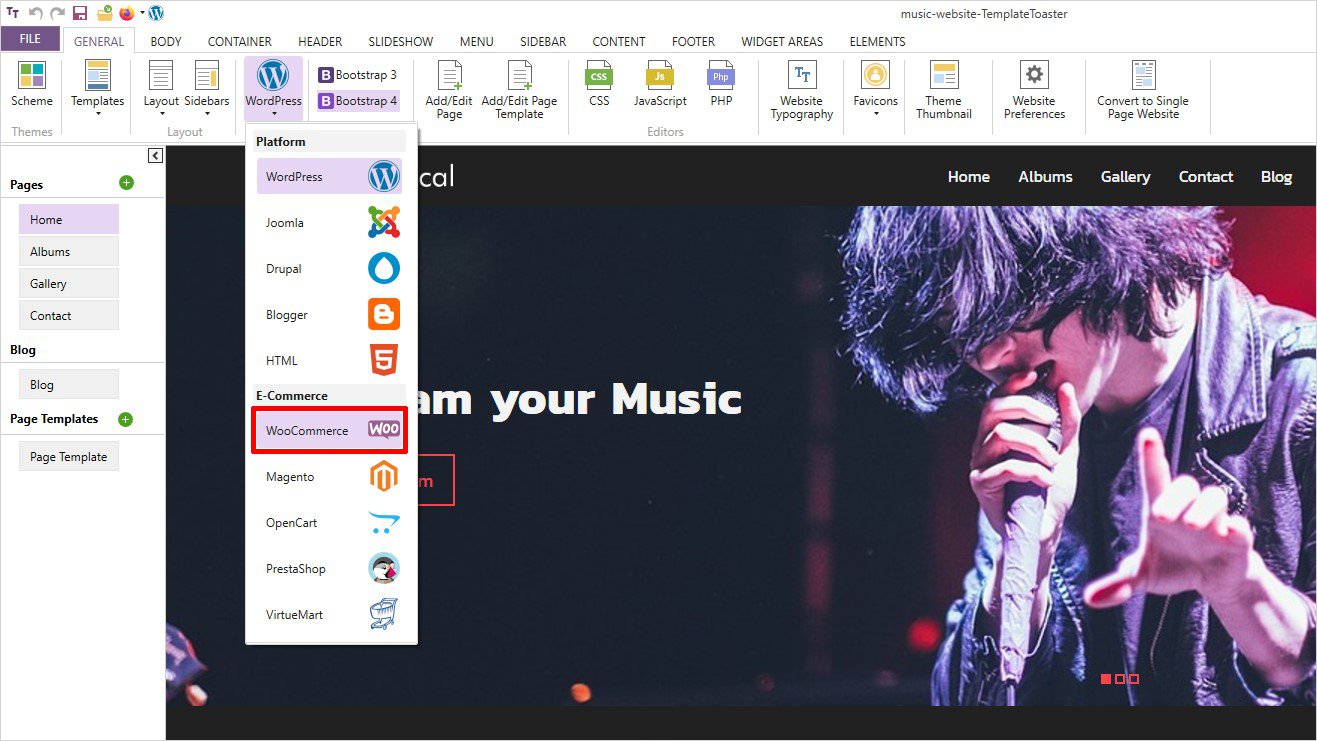
Step 1: Switch from WordPress to WooCommerce
In step 10 above where you have uploaded your music website to WordPress, you came across “.ttr file”. Open this file once again and under the ‘General’ tab you will see a big WordPress icon, click on it.
From the drop-down list of CMSs, choose WooCommerce to convert your simple music website into an online music store as shown below.
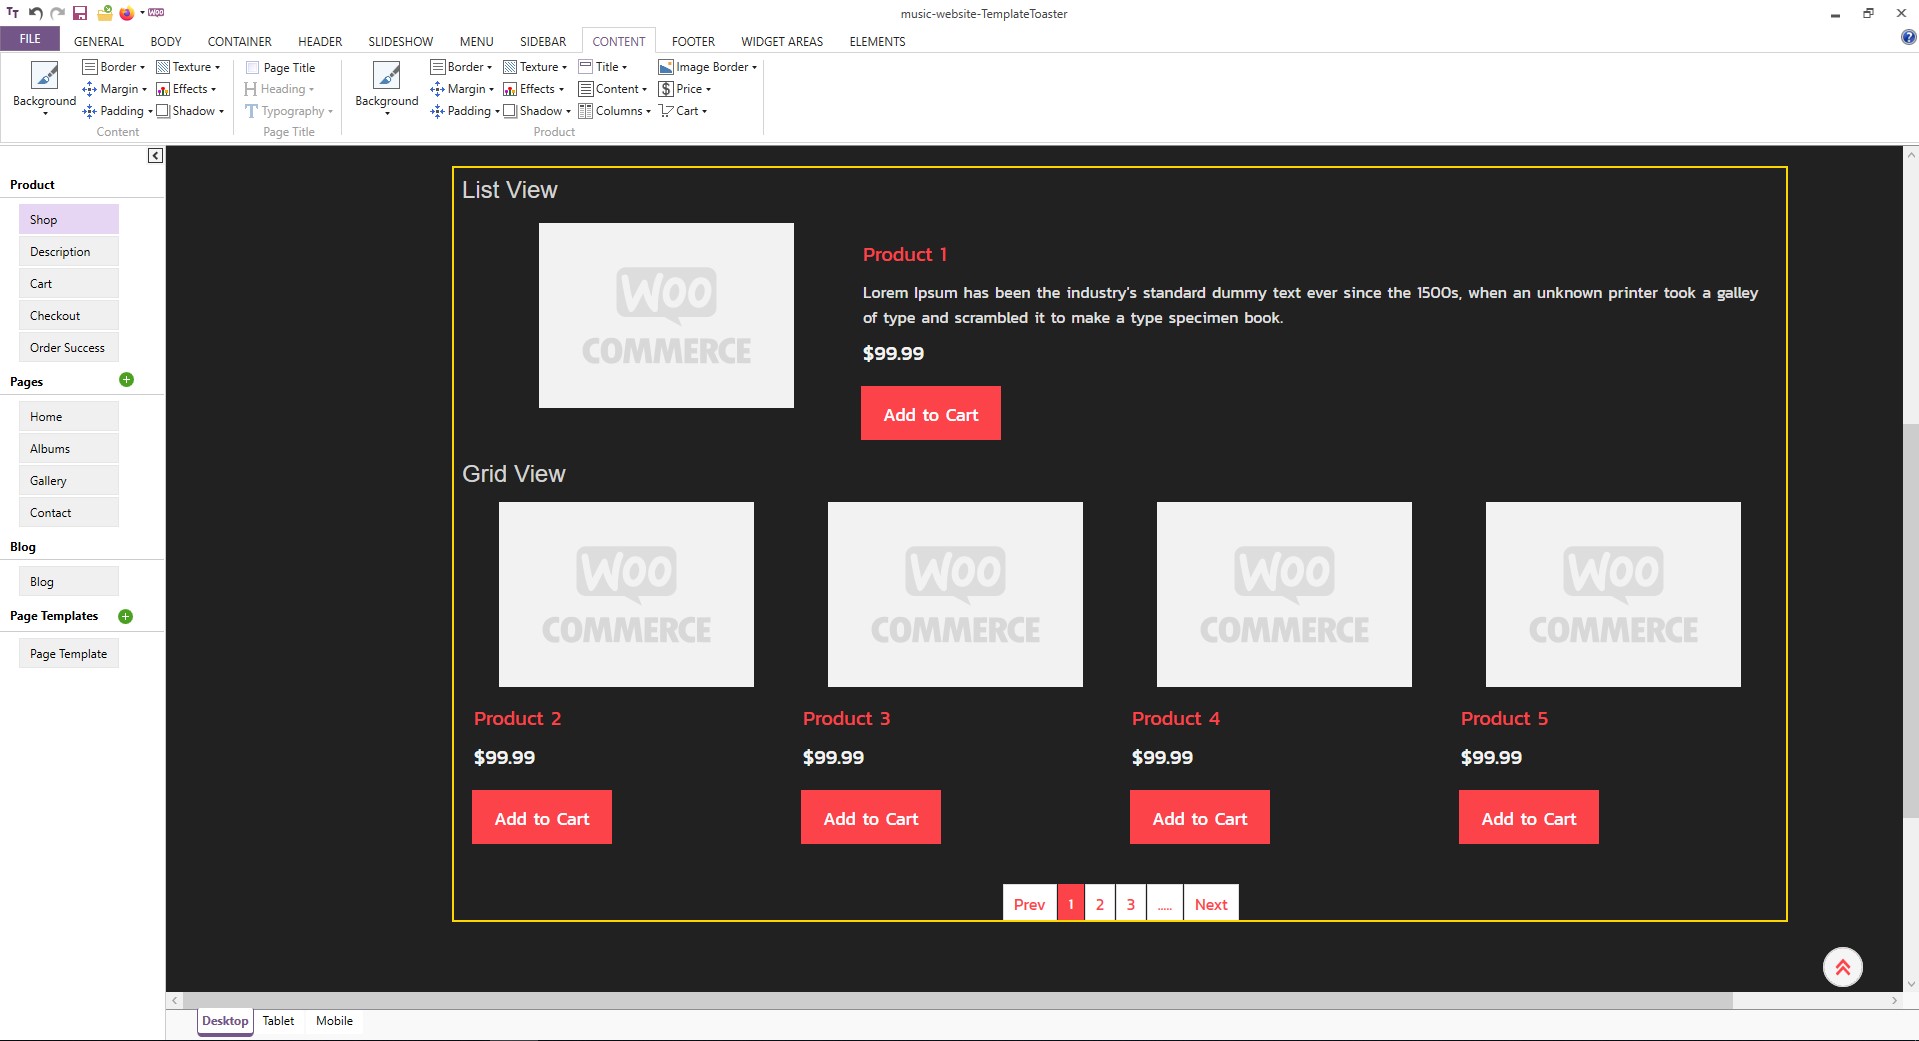
Step 2: Style Your Pages
In the left horizontal sidebar, you may notice five new pages i.e. Shop, Description, Cart, Checkout, Order Success page. Whatever you are currently seeing on the Shop page can be modified with the above-given options. For instance, you can change the color of the buttons, price, typography, font, margin, padding, width, height, border, background option and so on.
Similarly, you can style your rest of the pages. However, the settings you made in the previous steps will follow but at the same time, you will see some few more new options to style your pages.
Step 3: Export Your WooCommerce
After styling your WooCommerce pages you can export it. Refer to Step 9 for export.
Excellent! Your online music store is all set to rock now.
Happy Web Development!
It is now time to introduce some of the useful music website plugins!
Soundcloud is an online music distribution platform. It enables you to share music and connect directly with artists. You can easily share and monetize your content on Soundcloud. In order to integrate Soundcloud to your music website following steps are required.
- Signup for a free Soundcloud account.
- Create the playlist of your favorite tracks.
- Click on the ‘Share’ button.
- A pop up with two options i.e. Embed and Message will appear.
- Select the ‘Embed’ tab.
- Select the display design of your choice and get the shortcode for your WordPress music website.
- Now paste the embed code on your page where you want to have Soundcloud included on your music website.
That’s it! Soundcloud player is successfully integrated into your WordPress music website.
Audio Album is a WordPress music plugin to enhance audio functionalities in your music website. It has some essential js files included with core WordPress files that further permits you to style a group of audio files as a single block formatted as an album. The WordPress customizer includes a section called Audio Album, that allows you to modify the color of your website as and when required. You can display any number of Audio Albums as you want on your music website. In fact, you have multiple albums on each page.
mb.miniAudioPlayer is one of the most widely used music plugins. This plugin is basically used to convert an mp3 file uploaded into a small HTML5 audio player inside a page. It got control over many things such as volume, title bar, rewind button, mute button, play, etc. It has amazing functionality to enhance your music website.
AudioIgniter is a very helpful plugin to improve your music website. You can easily create your music playlists and have them included in your music website. You can have unlimited playlists and unlimited tracks included with an amazing responsive layout.
FAQs:
1. Can I integrate music streaming platforms with my TemplateToaster website?
Absolutely! You can embed music players from popular platforms like Spotify, SoundCloud, or YouTube directly onto your TemplateToaster-designed website.
2. Do I need hosting before designing a music website?
You can design your website in TemplateToaster first. Once it’s ready, you can choose a hosting provider to publish your website online.
3. Can I sell music or merchandise through my music website?
Yes, with this method, you can create an e-commerce-ready website by integrating payment gateways and adding an online store.
4. Can I add a blog to my music website in TemplateToaster?
Absolutely! You can easily include a blog section on your music website to share news, updates, and stories with your audience.
5. How can I add an audio player to my Music website?
Sure, you can integrate an audio player to your website easily with these best audio player plugins for WordPress.
Create a Music Website – In Conclusion
We have finally to the end of this comprehensive tutorial on how to create a music website. I hope I was able to clarify all your doubts with proper examples. Creating a website can be intimidating for complete beginners who are not sure about their technical skills. But this guide can be a great help to create your own music website in a few easy steps. You can leave me a message below in the comments section if you need any help. And you can also share your music website creation experience with me. Check out free stock music sites and video editing software.
You may like to read the following.
How to Create One Page website
Build a Stunning Website in Minutes with TemplateToaster Website Builder
Create Your Own Website Now
Very Insightful post! Thank you.
Thanks for sharing the post!
Are there any more music website templates available in TemplateToaster?
Creativity is mandatory these days, this is the best way to make a creative website.
This is very helpful article, does Template Toaster has another website templates also?
Hey there, can I build my website by my own also?
Great Post!
Can I edit TemplateToaster template in any other editor?
I don’t think so. Although you can consult with them
Hi there, I want to have an eCommerce music website, can i make one with templatetoaster?
Yes, you can download templatetoaster and make a template of music website offline.
Can I make an advance website like wynk with TemplateToaster?
Very insightful post. Do you have any other music template?
Great post. Thanks for putting this together.
This is a good send the song website tutorial.