How to Downgrade WordPress Versions, Plugins, and Themes

Maintaining and running your WordPress site can be an exhausting task. Keeping it up to the date can be crucial but considered the best practice. It keeps your site secure and advanced. However, not every latest version works the best for your site. There are some cases where you might have to downgrade WordPress versions, plugins, and themes. While you’ll find many tutorials on upgrading, I doubt there is any helpful tutorial on how to downgrade WordPress versions, plugins, and themes. Therefore, I decided to step up and help you out!
Why do you want to downgrade WordPress, Plugins, or Themes?
Before we get started on how to downgrade WordPress versions, plugins, and themes, I want to warn you that it can jeopardize the functioning or security of your WordPress site. Therefore, make sure you have a solid reason to do it. Downgrading can’t be a permanent solution as it can lead to further issues. Therefore, I recommend downgrading on a temporary basis only. The most common reason is due to a plugin or theme conflict. Website owners often encounter a theme or plugin which is not compatible with the latest WordPress version. In that case you can downgrade your installation that will enable your visitors to gain access to that certain functionality while you work on a long-term solution.
Before you start the downgrade WordPress process
We don’t recommend you to permanently downgrade the WordPress version, themes, or plugins. However, if you need to do it on a temporary basis, it is possible. But before you start the downgrade process, it is important to back everything up including your site, images, files, plugins, themes, etc. There are several plugins to backup your WordPress site. Or you can also use your web hosting’s cPanel to backup your entire website.
Downgrade WordPress version
There are two ways to downgrade your WordPress site’s core version: Using a plugin and manually. I am going to explain both the methods in a step-by-step manner. Use the method you feel comfortable with.
How to Downgrade WordPress version using a plugin
If you are not a technical person and want to keep the things as simple as possible, go for this method. Moreover, it will be quick and almost automatic and eliminates the need to use FTP or other manual methods. For a quick recommendation, use WP Downgrade Plugin for downgrading process.
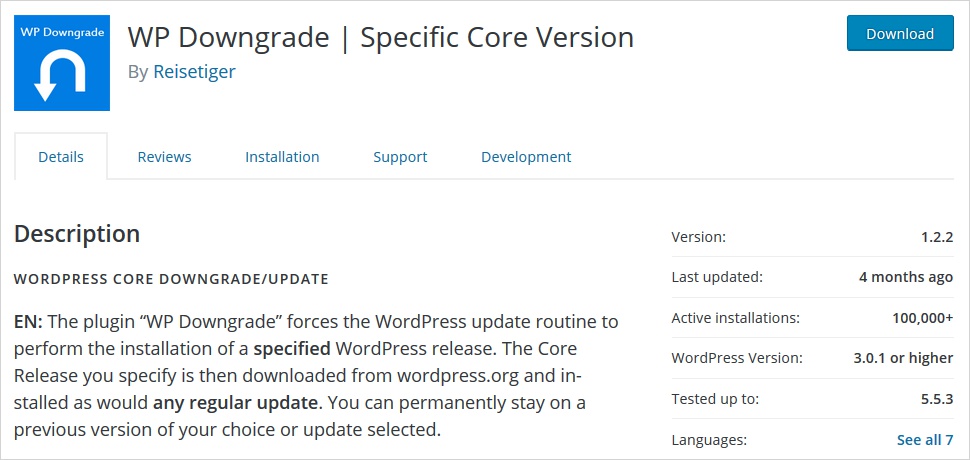
WP Downgrade Plugin

WP Downgrade Plugin is a popular plugin used to downgrade the WordPress version. This plugin is fairly easy to use and can make the entire downgrading process easy and automatic. It will download your preferred version from WordPress,org and will install it as usual. All you need to do is just download and install the plugin. Just remember to back your site up before getting started!
Features at a glance:
- Provides a direct download link
- Works by forcing the WordPress installation of your preferred version
- Easy to use
- Free of cost
Steps to use WP Downgrade plugin
- Start by downloading and installing the plugin.
- Now, navigate to Settings> WP Downgrade and enter your preferred WordPress version into the appropriate field.
- Click on the ‘save changes’ button and navigate to the Updates screen.
- You will see that your preferred version is now ready to install. Click on the Re-install button to start the downgrading process.
- Now sit back and wait for the installation to complete to work on your preferred WordPress update.
After the successful installation, use these steps to check the current version of your WordPress.You can use the same plugin to install the latest version of the WordPress. Return to Settings> WP Downgrade and enter the latest WordPress version.
How to Downgrade WordPress manually
Another method to downgrade your WordPress is the manual method. Go for this method if you can handle a bit of technicality.
Download old version of WordPress
Now, start downloading your preferred WordPress version from the WordPress repository.
Deactivate all plugins
Start with backing up your website and deactivating your plugins. You can deactivate the plugins from your WP dashboard by clicking selecting all the active plugins and clicking on deactivate plugins.
Delete all WordPress files except wp-Content Folder and config.php
Now, gain access to your FTP or Filezilla to access your website files and delete your wp-admin and wp-includes directories but do not touch wp-content folder and config.php.
Upload the old version of WordPress to your server
Now, upload all the files from the version of WordPress that you want to install, excluding wp-content directory. It will ask you to overwrite files, just click on OK. Now, access the backend of your WordPress site to update your database. Basically, you will receive a prompt dialog box asking you to click on Update WordPress Database.
Now, login to your WordPress admin panel and use it as usual but with your preferred version. Keep in mind to disable automatic updates to prevent WordPress from updating in the meantime.
How to Downgrade WordPress Plugins
Now that you know how to downgrade WordPress core, it is time to learn the downgrading process of plugins. Similarly, you can downgrade plugins manually as well as using a plugin. Use the method that feels more comfortable to you.
Using Plugin
Using a plugin to downgrade plugins’ version is simpler and easier. All you need to do is download and install WP Rollback plugin and it will do the rest for you.
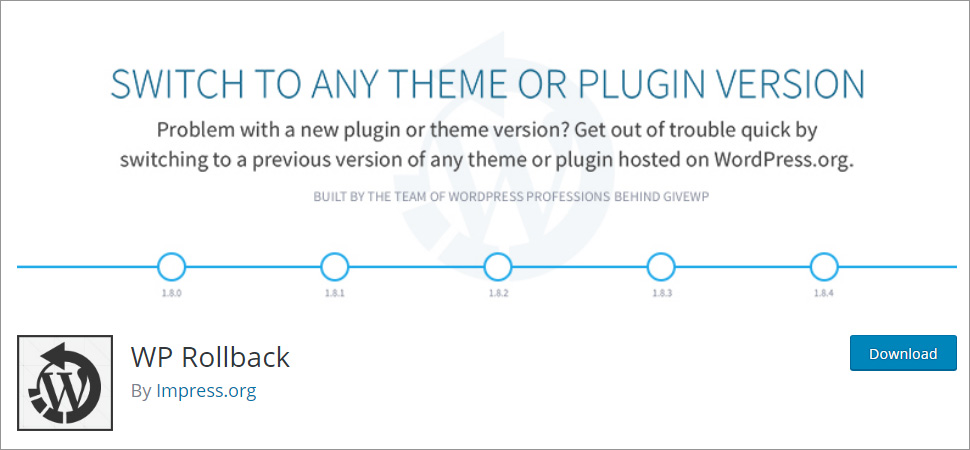
WP Rollback

There are plenty of plugins out there for this purpose. However, for a quick recommendation: use WP Rollback plugin. It is a great and pretty simple to use tool, dedicatedly designed to downgrade WordPress plugins and themes. Moreover, this plugin is translation ready with proper support and documentation. Furthermore, it makes the entire downgrading process automatic by eliminating the need to use FTP and stuff. However, its developers suggest taking all the precautions including making backup of your entire WordPress site.
Features at a glance:
- Easy to use
- Available for free
- Translation ready
- Solid support
Steps to use WP Rollback plugin
- Start by downloading and installing the plugin.
- Now, navigate to Settings>WP Rollback and you will see a Rollback button under your active plugins.
- Click on the Rollback option given under the plugin you want to downgrade.
- Select the version from the given list and click on the ‘Rollback’ button
- Now sit back and wait for the installation to complete to work on your preferred plugin version.
Downgrading WordPress plugins manually
In case you don’t want to download and install another plugin on your WordPress site and want to do it manually, it is also possible. In that case, you are suggested to create a backup of your entire site before starting. Now follow the given steps-
Download old version of Plugin Manually
First, you need to manually download the older version of the plugins. To do that, go to the advanced view on the feature page of any plugin in the WP repository. Download and unzip your preferred version in your computer.
Delete existing version of Plugin from your WordPress website
Connect to your server using FTP client and navigate to wp-content> plugins. Now, remove the directory for the existing version of your plugin.
Upload the old version of plugin
Next, upload the folder where you unzipped the older version of the plugin you want to downgrade to.
Activate plugin
Go to your WordPress dashboard> Plugins> Add new and click the activate plugin button. Activate the plugin and check if everything works as expected!
Downgrading WordPress Themes
Similar to plugins, the downgrading process of themes is almost identical. I will explain two ways to downgrade WordPress themes: using WP Rollback plugin and manually. Continue with the method you feel comfortable-
Downgrade WordPress themes using Plugin
WP Rollback plugin can be used to downgrade the WordPress theme as well. Following is the step by step guide to rollback the version of WordPress theme.
Steps to downgrade WordPress themes using WP Rollback plugin
- Start by downloading and installing the plugin.
- Now, navigate to Appearance> Themes on your WP admin panel and select the theme you want to downgrade.
- You will see a Rollback button at the bottom of your screen.
- On the following screen you can select your preferred version and initiate the downgrade process.
- Now sit back and wait for the installation to complete to work on your preferred plugin version.
How to Downgrade WordPress Theme Manually
Similarly, you can use the FTP client to downgrade your WordPress themes as well. Professional developers often avoid installing unnecessary plugins on their WordPress site. Fortunately, downgrading themes manually is pretty similar to the downgrade process of plugins. In that case, you are suggested to create a backup of your entire site before starting. Now follow the given steps-
Download old version of WordPress Theme Manually
Installing the older version of themes may not be as simple as plugins. WordPress theme directory doesn’t have previous versions readily available for download. You may have to contact the developer to check if its accessible,
Delete existing version of Theme from your WordPress website
Connect to your server using FTP client and navigate to wp-content> themes. Now, remove the directory for the existing version of your theme.
Now Upload the old version of Theme
Next, upload the folder where you unzipped the older version of the theme you want to downgrade to.
Activate Theme
Now, login to your WordPress dashboard and navigate to Appearance> Themes, and click on the Add New button. Click the Upload Theme button on the following screen.
How to Downgrade WordPress Versions : Conclusion
I always suggest to stay up-to-date, when it comes to WordPress core versions, themes, and plugins. Outdated versions possess security as well as performance risks. However, there can be instances where you need to downgrade to older versions. However, I’d suggest you do it on a temporary basis only and look for a better permanent solution. Moreover, always create backup before making any changes in your core WordPress files. It can help you avoid many catastrophic WordPress problems. Here at TemplateToaster, we regularly bring informative blog posts to help you out with different topics.
I hope this tutorial helped you downgrade WordPress versions, plugins, and themes. Let us know in the comment if you need our help with anything else.
Build a Stunning Website in Minutes with TemplateToaster Website Builder
Create Your Own Website Now