How to Disable XML-RPC in WordPress
WordPress powers a significant portion of the internet, and with that popularity comes the need to maintain strong security practices. One often-overlooked area is the XML-RPC functionality in WordPress. While it serves a legitimate purpose, XML-RPC can also become a potential gateway for attackers if left enabled without reason. For most modern WordPress sites, disabling XML-RPC is a simple step that can strengthen your site’s defense and prevent unwanted access attempts.
The purpose of this guide is to help you understand what XML-RPC is, why it may pose a risk, and how to safely disable it if it’s not essential to your site’s operation. Whether you’re a beginner or someone who manages multiple WordPress websites, this guide will walk you through multiple methods and best practices for disabling XML-RPC without compromising important site functionality.
What is XML-RPC and why do you need to disable XML-RPC?
XML-RPC is an abbreviation used for Extensible Markup Language- Remote Procedure call, where XML encodes the data that needs to be sent and RPC enables you to perform actions remotely.
Basically, XML-RPC is a feature of WordPress that allows a remote device to send data to your WordPress site. Therefore, enabling you to publish articles or blog, or update your site by triggering a simple command remotely. Indubitably, it is convenient for WordPress site owners. However, this feature was by default disabled up until WordPress version 3.5. After that it was enabled by default that raised a vulnerability. No doubt, they immediately launched a patch to the vulnerability but there are still ways it can violate the security of your site.
Why do you need to disable it?
As we mentioned before that a vulnerability was discovered and a WordPress security update was launched immediately. However, it still allows remote commands to make changes to your site and it can always affect the overall security of your WordPress site. Have a look at the following reasons you need to disable XML-RPC:
- XML-RPC is originally designed to publish a large volume of content remotely. This is the reason it puts your site at the risk of brute-force attack. Hackers can use bots to try to guess your username and password and gain access to your site. Have a look at these WordPress Brute Force protection plugins to avoid such attacks on your WordPress site.
- To publish content remotely using XML-RPC, you are asked to enter your login credentials for security purposes. Basically the publishing requests are authenticated with a basic username and password check. Therefore, any malicious user with your username and password can send their own requests. Basically, it is possible to gain access to your website if the hacker manages to get their hands on your username and password.
- Moreover, a malicious user with access to your username and password can misuse XML-RPC to initiate a DDoS attack on your site. It will basically flood your site’s server with an abundance of requests, ultimately to a point where it stops responding to the overwhelmingly incoming service requests. It is especially harmful to big brand websites or government sites.
Basically, the XML-RPC feature is only useful if you are using a mobile app to trigger commands to work remotely. If not, then it’s best to just disable this feature. Especially if you are concerned about the security of your WordPress site.
How to disable XML-RPC in WordPress?
As we know, WordPress offers plugins for almost everything. Therefore, if you feel the disabling XML-RPC manually is overwhelming, you can always use a plugin to do that. I am going to explain both the methods for your convenience. Let’s get started.
Method 1: How to disable it manually from .htaccess file:
When you make any changes to your WordPress site manually, you need to access your core WordPress files. Although the instructions are pretty clear and easy to follow, I’d still suggest you create a backup of your website. You can use WordPress backup plugins to create the backup of your site just to be safe. Moreover, you can also create a staging WordPress site to disable XML-RPC manually. A WordPress staging site will allow you to make changes to your site without affecting your live site. Once, you are sure that you made the changes correctly, you can then push the changes to your live site. Most of the hosting providers offer this feature. Or you can create it easily with tools like BlogVault. Now, let’s begin with the process of disabling XML-RPC manually-
- Login to your WordPress hosting account and gain access to your cPanel. Now, navigate to your ‘File Manager’.
- After, accessing the File manager, you’ll see the list of your folders. Scroll down to your WordPress site’s folder, usually named ‘public_html’ and open it.
- Now, look for a file named .htaccess. If you can’t locate it, you will see a search bar on the top-left, search there. In case you don’t have one, create one and name it .htaccess.
- Now, select your .htaccess file and right-click to start editing the file and paste the following code snippet to disable XML-RPC :
<Files xmlrpc.php>
    Order Allow,Deny
    Deny from all
</Files>
Disable XML-RPC
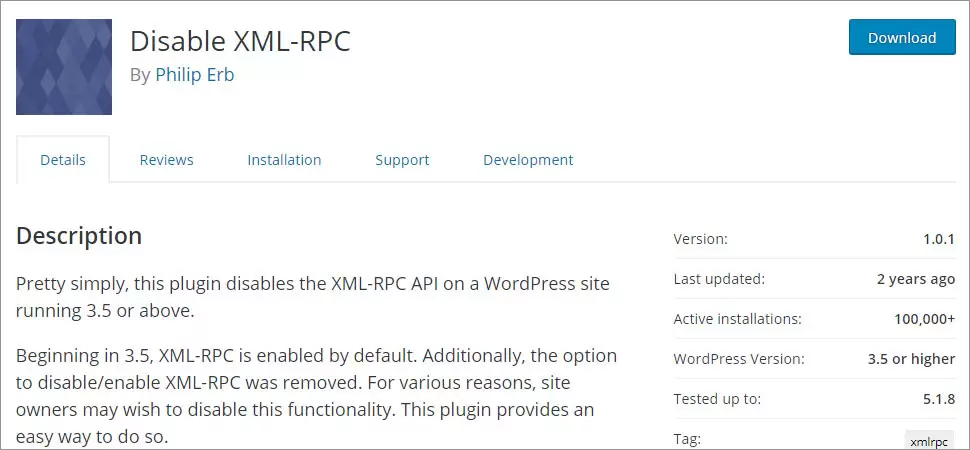
As the name suggests, Disable XML-RPC is dedicatedly designed to disable the XML-RPC feature on your WordPress site. All you need to do is install the plugin and it will do the rest for you. Moreover, the plugin is an open source tool and can be used absolutely free of cost. Keep in mind that this plugin was last updated 2 years ago which means it no longer is supported by its developer.
Steps to disable the XML-RPC feature using Disable XML-RPC plugin
To disable XML-RPC using Disable XML-RPC, follow the given step-by-step instructions-
- Login to your WordPress dashboard by entering your credentials.
- Choose the plugins option given on the left-hand menu of your WordPress dashboard.
- Click on Add new and search for ‘Disable XML-RPC’ plugin in the search bar. It should be the first option in the search result.
- Install and activate the plugin on your WordPress site. It will automatically disable WordPress xmlrpc.php, once you activate the plugin.
Keep in mind that you can enable xmlrpc.php in your WordPress by just uninstalling the plugin from your WordPress site.
Additional plugins to disable XML-RPC in WordPress
In case you don’t want to use the aforementioned plugin for any reason. Considering, it is a pretty straightforward plugin that doesn’t do more than disabling the XML-RPC feature on your site. Plus, hasn’t been updated in the last two years, which is an alarmingly long time. Therefore, here are some bonus plugins you can use for the purpose-
Disable XML-RPC Pingback
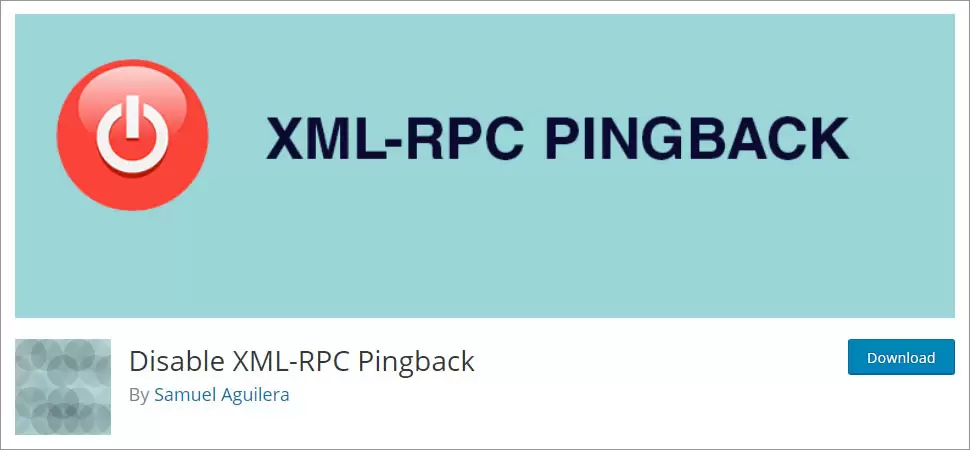
Disable XML-RPC Pingback plugin makes a great choice, considering it removes the vulnerabilities and still allows you to use the rest of XML-RPC methods. All you need to do is install the plugin and it will remove the selected methods from the interface including pingback.ping, pingback.extensions.getPingbacks, and X-Pingback from HTTP headers. It will hopefully remove the methods often used by attackers. Moreover, this plugin is way more user-friendly as compared to other XML-RPC plugins.
Key features
- Removes the selected features that put your security at the risk
- User-friendly
- Still allows you to use the rest of XML-RPC methods
Remove & Disable XML-RPC Pingback
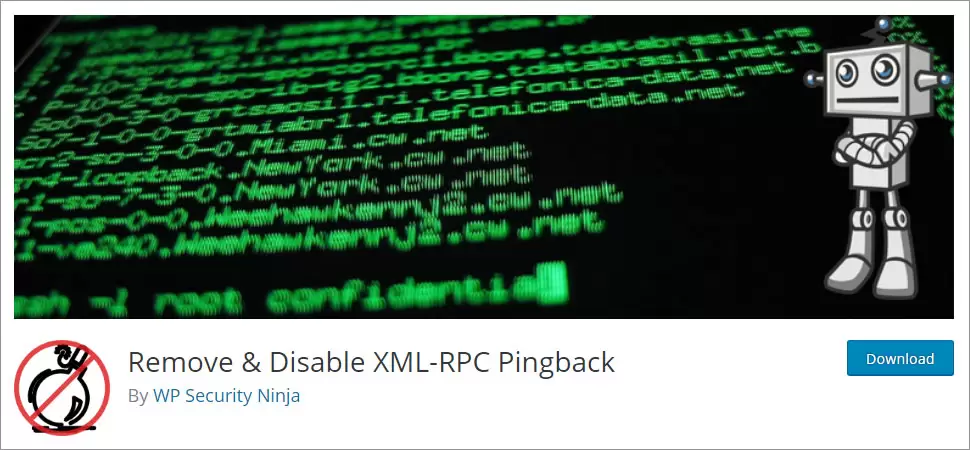
Remove & Disable XML-RPC Pingback is another plugin that can prevent your WordPress site from being a victim of XML-RPC abuse. This plugin automatically disables XML-RPC after activation. Moreover, you need little to no configuration to activate this plugin on your WordPress site. Moreover, this plugin can help lower your server CPU usage. Furthermore, it helps prevent malicious scripts from using your site to run pingback denial of service attack. It is up to you whether you want to just disable the pingbacks or XML-RPC altogether. Plus, it offers easy integration with other security tools such as Sucuri’s WordPress DDoS scanner.
Key features:
- Comes from a reputed company: WP Security Ninja
- Automatically disables XML-RPC
- Allows you to choose whether to remove pingbacks only or disable XML-RPC altogether
- Seamless integration with other security tools such as Sucuri’s WordPress DDoS scanner.
Disable XML-RPC with a Code Snippet in functions.php
If you prefer to control this within your theme or use a child theme, you can add a small filter to disable XML-RPC through WordPress functions.
Here’s how to do it:
- Go to your WordPress dashboard and navigate to Appearance → Theme File Editor.
- Open
functions.phpfrom your active theme. - Add this code at the end of the file:
add_filter('xmlrpc_enabled', '__return_false');
This filter tells WordPress to return “false” whenever XML-RPC is requested. It’s a safe and minimal-impact way to disable it.
Frequently Asked Questions (FAQ)
Will disabling XML-RPC affect my SEO?
No, disabling XML-RPC has no direct impact on SEO rankings or visibility. It only affects remote publishing and pingback functionality.
Can I block only specific XML-RPC methods instead of the entire file?
Yes, advanced users can selectively block certain methods using filters or server rules, but full disabling is often simpler and more effective for most sites.
Is it enough to block xmlrpc.php at the server level?
Yes, blocking access via .htaccess or firewall is sufficient. It prevents external requests from reaching the file entirely.
Should I disable XML-RPC on staging or dev sites too?
It’s generally safe to disable it everywhere unless you’re actively using features that depend on it for testing or development.
Conclusion
WordPress offers this convenient feature that allows you to remotely publish content on your site. Indubitably, the feature is useful but it can also put your site at the risk of security attacks like Brute Force attack, Denial of Service (DoS) attacks, etc. therefore, it is wise to disable this feature on your WordPress site to prevent harmful security attacks. Therefore, the above article carefully offers two different methods to disable XML-RPC feature, 1) manually using the .htaccess files and 2) using Disable XML-RPC plugin.
I would suggest beginners users to go with the second method, use a plugin to disable XML-RPC. It is easier and the plugin will do all of the work for you. Moreover, it can help you prevent breaking your site accidentally. On the other hand, users with intermediate technical knowledge should go for the manual method. Installing another plugin on your site is just going to make your site bulky. Therefore, it’s better to just manually disable the XML-RPC on your site. Moreover, this article also suggests some of the best plugins you can use for the purpose. Hope this article helps you disable the XML-RPC on your WordPress site successfully. For any query or feedback, please comment below!
Build a Stunning Website in Minutes with TemplateToaster Website Builder
Create Your Own Website Now