How to Create Custom WooCommerce Theme – Beginner guide

Do you intend to possess a WooCommerce online store, but not sure about your WooCommerce skills? You’ve come to the right place, read this post on How to Create WooCommerce Theme from scratch for a quick solution.
In this post, I will talk about the available options to create a WooCommerce theme.
With various available e-commerce options in the market, I have chosen the most prominent and widely used WooCommerce to discuss. As you know it is the most customizable e-commerce platform to convert a plain WordPress website into an online store. Let’s explore.
Create a WooCommerce Theme in 2 ways.
Create WooCommerce Theme from scratch by coding it yourself
Create WooCommerce Theme With TemplateToaster website maker
And for those who are not so familiar with WooCommerce and wish to create WooCommerce theme, let me tell you that WooCommerce is not a CMS, rather it is a free plugin of WordPress CMS.
Yes, WooCommerce is a WordPress plugin, therefore you need to have a WordPress theme first in order to install a WooCommerce plugin to convert your WordPress to an e-commerce website. Let’s get started with the manual method first to make WooCommerce theme.
1. Create WooCommerce Theme
Before digging deeper, let’s first understand the steps to how to create a WordPress theme manually. As this is going to be the base of our WooCommerce theme.
1. Install WordPress Locally
Firstly, install WordPress locally.
2. Install WooCommerce Plugin
As WooCommerce is a plugin so, you need to install it to the WordPress CMS. Simply Go to WordPress Dashboard ➡ Plugin ➡ Add new ➡ Install WooCommerce plugin and set up.
3. Create WooCommerce Theme
Coding Manually
The wp_content directory would be used to carry out all the related work. Make a new theme subfolder; wp_content ➡ Theme folder. Let’s name it as ‘mytheme’ for now.
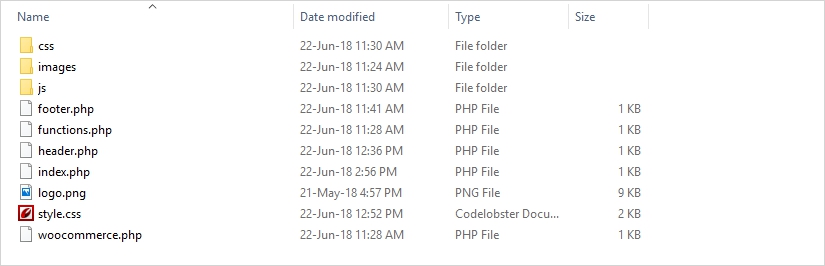
Next, I have to decide on the layout of the new theme. Generally, WordPress requires only 2 files i.e. style.css and index.php. But for this layout, you would require the following listed files.
- header.php :- This file contains the code for header section of the theme.
- index.php :- This file includes the code for the Main Area and will also specify where the other files to be included. It is a main file of the theme.
- functions.php :- This function file will help you add the plugin support in the theme.
- woocommerce.php :- This file is included in the theme to set the default layout of your store.
- footer.php :- It handles the footer section of the theme.
- style.css :- It takes the responsibility of styling of your theme.
- bootstrap.css :- It is highly responsive so, no separate CSS code is required.
- bootstrap.js :- It provides its own js for the tabs, navigation etc.
And the following folders are required to store the above-mentioned files and images:-
- css Folder :- This folder contains all the .css files used in the WooCommerce theme creation.
- js Folder :- This js folder contains all the .js files used in the WooCommerce theme creation.
- image Folder :- This folder contains the images used in the process. All the images will store here only.
The Bootstrap.css and Bootstrap.js file need to be copied to the theme folder. You can easily create these files with a text editor such as Notepad. Let’s now thoroughly understand the coding part.
1. header.php file
Place this code to your header.php file.
<html>
<head>
<?php wp_head(); ?>
<script type="text/javascript" src="<?php echo get_stylesheet_directory_uri().'/js/jquery.js'; ?>">
</script>
<script type="text/javascript" src="<?php echo get_stylesheet_directory_uri().'/js/jquery-ui.min.js'; ?>">
</script>
<script type="text/javascript" src="<?php echo get_stylesheet_directory_uri().'/js/bootstrap.js'; ?>">
</script>
<link rel="stylesheet" href="<?php echo get_stylesheet_directory_uri().'/css/bootstrap.css'; ?>">
<link rel="stylesheet" href="<?php bloginfo('stylesheet_url'); ?>">
</head>
<body <?php body_class(); ?>>
<div id="header" class="jumbotron">
<div class="header-logo"><img src="<?php echo get_template_directory_uri().'/logo.png'; ?>"> </div>
</div>
<div class="container">
This header.php file contains the code for the header of the page.
<link rel="stylesheet" href="<?php bloginfo('stylesheet_url'); ?>">This line code tells the WordPress to load a style.css file which will handle the styling of the website.
<?php bloginfo('stylesheet_url'); ?>It is a WordPress function that loads the stylesheet.
<link rel="stylesheet" href="<?php echo get_stylesheet_directory_uri().'/css/bootstrap.css'; ?>">
The Bootstrap is widely used framework for responsive web design. It has inbuilt css files to style the website. Download it and keep the bootstrap.css file in your theme/css folder.
<body <?php body_class(); ?>>
Here ‘body_class();’ function applies WooCommerce class on the body tag which will help us to apply WooCommerce default style and functionality in our theme.
<div id="header" class="jumbotron">
And this ‘div’ with id header which will be the header of the page. You can later style it with style.css file.
2. index.php file
This is the main file of the theme.
<?php get_header(); ?>
<div id="ttr_main" class="row">
<div id="ttr_content" class="col-lg-8 col-sm-8 col-md-8 col-xs-12">
<div class="row">
<?php if (have_posts()) : while (have_posts()) : the_post(); ?>
<div class="col-lg-6 col-sm-6 col-md-6 col-xs-12">
<h1><?php the_title(); ?></h1>
<h4>Posted on <?php the_time('F jS, Y') ?></h4>
<p><?php the_content(__('(more...)')); ?></p>
</div>
<?php endwhile; else: ?>
<p><?php _e('Sorry, no posts matched your criteria.'); ?></p>
<?php endif; ?>
</div>
</div>
<?php get_sidebar(); ?>
</div>
<?php get_footer(); ?>
<?php get_header(); ?>
The first line of code in the above-mentioned code will include the header.php file
<?php if (have_posts()) : while (have_posts()) : the_post(); ?>
<div class="col-lg-6 col-sm-6 col-md-6 col-xs-12">
<h1><?php the_title(); ?></h1>
<h4>Posted on <?php the_time('F jS, Y') ?></h4>
<p><?php the_content(__('(more...)')); ?></p>
</div>
<?php endwhile; else: ?>
This code will display the main content of the page that you have created through WordPress administration area.
<?php get_sidebar(); ?>
This line of code will include the sidebar.php file. You can use it to display your contact information, recent posts, archive etc.
An empty div has been added to separate the main area and the sidebar from the footer.
<?php get_footer(); ?>
And this will include the footer.php file.
3. functions.php file
Add plugin support in the theme, by creating a functions.php file in theme folder with the help of the following code.
<?php
function customtheme_add_woocommerce_support()
 {
add_theme_support( 'woocommerce' );
}
add_action( 'after_setup_theme', 'customtheme_add_woocommerce_support' );
?>
4. woocommerce.php file
By creating a woocommerce.php file in your theme, you can easily set the default layout of your store.
<?php get_header(); ?>
<div id="main" class="row">
<div id="content" class="col-lg-12 col-sm-6 col-md-6 col-xs-12">
<?php woocommerce_content(); ?>
</div>
</div>
<?php get_footer(); ?>
5. sidebar.php file
In the sidebar.php file use the following code.
<div id=”ttr_sidebar” class=”col-lg-4 col-md-4 col-sm-4 col-xs-12″>
<h2 ><?php _e(‘Categories’); ?></h2>
<ul > <?php wp_list_cats(‘sort_column=namonthly’); ?> </ul>
<h2 ><?php _e(‘Archives’); ?></h2>
<ul > <?php wp_get_archives(); ?> </ul>
</div>
The internal WordPress functions to display the different categories, Archives of posts are called in this file. You will get the listicle result items, thus it is required you to wrap the actual functions in unsorted lists (the <ul> tags).
6. footer.php file
Add the below code to your footer.php file.
<div id= "ttr_footer">
<h1>FOOTER</h1>
</div>
</div>
</body>
</html>
You can also add additional text, links, the copyright information of your theme in the footer area.
7. style.css file
Add the following code to your style.css file.
html{
    margin:0!important;
}
body
{
text-align: left;
}
#sidebar_right
{
border-left: 1px solid black;
}
.header-logo {
    text-align: center;
}
.header-logo img {
    height: 45px;
}
.jumbotron h1, .jumbotron .h1 {
    font-size: 35px;
    color: #aaa;
    text-align: center;
}

.title
{
font-size: 11pt;
font-family: verdana;
font-weight: bold;
}
#main {
    margin-bottom: 50px;
}
a {
    color: #34393e;
    text-decoration: none;
}
.woocommerce ul.products li.product .price {
    color: #77a464;
    display: block;
    font-weight: 400;
    margin-bottom: .5em;
    font-size: 1.2em;
}
.woocommerce ul.products li.product .woocommerce-loop-product__title{
    font-size:1.5em;
    }
.woocommerce nav.woocommerce-pagination ul{
    border:none;
    }
    .woocommerce .woocommerce-pagination ul.page-numbers li, .woocommerce-page .woocommerce-pagination ul.page-numbers li {
    display: inline-block;
    margin: 5px;
}
.woocommerce nav.woocommerce-pagination ul li span.current {
    background: #337ab7;
    color: #fff;
    padding: 12px;
}
.woocommerce-pagination ul.page-numbers a.page-numbers {
    color: #444;
    padding: 12px;
    margin: 0px;
    background: #ddd;
}
#footer {
    width: 100%;
    border-top: 1px #a2a2a2 solid;
    text-align: center;
    padding: 40px;
    background: #eee;
}
#footer h1 {
    color: #aaa;
    font-size: 30px;
    font-weight: 500;
}
This style.css will set the basic style of your theme. This code will set the background of the page and surround the main parts of your site.
And this is how your page will look.

You can further change the CSS file as per your choice by including animations, images, and other relevant content to give the desired look to your web page.
But making changes will require the knowledge of WordPress, PHP, and HTML. Whereas to eliminate this tedious & complex coding part choose a stronger substitute better alternative that doesn’t include even a single line of code i.e. TemplateToaster.
TemplateToaster lets you create WooCommerce theme from scratch in no time that too without indulging in the coding intricacies.
The intuitive drag and drop interface of TemplateToaster packed with features is there to serve your purpose.
Let’s see how to create WooCommerce theme with TempalteToaster !
2. Create WooCommerce Theme With TemplateToaster
To create a WooCommerce theme with TemplateToaster is like a piece of cake. Simply download this WooCommerce Theme Builder or ecommerce website builder in your local machine and install it by following the steps.
Steps to create WooCommerce Theme with TemplateToaster
Step 1: CMS Selection
Once you install the TemplateToaster you will get to see the following screen at first. Now choose WooCommerce here.
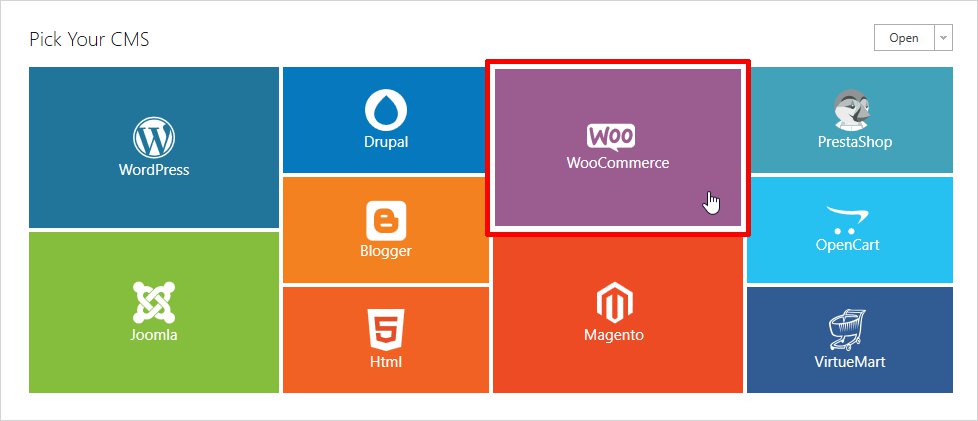
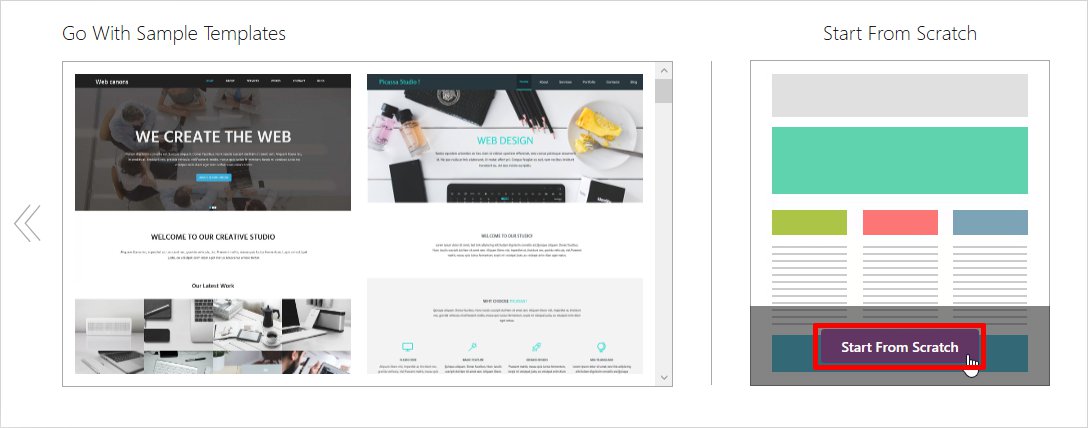
As soon as you choose WooCommerce, you will see another screen showing two options; first Go with Sample Template and second Start from Scratch. The choice is yours. But, as for now, I will choose ‘Start from Scratch’.
Select the Color and Typography from the ‘Color Scheme’ and ‘Fonts apply to the body’ section respectively. And click ‘OK’ to confirm your choice.
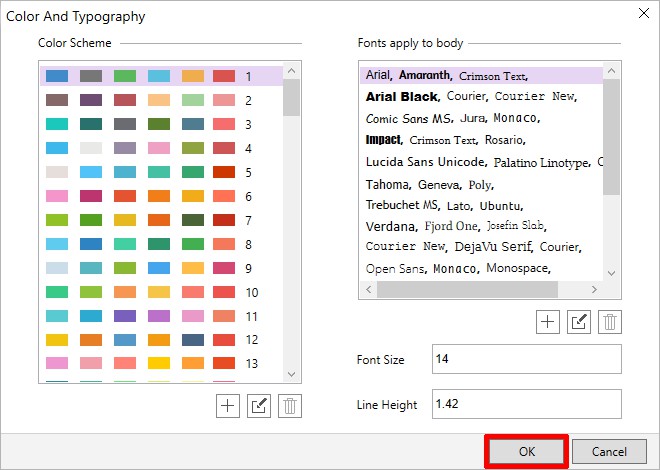
Once you click on the ‘OK’ button, you will be launched to the main interface of the theme.
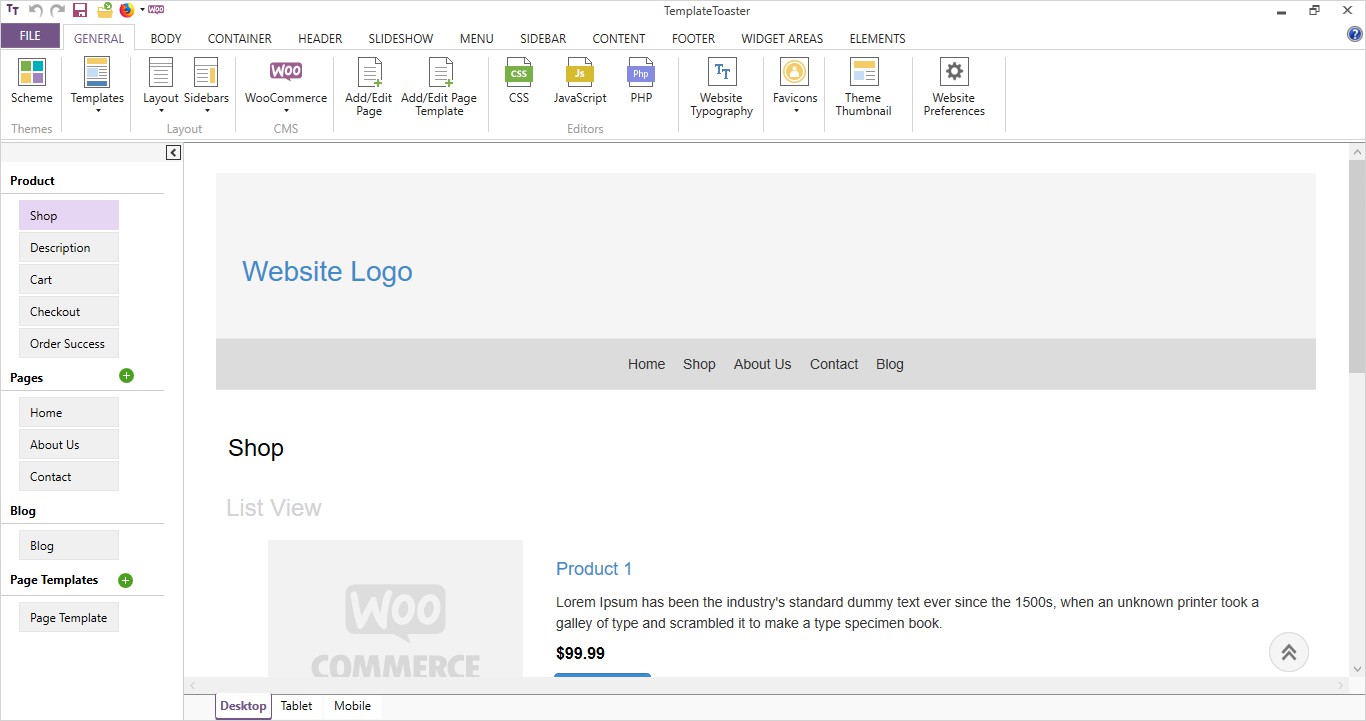
Step 2: Select Layout
Select the Layout for the web page. There are two available options to choose from. You can choose either of them. CONTAINER ➡ Layout ➡ Fluid

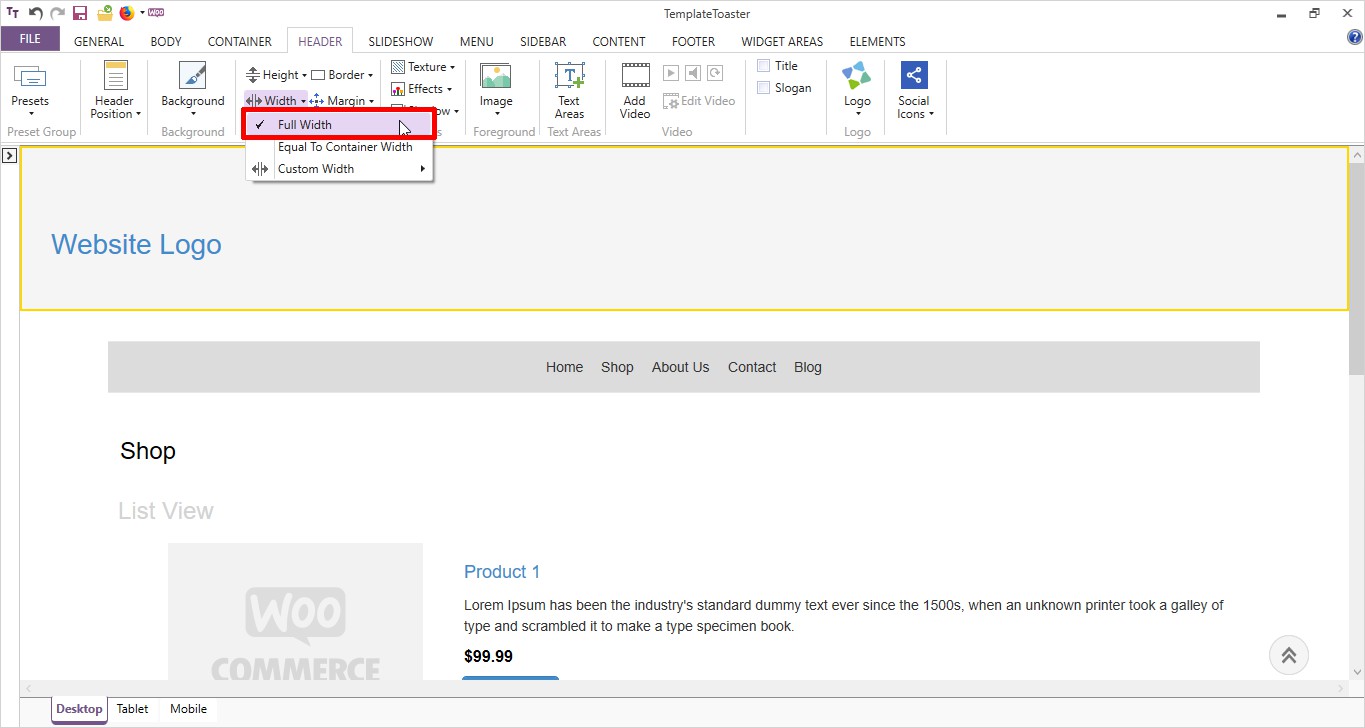
Step 3: Header Design
The Header is the topmost area of the web page and you can set its width accordingly. Just go to HEADER ➡ Width ➡ Full Width
Now, add a Logo to your theme. A logo is going to be your online identity from now so, choose wisely. HEADER ➡ Logo ➡ Browse as shown below:
![]()
You can Align the logo to Left / Right / Center as per your requirements. FORMAT ➡ Left ➡ Top
![]()
Now, choose the header background. Go to HEADER ➡ Background. Choose whatsoever color or image you like as the background of the header.
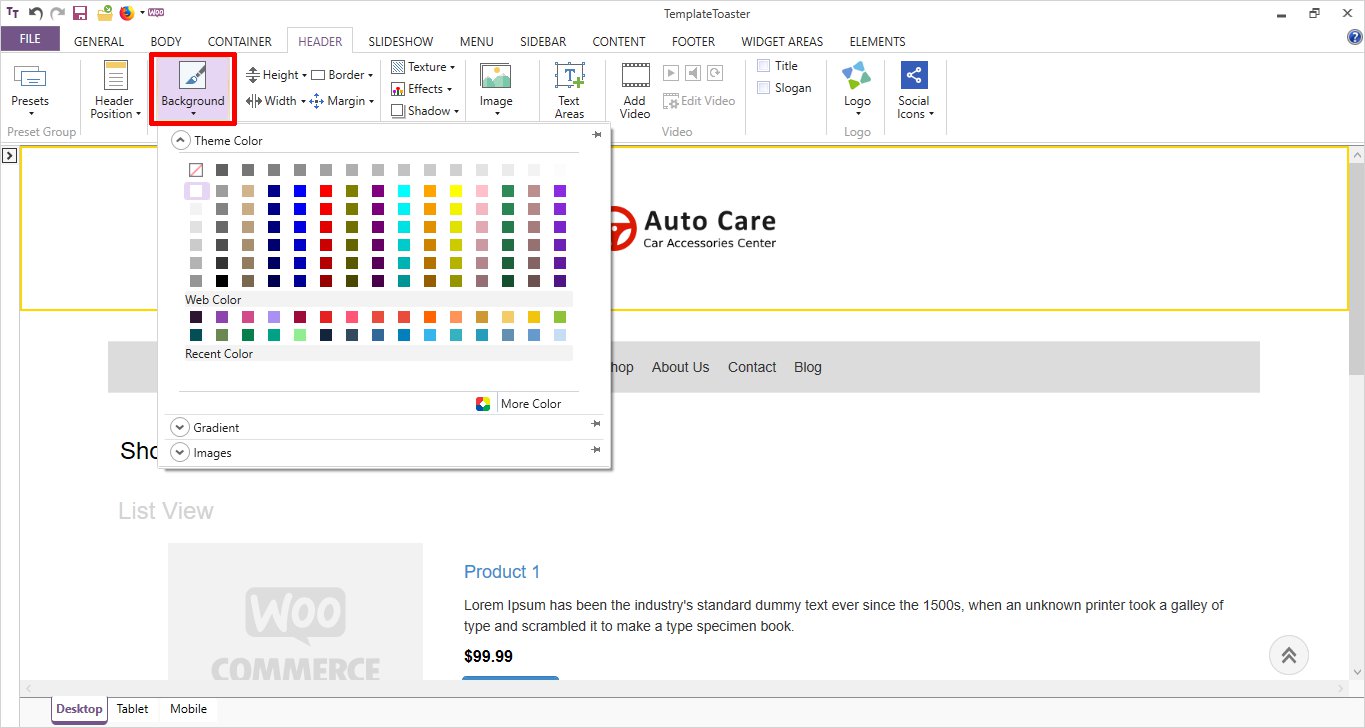
You are ready with your header now.
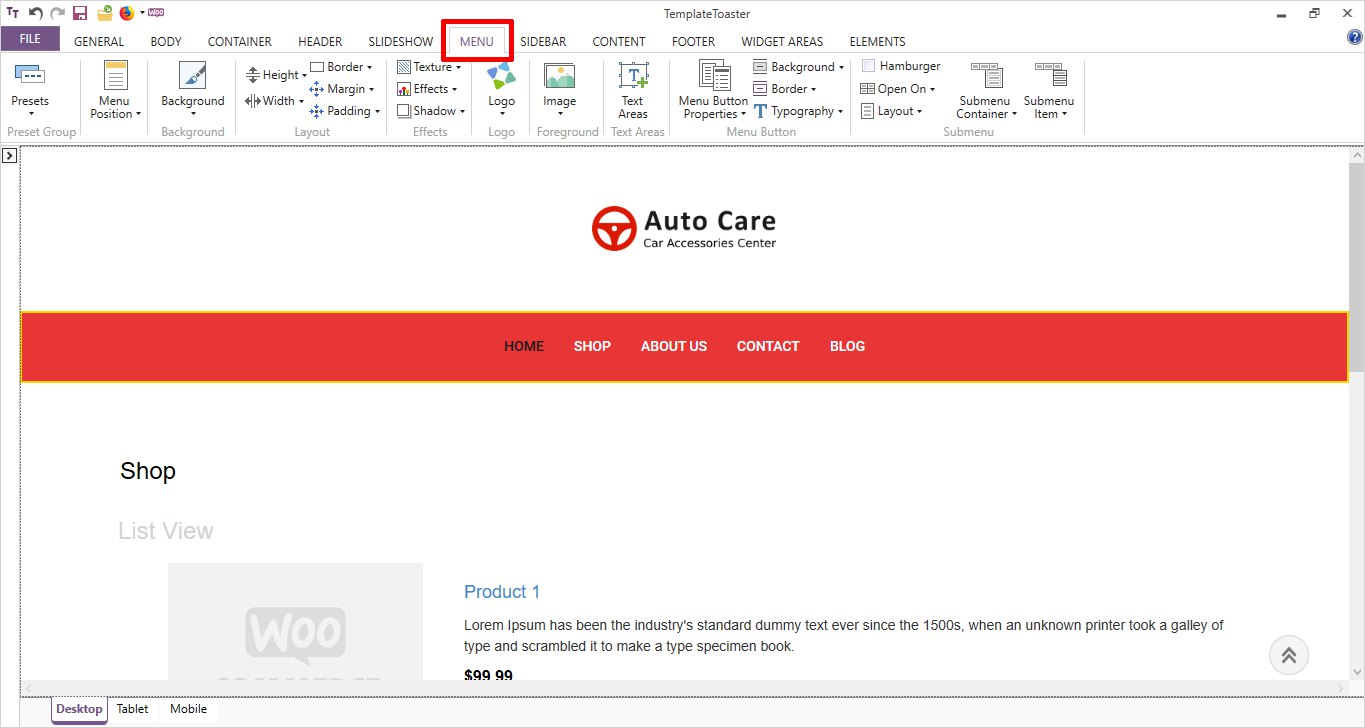
Step 4: Menu Design
Now is the time to design the Menu for the theme. And with various available options like Simple Menus, hamburger Menus, Submenus etc. you can create a fully-functional beautiful Menu.
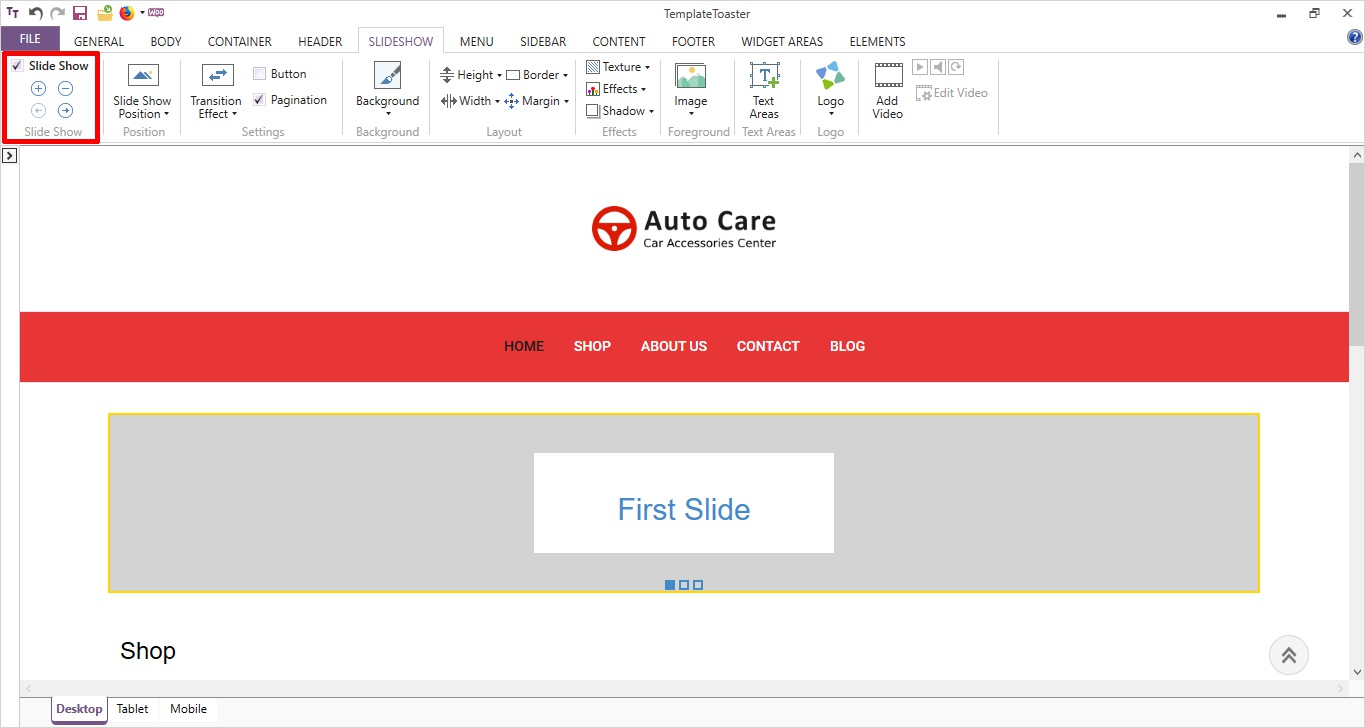
Step 5: Slideshow Design
Having an impressive Slideshow in the theme can increase the number of users to your website. And to have one in your website just check the slideshow (🗸) option given in SLIDESHOW as shown below:
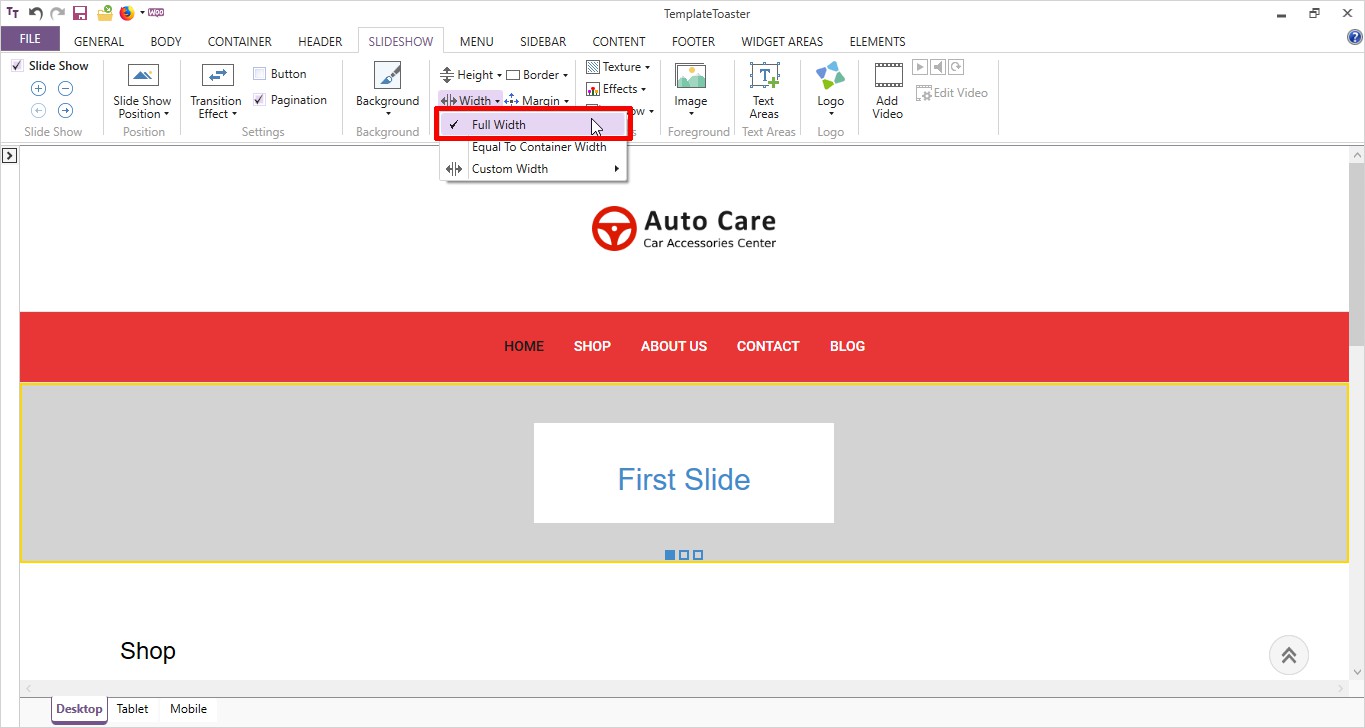
You can adjust the slideshow height and width according to your need. Go to SLIDESHOW ➡ Width ➡ Full Width.
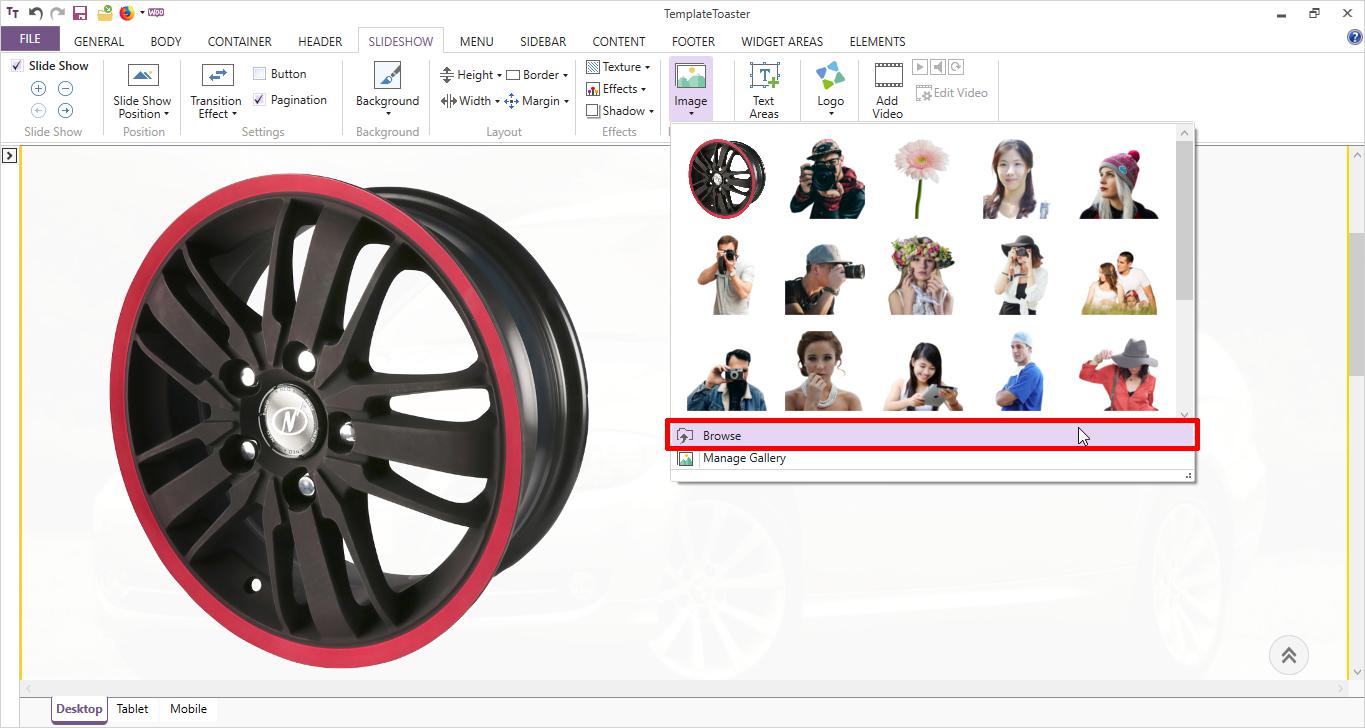
You can choose the background of your slideshow from the given options or if you want to search for some more images then click on More Images option SLIDESHOW ➡ Background ➡ More Images

You are free to add a Foreground Image to your slideshow. Just go to SLIDESHOW ➡ Images ➡ Browse and choose accordingly.
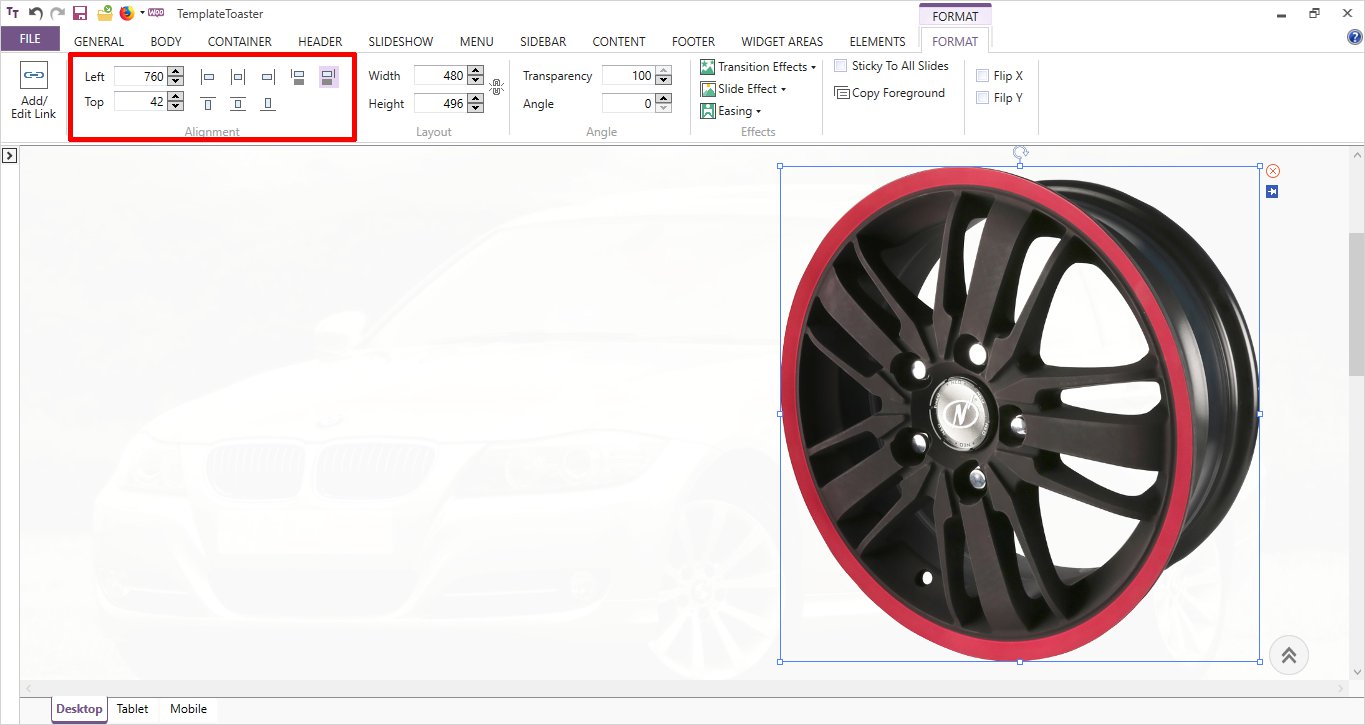
The Alignment of your foreground image is equally easy. Simply go to FORMAT ➡ Alignment and choose to align your foreground image to any side Left / Right/ Center whatever you like.
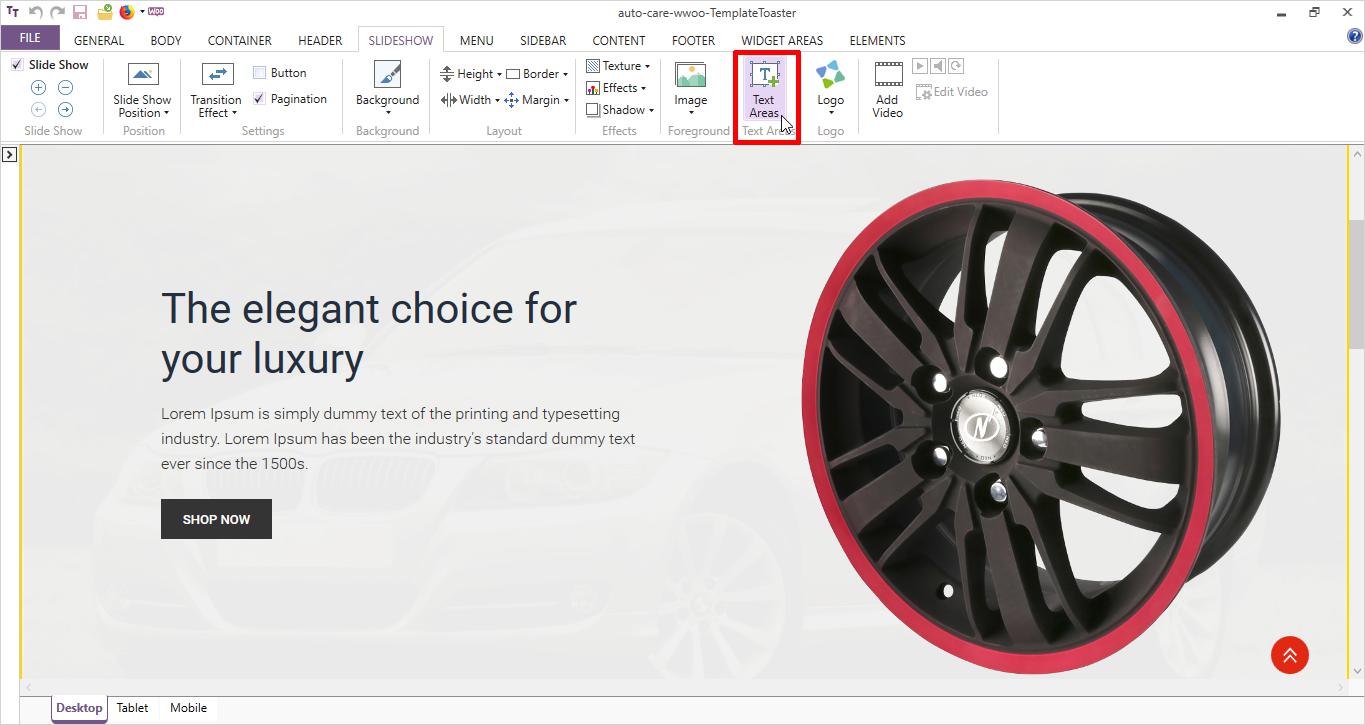
Add Text to your slideshow. Select Textarea to add content to your slideshow. SLIDESHOW ➡ Text Areas as shown below:
Step 5: Set the Content Style
From the various given options you can easily set the Style of the Content such as Margin, Border, Padding, Typography, Color, Texture etc. like:

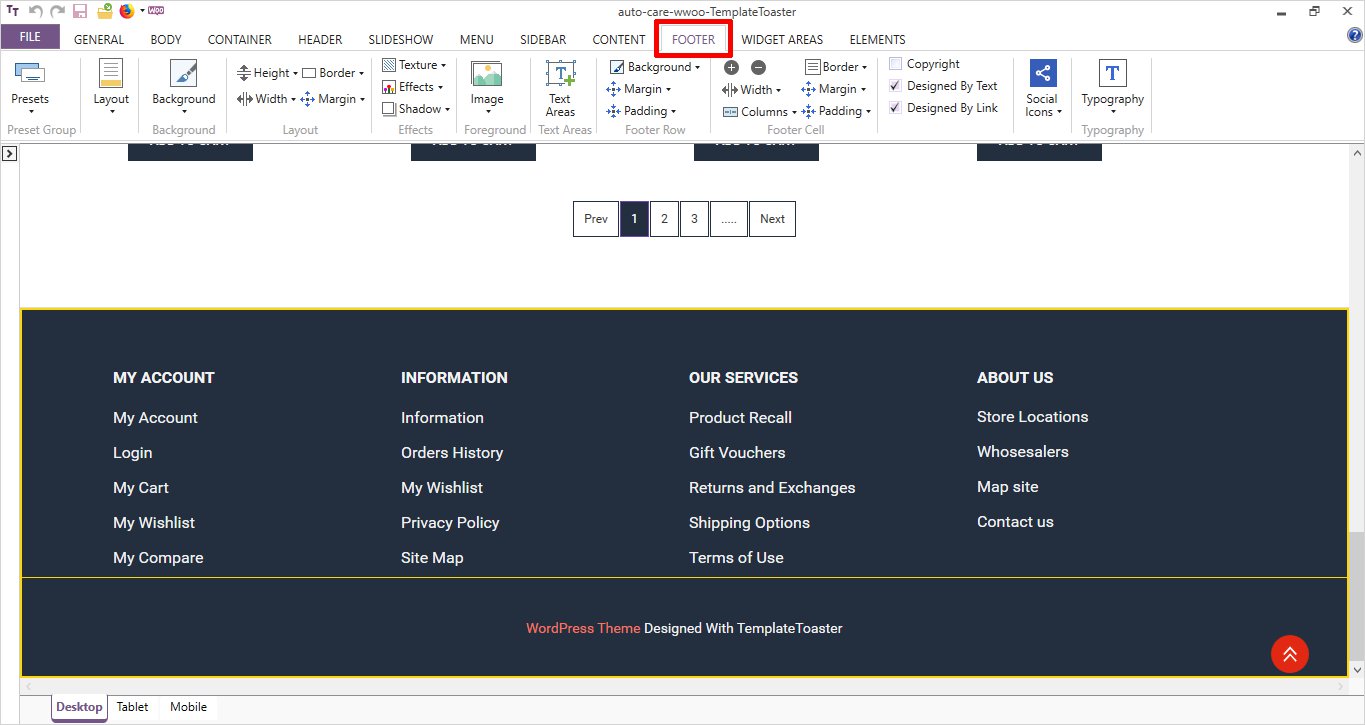
Step 6: Footer Design
Design your Footer as per your specifications. You can select the width of the footer, height, Border, Margin, Effects, Shadow, Texture etc.
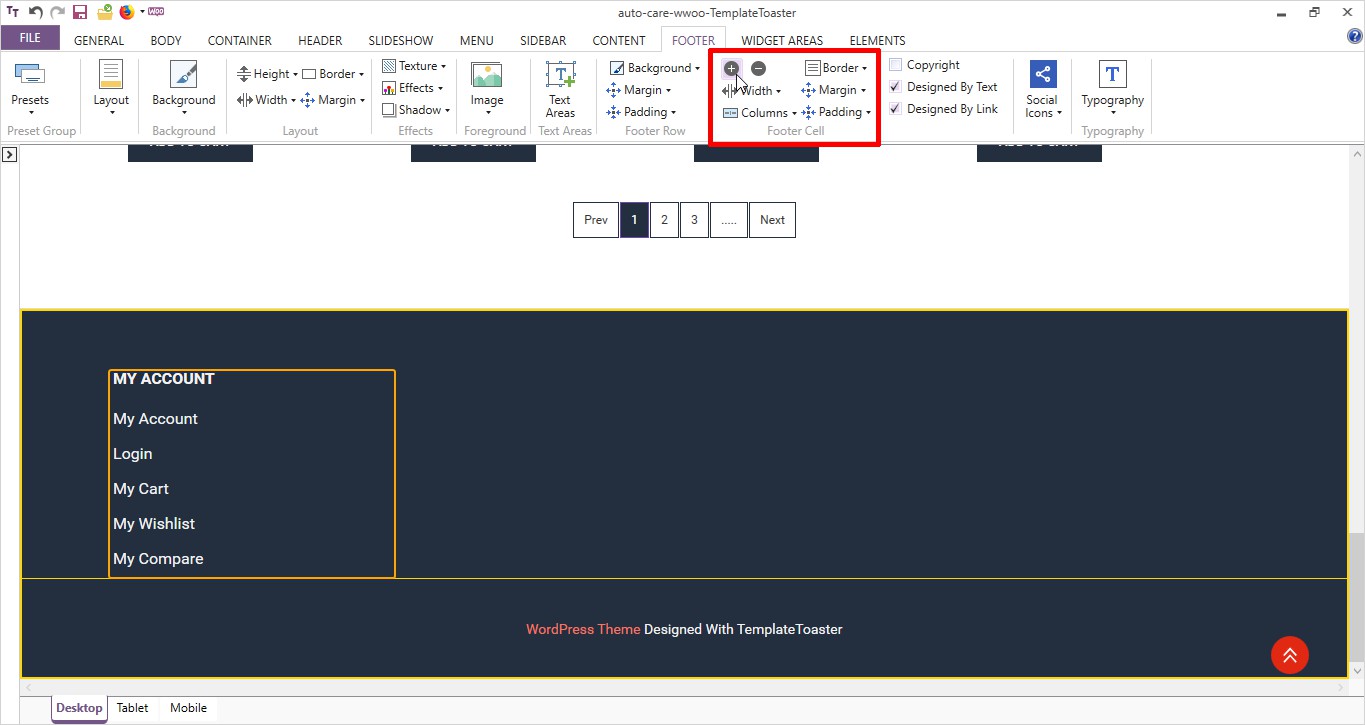
You can also add Number of Columns to your footer. Take a look below:
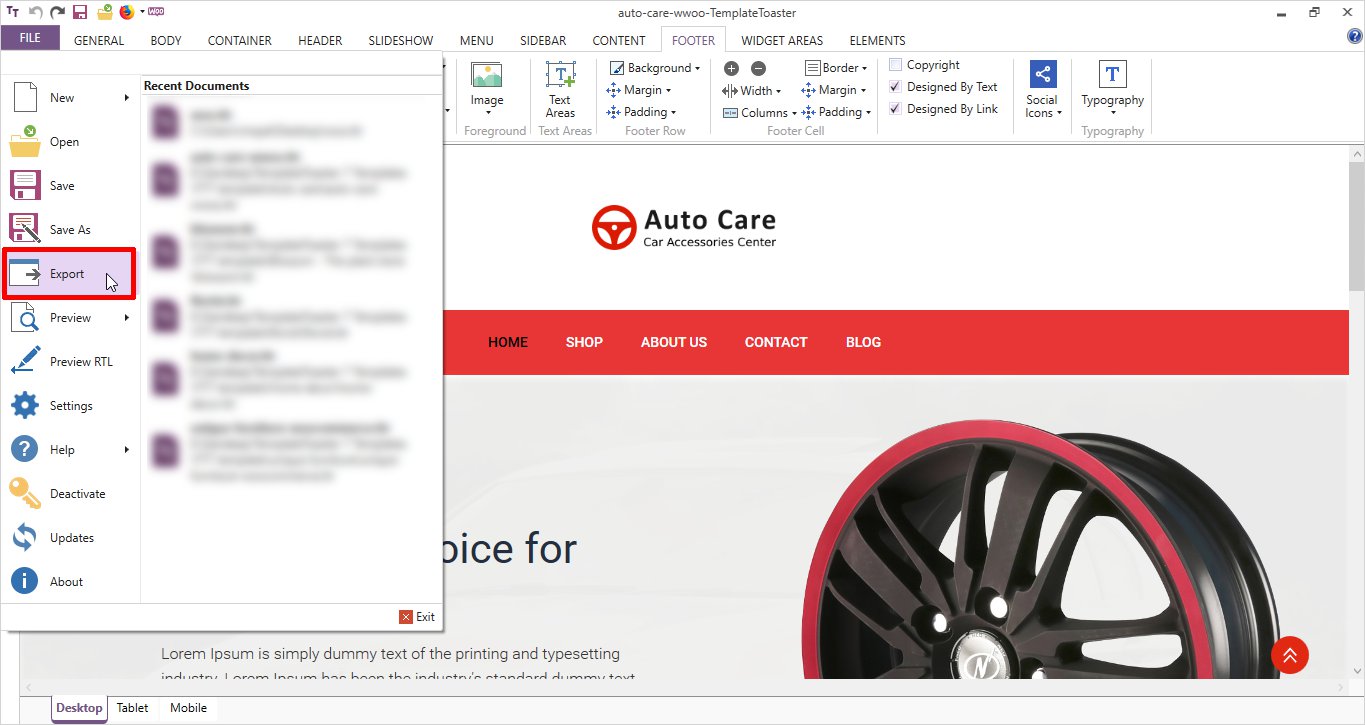
Step 6: Export Theme
Now, that you have designed the theme well, it’s the time to Export the theme. FILE ➡ Export like displayed below:
After you click on the Export, a dialog box will appear and after choosing the right options click on the Export button like displayed below:

Step 7: Upload Theme
Now go to the WordPress Dashboard ➡ Appearance ➡ Themes same as demonstrated below:
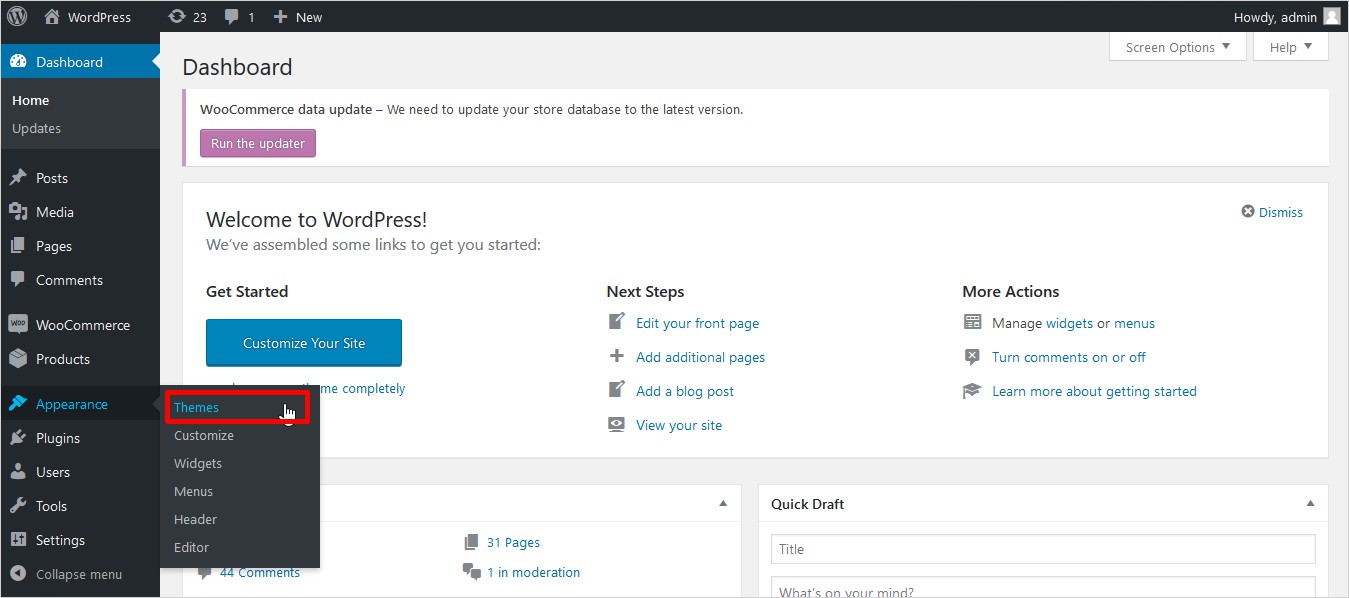
Click on the Add New at the top of the WordPress DashBoard.

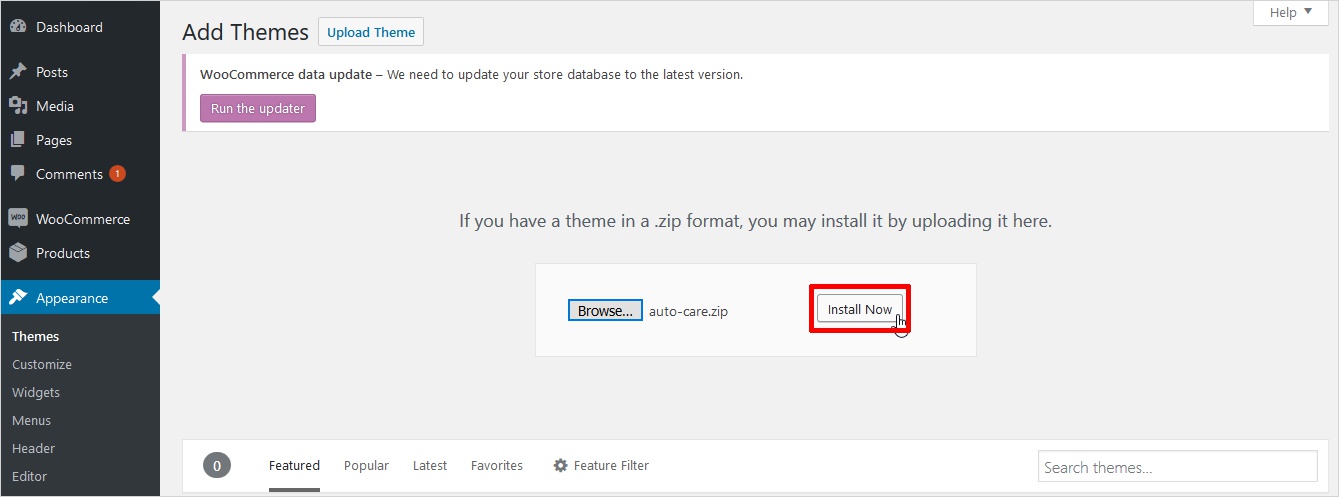
Again, a dialog box will appear showing an option to Install Now. You can browse to select the right theme name. See below:
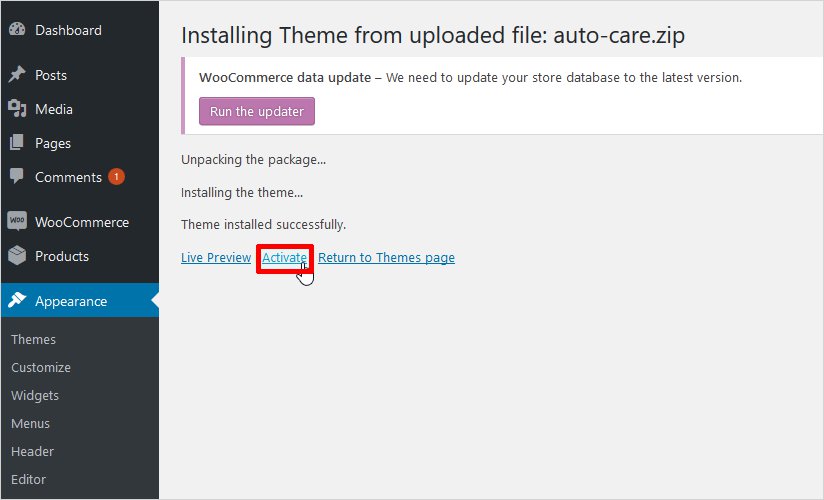
Now just Activate the theme. And you ‘re done. See the below-displayed image:
Step: 9 Final Look of your WooCommerce Theme that is created in few minutes
Now that you are ready with your WooCommerce theme, this is how it will look. A professional and fully-functional WooCommerce theme created in just a few minutes.
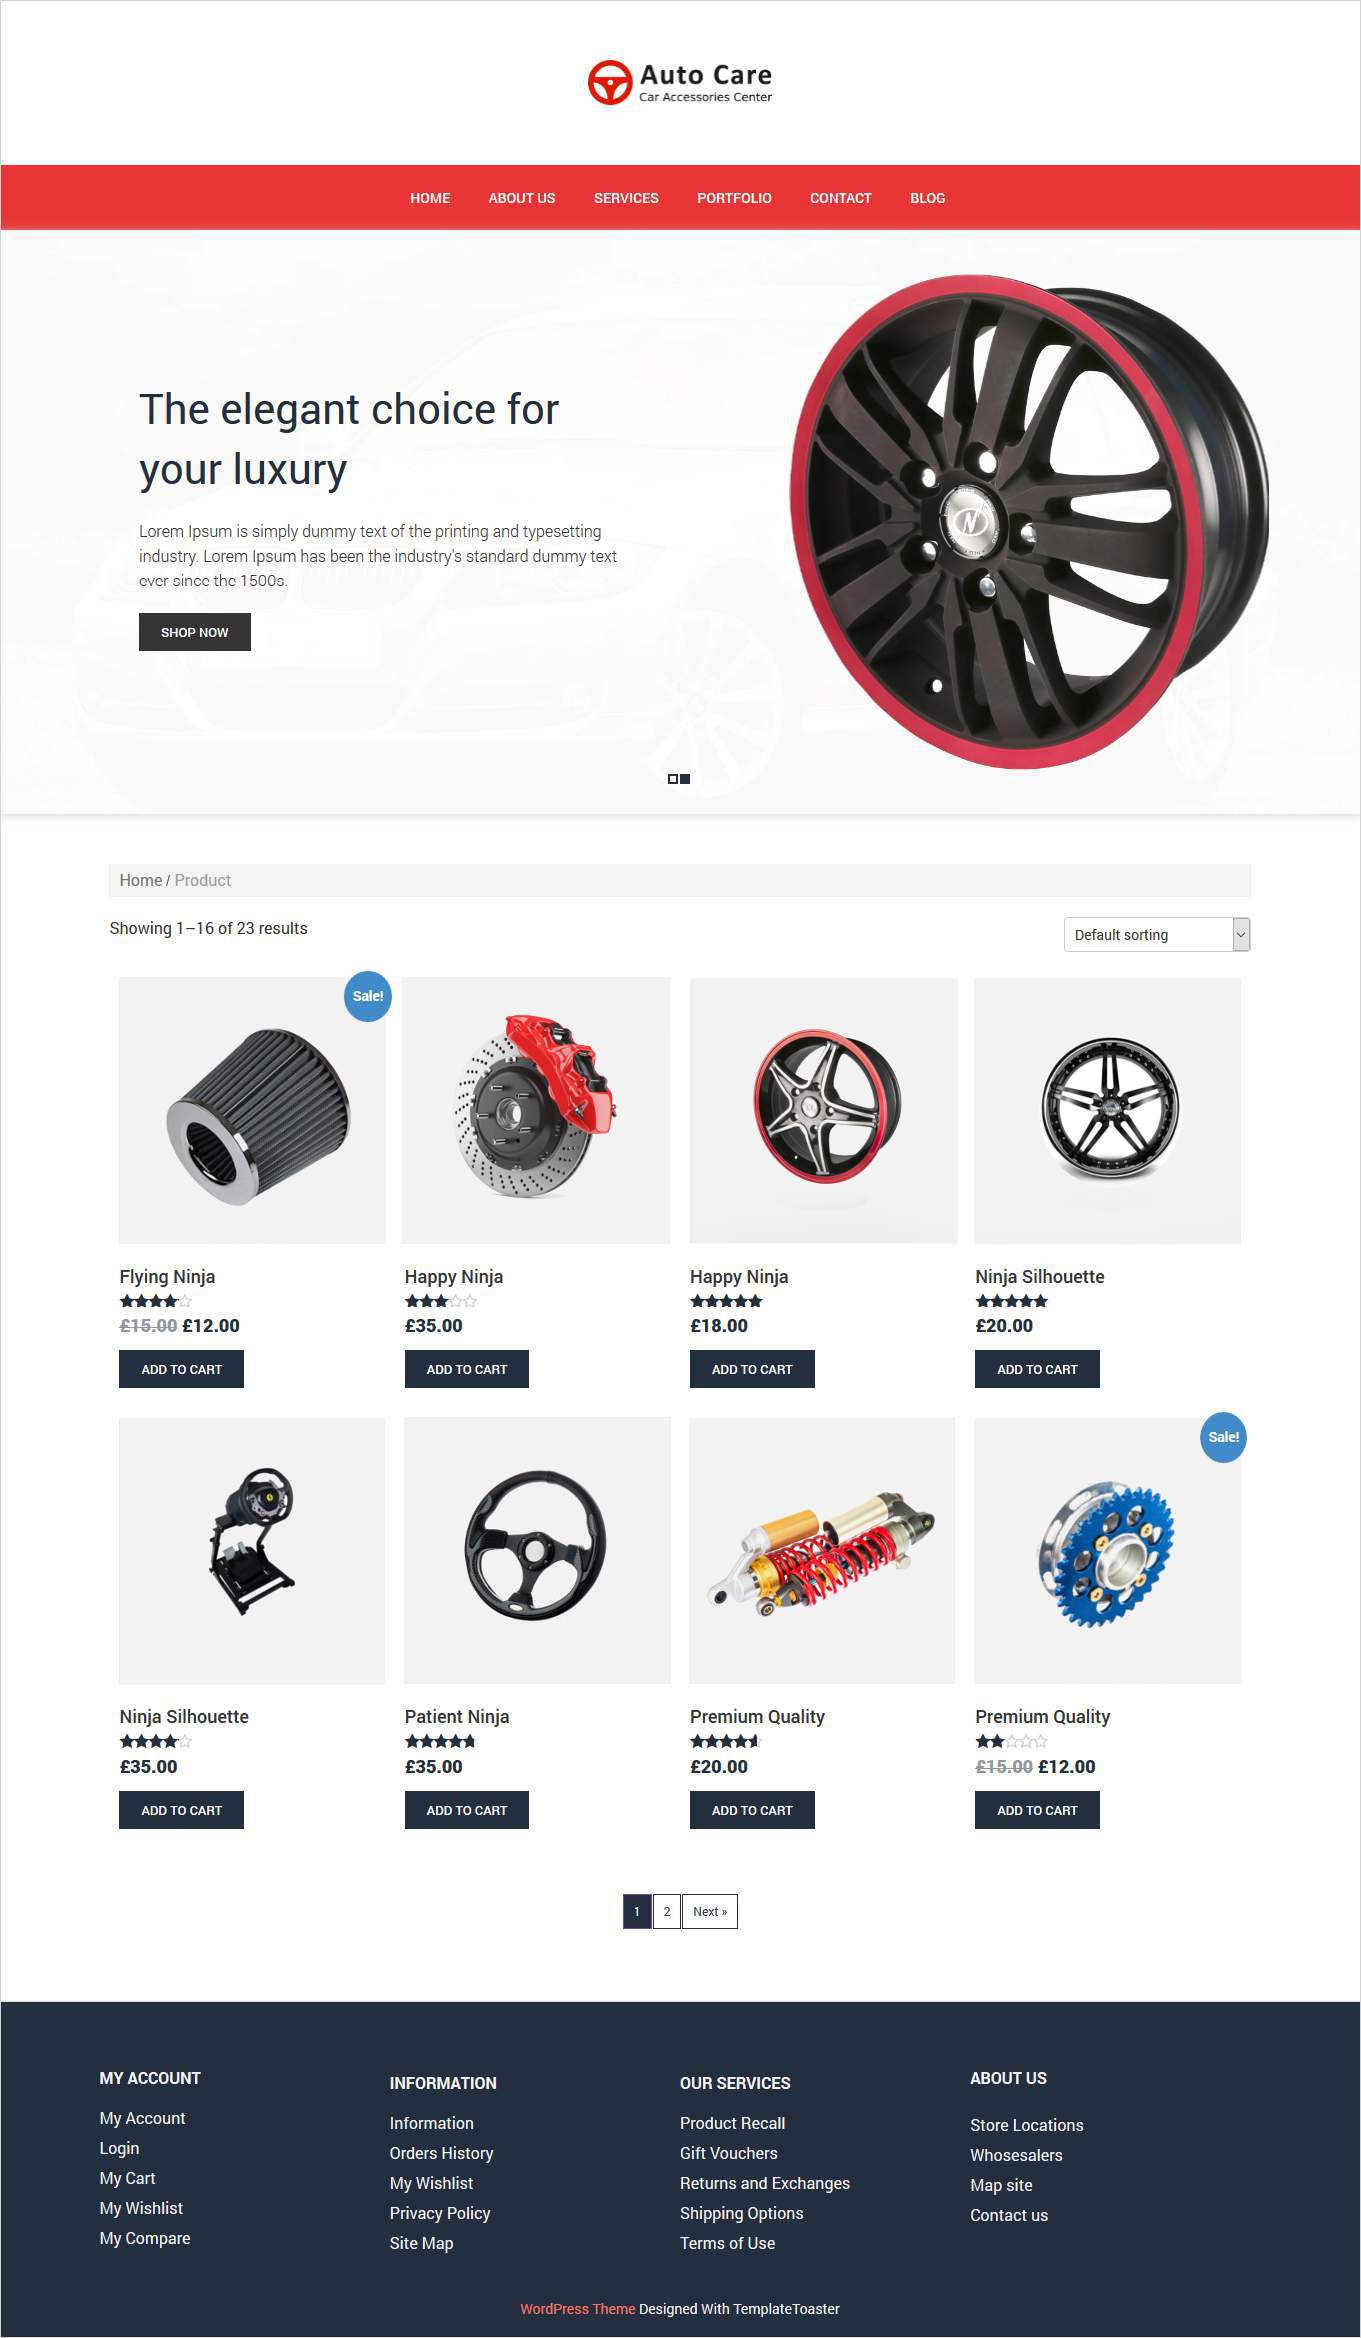
You’ve done it !! See with just a few clicks of a mouse you’re ready with such a beautiful design.
Woo-hoo! You are ready to create custom WooCommerce Theme
There are two best practices outlined above that describe how to create a WooCommerce theme. And this tutorial will help you create WooCommerce themes easily. Now, the choice is yours that which way you choose to create a WooCommerce theme.
If you prefer to code, then it is believed that you are comfortable with JavaScript, CSS, HTML, and WordPress functions. However, if you choose the TemplateToaster WooCommerce Theme Builder software and offline website builder then the hard work will be done for you by the software only. Check out best Woocommerce CRMs and how to add subcriptions to Woocommerce and how to speed up Woocommerce store.
Need Assistance to Create WooCommerce Theme ?
You can read this article for further assistance on creating a WooCommerce website with TemplateToaster and WooCommerce you. In case you still find yourself stuck in between any procedure and seek help, feel free to leave a comment below. I will be there to resolve all your issues. Always happy to hear from you !!
Build a Stunning Website in Minutes with TemplateToaster Website Builder
Create Your Own Website Now
Hello,
Thank you for this guide. It has been very helpful, much more helpful than other sites.
I’m don’t know if i’m being stupid or missed something.
Where do I get all the CSS, Bootstrap and JavaScripts files from for the website template you have shown above.
Or do I have to write these myself as there’s not information where to gain theses from.
Thank You
You need to use functions.php to add scripts and styles not just hack them into your header.
Thank you so much !
Hi, I’ve developped my theme from scratch, i’ve followed your instruction. The shop page and product single page work fine but when I try to go to checkout page, this page is redirected to home page, and also my page “command” doesn’t exist.
Do you have an idea of this problem ?
Sorry for my english, thanks in advance
I have one problem, when I click to open avaliations, I cant do that. Why? I’m using a custom theme
Hey,
Edit “function.php” to be “functions.php”. Other than that, great tutorial!
Thanks, I’ve made the the modification.
Which CMS is effective for beginner?
How we can create the custom theme for opencart?